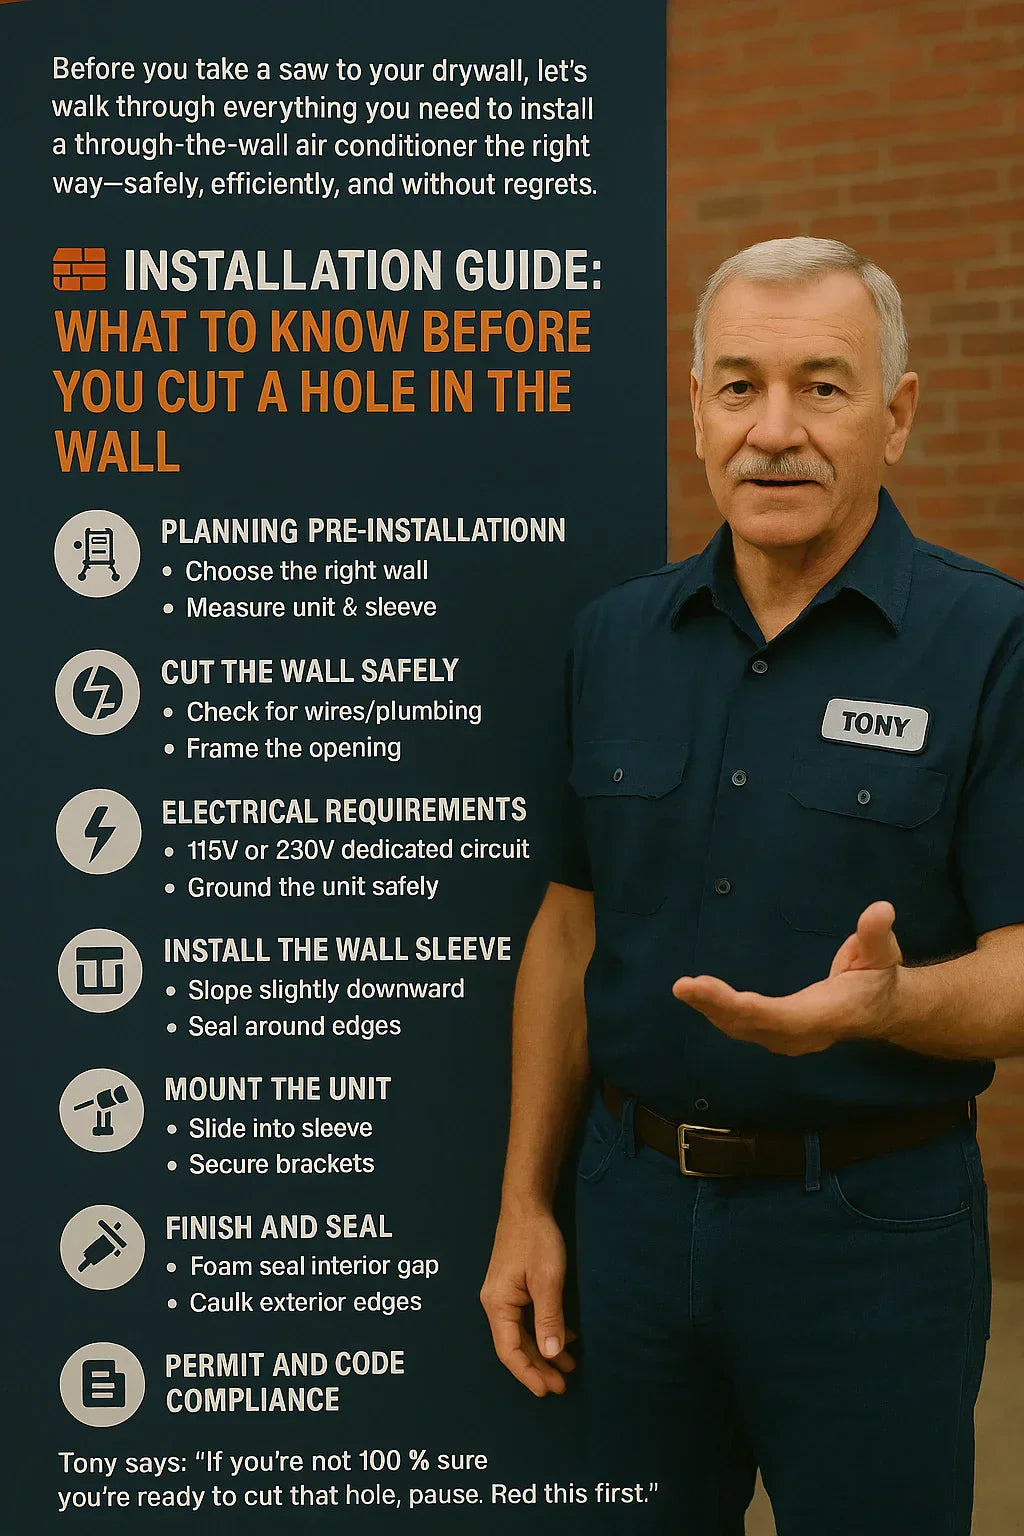
Before you take a saw to your drywall, let’s walk through everything you need to install a through-the-wall air conditioner the right way—safely, efficiently, and without regrets.
🛠️ Why This Matters
Cutting a hole in your wall is a serious commitment. Once it’s done, it’s not easy (or cheap) to undo. You’re altering the thermal envelope, structure, and exterior finish of your home. So doing it right the first time saves you:
-
💸 Money on costly fixes
-
🧯 Headaches with leaks or code violations
-
😓 Stress from inefficient cooling
🧰 Tony says: “If you’re not 100% sure you’re ready to cut that hole, pause. Read this first.”
🧾 What You’ll Learn in This Guide
📏 How to plan your install
🧱 Framing and cutting the wall
🔌 Electrical requirements
🧊 Installing the wall sleeve
🔩 Mounting the unit
🧽 Finishing and sealing
📄 Permit and code compliance
📋 1. Pre-Installation Planning
Before you even buy the unit:
🧭 Choose the Right Wall
Pick an exterior, non-load-bearing wall if possible.
✔️ Preferably with:
-
Stud spacing that supports your unit and sleeve
-
No plumbing or gas lines
-
Access to electrical service
Avoid:
-
Concrete or brick unless you have the right tools
-
Load-bearing walls without engineering sign-off
👉 wall structure tips via Fine Homebuilding
📏 2. Measure Your Unit and Wall Sleeve
Each TTW AC has slightly different dimensions. Look at the exact cutout size required—not just the box size.
| Component | Measurement Notes |
|---|---|
| Wall Sleeve | Usually 26" W x 15.5" H x 16"–21" D |
| Unit | Fits inside sleeve; check brand specs |
| Opening | Leave ½" clearance around sleeve for adjustment |
Check brand manuals for:
-
GE
-
LG
-
Friedrich
-
Keystone
👉 Friedrich sleeve cutout guide
🧱 3. Cut the Wall Safely
🧰 Tools You’ll Need
🔧 Stud finder
🪚 Circular saw or oscillating tool
🔩 Drill & bits
🧱 Hammer
📐 Level and tape measure
🧤 Safety gear (gloves, glasses, mask)
📏 Step-by-Step Cutting Guide
-
Mark the location. Use your measurements + level.
-
Check for wires/plumbing. Use a stud finder + open inspection hole.
-
Cut drywall from inside.
-
Cut exterior siding/sheathing.
-
Frame the opening with treated 2x4s.
-
Build a sill at the base for proper drainage slope.
🧰 Tony says: “Treat it like a mini window install—but for cold air. Frame it tight, square, and sealed.”
👉 This Old House on cutting wall openings
⚡ 4. Electrical Considerations
TTW units may require:
-
115V or 230V outlet
-
15A–30A breaker
-
Dedicated circuit
Don’t just plug it in. Larger units need a licensed electrician to:
-
Run wire from the panel
-
Install a wall box and outlet
-
Ground the circuit safely
👉 NEC 2023 electrical standards
🧰 Tony says: “Running new power to a wall unit? That’s a pro’s job if you’re not licensed.”
🧊 5. Install the Wall Sleeve
The wall sleeve:
-
Supports the AC
-
Directs condensation
-
Protects from outside elements
🛠️ Installation Checklist
✔️ Slide sleeve into framed hole
✔️ Ensure slope of ¼" downward to outside
✔️ Use foam gaskets or flashing tape around edges
✔️ Secure with screws into framing
✔️ Caulk exterior seams
👉 GE’s install PDF for sleeves
🔩 6. Insert the AC Unit
After sleeve is secure:
-
Slide in AC unit
-
Secure with manufacturer brackets or screws
-
Check for level
-
Plug in unit and test power
-
Verify drainage and rear venting
Important: TTW ACs must not vent out the sides if inside a sleeve—buy a rear-venting model.
👉 Energy Star guide to TTW installation
🔒 7. Seal, Insulate, and Finish
To ensure efficiency and safety:
-
Seal gaps around sleeve with low-expansion foam
-
Flash exterior edges with UV-resistant caulk
-
Install interior trim or molding
-
Add a drain pan or splash guard below if required
🧰 Tony says: “If you don’t seal it right, you’re just cooling your wall cavity and giving bugs a new Airbnb.”
🧾 8. Permits and Code Compliance
Always check your local code office before beginning.
You may need:
-
Mechanical permit
-
Electrical permit
-
HOA or landlord approval (for condos/apartments)
Some municipalities require:
-
Wall bracing inspection
-
Energy code compliance (especially in multi-family homes)
👉 local building codes via ICC Safe
🧰 9. Common Mistakes to Avoid
| Mistake | What Happens |
|---|---|
| Wrong unit size | Poor cooling, short cycling |
| Installing in a load-bearing wall | Structural damage |
| Inadequate support or slope | Water intrusion |
| Using a side-vent unit in a sleeve | Overheating or inefficiency |
| No permit | Legal or insurance issues |
💸 What Does It Cost?
| Item | Cost Estimate |
|---|---|
| TTW AC Unit | $500 – $1,200 |
| Wall Sleeve | $75 – $150 |
| Tools (if not owned) | $100 – $300 |
| Electrical Work | $150 – $500 |
| Pro Install (if hired) | $500 – $1,000 |
DIY Total: $600 – $1,600
Pro Total: $1,000 – $2,500
🧽 Maintenance After Install
To keep your unit running like new:
-
🧼 Clean filters monthly
-
🔧 Check seals and foam yearly
-
🌬️ Clean condenser coils every spring
-
💧 Clear drainage and inspect for leaks
👉 Consumer Reports: AC Maintenance
✅ Final Checklist Before You Cut
✔️ Confirm wall structure
✔️ Buy the right size + rear-venting model
✔️ Map electrical load and breaker
✔️ Order a matching sleeve
✔️ Pull permits
✔️ Watch install videos and prep tools
✔️ Measure twice, cut once
📦 Brands That Make It Easy
Top through-the-wall ACs with easy install instructions:
🧠 Final Word from Tony
“This is one of those jobs that’s halfway between HVAC and carpentry. If you know your way around both, go for it. If not—get a pro. The cost of a bad install is a leaky wall, blown fuse, and a whole summer of sweat.”
In the next topic we will read about: Wall Sleeve 101: Why You Need One (and How to Choose the Right Fit)


