Installing a through-the-wall air conditioner with heat, like the Amana 9,300 BTU 230/208V model, isn’t quite the same as sliding in a window unit. This is a semi-permanent installation that requires preparation, careful measurements, and some understanding of electrical and structural requirements.
If you’re Savvy — someone who likes to plan before cutting, drilling, or hiring a pro — this guide is for you. We’ll cover everything you need to know before you install your Amana wall AC: from measuring your space to electrical requirements, wall sleeve selection, sealing, and performance tips.
By the end, you’ll have a clear checklist to decide whether this is a DIY-friendly project or a job best left to the pros.
📦 Why Preparation Matters Before Installing
Through-the-wall ACs like the Amana 9,300 BTU offer long-term comfort and free up window space, but the installation is less forgiving than a window unit. Mistakes can lead to:
-
Air leaks → higher energy bills
-
Improper drainage → water damage
-
Voltage mismatches → tripped breakers or fire hazards
-
Poor framing → unit sagging or shifting
A little upfront planning saves you time, money, and frustration.
The U.S. Department of Energy notes that proper installation can improve efficiency by 10–30%, while improper installs can cost you hundreds in wasted energy
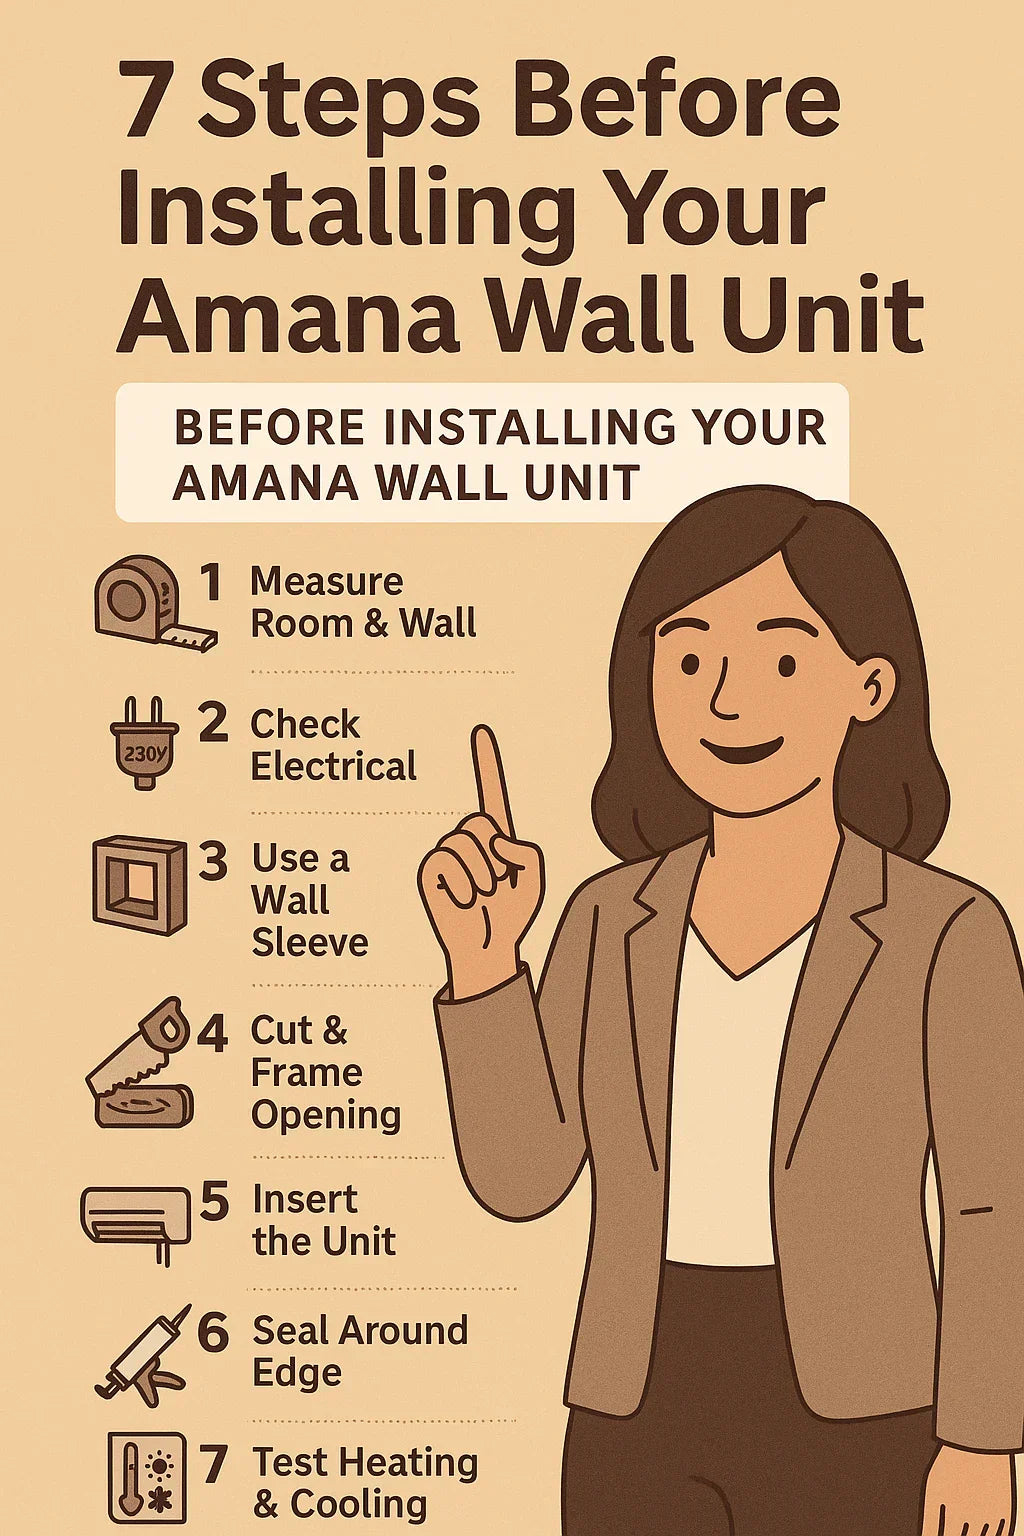
📏 Step 1: Measure Your Room & Wall Space
Room Size Check
The Amana 9,300 BTU is designed for small to medium rooms (~350–450 ft²).
-
Bedroom → 14 × 18 ft
-
Office → 15 × 20 ft
-
Studio apartment → ~400 ft²
If your room is much smaller (under 250 ft²), you risk oversizing, which can cause short cycling. If it’s much larger (500+ ft²), you’ll need a more powerful unit.
Wall Considerations
-
Identify a non-load-bearing wall if possible. Cutting into a structural beam adds complexity.
-
Ensure the wall has at least 15 inches of unobstructed exterior clearance for airflow.
-
Avoid shaded damp areas outside (like behind bushes) that could trap heat or moisture.
Savvy tip 💡: Use a stud finder before marking your cutout to avoid studs, pipes, or wiring.
🔌 Step 2: Electrical Requirements (230/208V Setup)
The Amana 9,300 BTU unit is not a standard 115V plug-in AC. It requires 230/208 volts, which means:
-
A dedicated circuit (15–20 amps)
-
A properly rated outlet (NEMA style depends on plug type)
-
Wiring that meets National Electrical Code (NEC) standards
Why It Matters
Plugging into the wrong outlet risks:
-
Immediate breaker trips
-
Damaging the unit
-
Fire hazards
If you don’t already have a 230V outlet in the installation room, you’ll need an electrician to run a circuit. This can cost $200–$500, depending on panel accessibility.
🧱 Step 3: Choosing & Installing the Wall Sleeve
A wall sleeve is a protective metal shell that stays fixed in your wall. The AC unit slides in and out of it for service or replacement.
-
Required depth: Amana sleeves are usually ~16–17 inches deep.
-
Universal compatibility: While some brands share sleeve sizes, always confirm with Amana’s recommended sleeve.
-
Weather resistance: Look for corrosion-resistant steel sleeves.
-
Sealing: Foam gaskets or caulk around the sleeve prevent outside air leaks.
ENERGY STAR highlights that sealing around sleeves is critical for performance and humidity control
🔧 Step 4: Preparing the Wall Opening
Cutting into your wall is the biggest step.
Steps
-
Mark dimensions of the sleeve opening (usually ~15 ⅝” × 25 ½” but confirm model specs).
-
Drill pilot holes in each corner.
-
Cut carefully using a reciprocating saw for wood/drywall or masonry saw for brick.
-
Frame with lumber (2×4s) to reinforce edges.
Safety Tips
-
Always wear goggles and gloves.
-
Shut off power to avoid sawing into live wires.
-
For masonry walls, consider hiring a pro to avoid structural compromise.
Savvy tip 💡: Line the framed opening with flashing or waterproof membrane to prevent leaks.
📥 Step 5: Sliding in the Amana 9,300 BTU Unit
Once your sleeve is secured:
-
Remove the front grille of the AC for easier handling.
-
Lift and slide the unit into the sleeve with a helper. These units can weigh 70+ lbs.
-
Ensure a slight outward tilt (¼”) for proper condensation drainage.
-
Connect the electrical plug to the dedicated 230V outlet.
-
Reattach grille and decorative trim.
🧼 Step 6: Sealing & Finishing
A good installation should look clean and perform quietly.
-
Apply caulk or spray foam around sleeve edges.
-
Add interior/exterior trim kits for aesthetics.
-
Check for vibration: if unit rattles, add foam strips or brackets.
According to Home Depot’s wall AC guide, failing to seal properly can waste up to 20% of your cooling energy
⚠️ Step 7: Safety Considerations
-
Electricity: Only plug into a properly rated outlet. Never use an adapter.
-
Weight: Always install with 2 people.
-
Drainage: Make sure the rear of the unit is not blocked.
-
Fire safety: Don’t run cords under rugs or furniture.
If you hit electrical wiring, plumbing, or encounter structural walls — call a professional immediately.
🌡️ Step 8: Maximizing Performance Post-Install
Your unit is in — now optimize it.
-
Clear airflow: Keep curtains, furniture, and bushes 2–3 feet away.
-
Filter cleaning: Do it monthly during heavy use. Dirty filters reduce efficiency by 10–15%
-
Smart control: Use a timer or smart plug to avoid waste.
-
Seasonal checks: Vacuum coils at the start and end of each season.
✅ Savvy’s Installation Checklist
Before you power up:
-
Measured room size (350–450 ft²)
-
Confirmed wall location and clearance
-
Dedicated 230/208V outlet installed
-
Correct wall sleeve purchased and sealed
-
Opening framed and reinforced
-
Unit installed with outward tilt
-
Caulked and sealed interior/exterior gaps
-
Tested cooling and heating functions
If all boxes are checked, you’re ready to enjoy reliable comfort from your Amana 9,300 BTU wall unit.
In the next topic we will know more about: Maintenance Tips: How Savvy Keeps Her Amana 9,300 BTU Unit Running Like New


