Introduction: The Day I Met My GE Wall Unit
When the delivery truck dropped off my GE 12,000 BTU Through-the-Wall Air Conditioner with Electric Heat (model AJEM12DWJ), I was excited—and honestly a little nervous. Excited because I was upgrading from a clunky old window unit that rattled every night, blocked my view, and leaked air around the frame. Nervous because installing a through-the-wall AC is a bigger project than just plugging something into a window.
Like many homeowners, I faced the big decision: should I install it myself or hire a professional?
I ended up doing a hybrid approach—I hired a contractor to handle the heavy-duty wall cut, but I took care of prepping, sealing, and finishing myself. Along the way, I learned a ton about how these systems are installed, what tools you need, and which mistakes to avoid.
If you’re thinking about putting in a GE wall unit like mine, here’s my full installation story and guide so you know exactly what to expect.
What You Need Before You Start
Before you even touch a saw, there are a few things to figure out. I learned the hard way that skipping prep makes everything twice as hard later.
1. Measure Your Room and Wall
The GE 12,000 BTU unit is perfect for cooling and heating 450–550 sq ft. My living room is about 500 sq ft, so it was a great match. But the wall you choose matters just as much.
-
It needs to be an exterior wall so the back of the unit can vent outside.
-
Ideally, avoid load-bearing walls unless you’re comfortable reinforcing them.
-
Make sure you’re not cutting through plumbing or electrical lines.
👉 My tip: use a stud finder and mark out the area with painter’s tape before you commit.
2. Check Your Electrical Setup
The GE AJEM12DWJ requires a 208/230V outlet.
-
This is not your standard household 115V outlet.
-
If you don’t have one, you’ll need an electrician to install a new line.
👉 I was lucky: my condo already had a 230V outlet from a previous wall unit. If I didn’t, I would’ve budgeted another $200–$400 for wiring.
3. Get the Right Wall Sleeve
Every through-the-wall AC needs a wall sleeve—a metal frame that holds the unit in place. GE recommends their own sleeve model, and it’s worth buying the one designed for your unit.
Without it, the unit won’t fit properly, and you risk leaks or poor performance.
4. Gather Your Tools
Here’s the list I used:
-
Drill + bits
-
Level
-
Circular saw or reciprocating saw (with masonry blade for brick exteriors)
-
Measuring tape
-
Caulking gun + exterior-grade caulk
-
Insulation or weatherstripping
-
Screwdriver
-
Safety glasses + gloves
👉 I thought I had everything, but I ended up needing a masonry blade for my brick siding. A last-minute hardware store run is not fun when you’ve already cut halfway through your wall.
Prepping for Installation
Once I had my tools ready, it was time to prep.
Choosing the Right Wall
I picked the wall in my living room facing the backyard. Why?
-
It was close to the electrical outlet.
-
It didn’t interfere with furniture placement.
-
It wasn’t load-bearing.
👉 Avoid walls near plumbing, gas lines, or major wiring. Cutting into the wrong spot can turn a $1,000 project into a $5,000 disaster.
Marking the Cutout
Using the sleeve dimensions, I measured and marked the cutout area with painter’s tape.
-
Double-check your measurements.
-
Add about ¼ inch clearance around the sleeve for adjustments.
👉 My mantra that day was “measure twice, cut once.” And I’m glad I did—I almost cut the opening an inch too narrow.
Clearing the Space
Before cutting, I moved my furniture, rolled up rugs, and taped plastic sheeting over the area. Cutting drywall creates more dust than you expect.
👉 Pro tip: tape a trash bag under your cut line to catch falling debris. It saved me hours of cleanup.
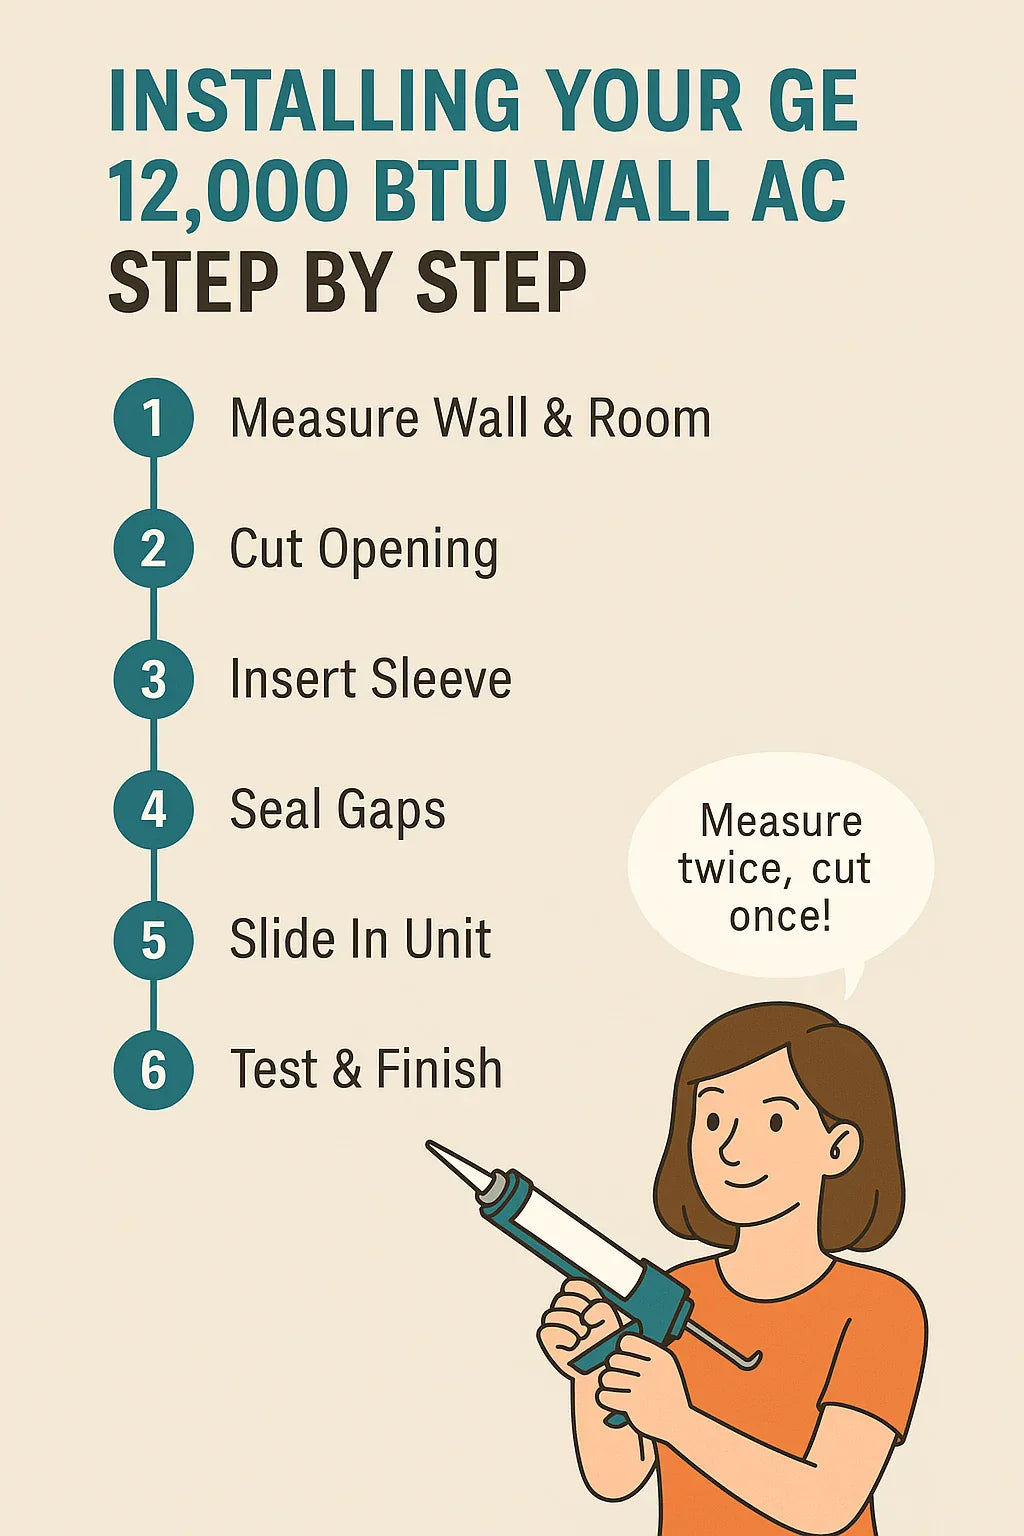
Step-by-Step Installation
Here’s the process, broken down into the steps I actually followed.
Step 1: Cut the Interior Drywall
-
Drill pilot holes in each corner of the marked area.
-
Use a reciprocating saw to cut along the lines.
-
Remove the drywall panel carefully—you’ll reuse it if you ever patch the wall.
👉 Lesson learned: drywall dust travels. Seal off nearby doorways with plastic if you can.
Step 2: Cut the Exterior Wall
This is the intimidating part.
-
Drill through the corners from the inside to mark the outline outside.
-
Go outside and connect the dots with painter’s tape.
-
Use a circular saw with the right blade (wood, siding, or masonry) to cut.
👉 I had a contractor do this part since my exterior was brick. Worth every penny.
Step 3: Frame the Opening
Once the hole was cut, we framed it with pressure-treated lumber. This gave the sleeve something solid to rest on.
-
Measure the sleeve height and width.
-
Add framing around all four sides.
-
Check for level before securing.
Step 4: Insert the Wall Sleeve
Slide the wall sleeve into the framed opening.
-
Make sure it tilts slightly downward toward the outside (¼ inch) so condensation drains properly.
-
Use screws to secure it to the framing.
-
Check level again.
👉 I messed this up on my first try—the sleeve was perfectly level, which looked right but caused water to pool. A tiny downward tilt is essential.
Step 5: Seal the Gaps
This step is crucial for efficiency.
-
Apply exterior-grade caulk around the sleeve edges outside.
-
Add weatherstripping or insulation around the inside edges.
👉 I spent extra time sealing because I live in a rainy area. No drafts or water leaks since.
Step 6: Slide in the GE Unit
This was the fun (and heavy) part.
-
With help, lift the AC and slide it carefully into the sleeve.
-
Align the brackets and secure the unit in place.
👉 At ~80 pounds, this is a two-person job. Don’t try to muscle it in alone.
Step 7: Connect and Test
-
Plug the unit into the 230V outlet.
-
Run it in cooling mode for 10–15 minutes.
-
Switch to heating mode and check airflow.
Mine worked immediately—cool air in minutes, warm air just as fast.
DIY vs Professional Installation
Here’s the big question: should you do it yourself or hire a pro?
DIY Pros
-
Save $300–$600 on labor.
-
Learn how your system works.
-
Sense of accomplishment.
DIY Cons
-
Cutting walls can go wrong fast.
-
Requires power tools and carpentry skills.
-
Risk of leaks, electrical hazards, or voided warranty.
Professional Pros
-
Fast and safe.
-
Warranty stays intact.
-
Cleaner finish.
Professional Cons
-
Costs more.
-
You lose the “DIY badge of honor.”
👉 My choice: I hired a contractor for the wall cut and framing but did the sealing, finishing, and final install myself. Best of both worlds.
Common Mistakes to Avoid
I researched forums and talked to installers before starting, and these are the most common errors:
-
Wrong sleeve size – always buy the GE-compatible sleeve.
-
Not sealing properly – leads to drafts, leaks, and higher bills.
-
Forgetting the tilt – condensation won’t drain.
-
Cutting too small or too big – wasted materials and ugly patches.
-
Ignoring electrical needs – you can’t plug this into a normal outlet.
👉 My mistake: I forgot to test-fit the sleeve before sealing. I had to backtrack and adjust. Don’t skip the dry run.
Final Setup and Comfort Check
After sliding in the unit and running the first test, I did a quick comfort checklist:
-
Airflow strong in both heating and cooling modes? ✅
-
No rattles or vibrations? ✅
-
No daylight showing around the sleeve? ✅
-
Condensation draining properly outside? ✅
Once everything checked out, I added trim around the sleeve inside. Now it looks built-in, like part of the wall design.
👉 Small touch: I painted the trim the same color as my wall. Guests don’t even notice the unit until it kicks on.
Conclusion: What I Learned Installing My GE 12,000 BTU
Installing my GE 12,000 BTU through-the-wall unit wasn’t exactly easy, but it was absolutely worth it. Here’s what I learned:
-
Prep is everything—the right tools and planning save hours.
-
Hire help if needed—especially for exterior cuts or electrical work.
-
Sealing makes the difference—do it right, and you’ll have no leaks or drafts.
-
It feels permanent—a wall unit looks cleaner and lasts longer than any window AC I’ve owned.
Now my living room cools evenly in summer, stays cozy in winter, and I don’t hear that awful window AC rattle at night. Best of all? I kept my big window view.
If you’re debating whether to tackle the install yourself, my advice is this: don’t be afraid to get your hands dirty, but know your limits. Even with a pro’s help for part of the job, you’ll end up with a system that feels custom-built for your home.
In the next topic we will know more about: How Efficient Is the GE AJEM12DWJ? Understanding EER, CEER & Heating Performance


