When it comes to HVAC, installing a 5 Ton Goodman combo system—a powerful pairing of a 14 SEER2 R-32 AC condenser, vertical evaporator coil, and 80,000 BTU gas furnace—isn’t something you do lightly. This is a big investment, and the installation process can make or break your comfort, energy bills, and system lifespan.
In this guide, I’ll walk you through my experience, what I learned during my own installation project, and how you can prepare if you’re considering this upgrade. Whether you’re a DIYer curious about the steps or a homeowner planning to hire a pro, here’s everything you need to know.
🔑 Why Installation Matters
An HVAC system isn’t plug-and-play. Even the best equipment will fail if it’s not installed correctly. Here’s why:
-
Efficiency depends on setup. Poor airflow or leaks can reduce efficiency by 20% or more.
-
Comfort depends on balance. Wrong duct sizing, thermostat placement, or refrigerant charge can leave rooms hot or stuffy.
-
Lifespan depends on precision. Compressors, coils, and furnaces wear out faster when they’re not set up properly.
According to the U.S. Department of Energy, improper installation can reduce system performance by up to 30% (DOE HVAC Efficiency Guide ✔️). That’s why it pays to do this right.
🏡 My Project Overview
-
Home size: ~3,200 sq. ft.
-
Layout: Two-story, open living spaces, 9-foot ceilings.
-
Climate: Hot, humid summers; chilly winters.
-
Old system: A 12 SEER AC + 70% AFUE furnace, both 15 years old.
-
New system: Goodman 5 Ton 14 SEER2 R-32 condenser + CAPTA6030C3 vertical coil + GR9S800805CN 80k BTU furnace.
Why I upgraded: My old unit struggled to keep up, energy bills were climbing, and the refrigerant (R-22) was outdated and expensive.
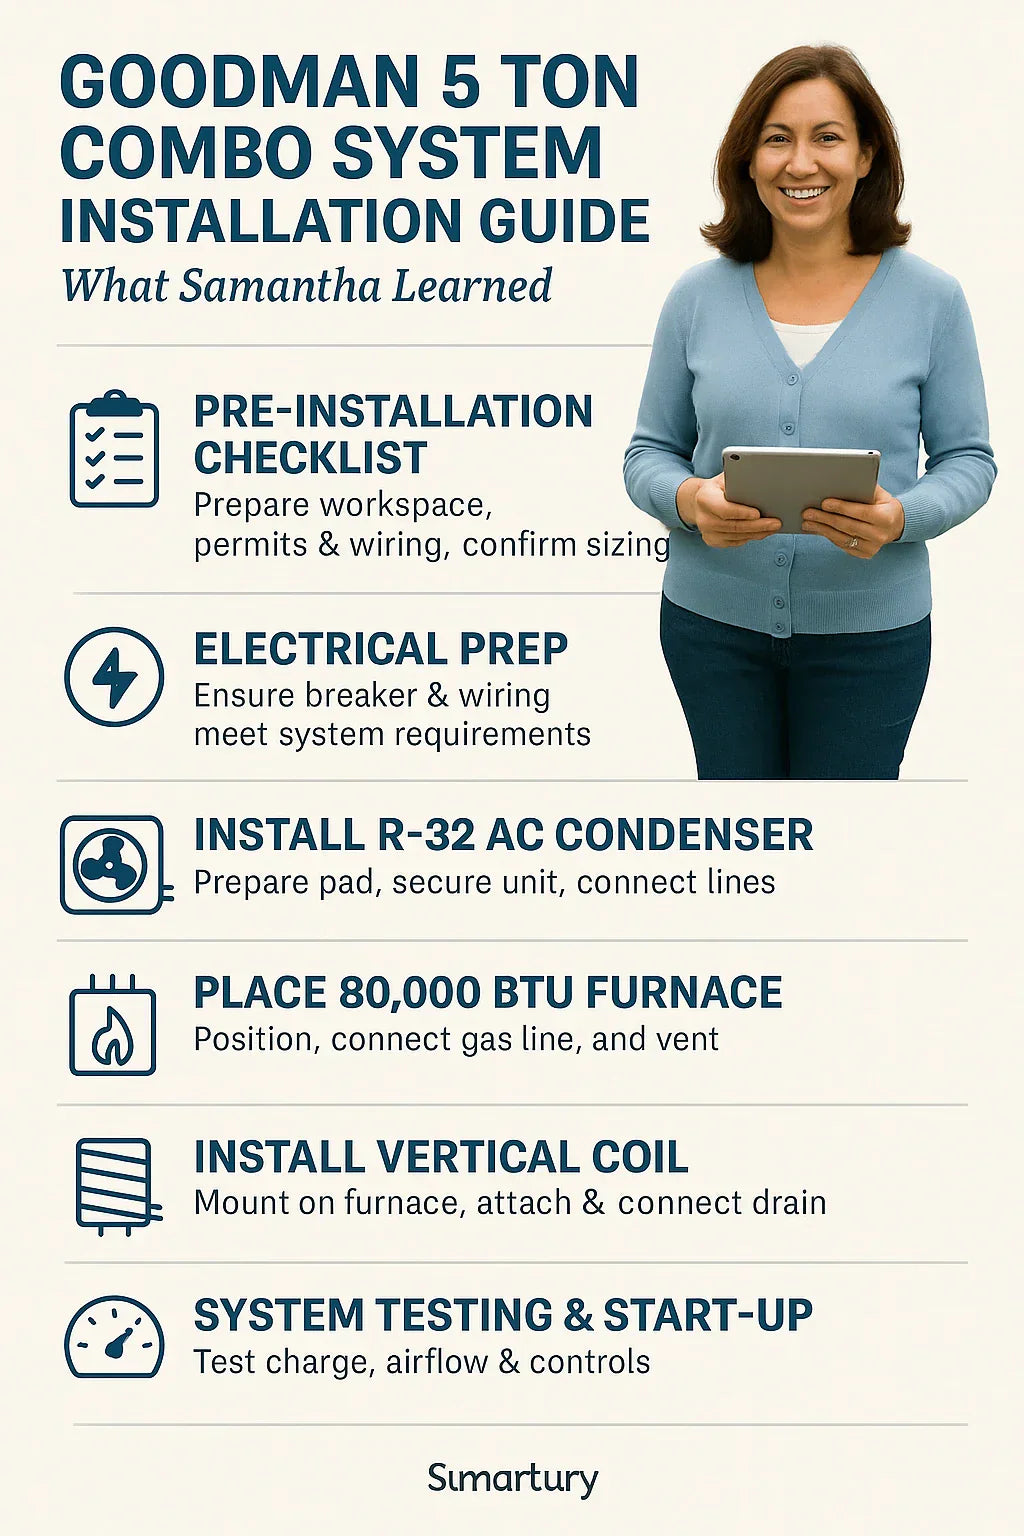
📋 Step 1: Pre-Installation Checklist
Before lifting a wrench, I learned that preparation saves headaches later.
-
Manual J Load Calculation: A contractor ran this to confirm 5 tons was the right size for my home. (You can learn about it from the ACCA Manual J Guide ✔️).
-
Permits & Codes: I checked with the local building department. Gas line and electrical work both required permits.
-
Space Prep: I measured my furnace closet and outdoor pad area to confirm clearances. Goodman recommends 24 inches around the condenser for airflow.
-
Tools: Basic hand tools, level, drill, pipe wrench. I left refrigerant gauges and combustion analyzers to the pros.
Lesson learned: Don’t skip the prep. Even a small oversight (like clearance to a wall) can lead to costly rework.
⚡ Step 2: Electrical Prep
A 5-ton AC draws serious power. My old breaker panel was undersized.
-
Check breaker size: Goodman’s 5-ton condenser requires a 45–60 amp breaker.
-
Wire gauge: Upgraded to #6 copper wire for safety.
-
Disconnect box: Installed next to the condenser for code compliance.
Samantha’s Note: I hired a licensed electrician for this part. Electrical mistakes can be dangerous, and my city required a permit and inspection.
For reference, the National Electrical Code (NEC) has specific HVAC wiring rules: NFPA NEC Standards ✔️.
❄️ Step 3: Installing the R-32 AC Condenser
The outdoor condenser is the heart of your cooling system.
-
Pad preparation: Poured a concrete pad to keep the unit level and above ground moisture.
-
Clearance: Ensured at least 24" from walls and 60" overhead clearance for proper airflow.
-
Mounting: Set the condenser and secured it against vibration.
-
Line set connections: Ran pre-insulated copper lines between condenser and coil.
-
Electrical whip: Connected power from the disconnect box.
Lesson learned: R-32 requires special handling. It’s mildly flammable (A2L classification), so contractors used R-32-rated tools and leak detectors.
EPA guidelines on R-32 safety: EPA Refrigerants & Safety ✔️.
🔥 Step 4: Setting the 80,000 BTU Furnace
The furnace install was just as critical:
-
Positioning: Placed in the utility closet with proper clearance for servicing.
-
Gas line: Connected using black iron pipe and checked for leaks with a manometer.
-
Venting: Since it’s an 80 AFUE unit, vented into a metal flue with proper slope.
-
Ductwork connection: Attached plenum and sealed with mastic to avoid leaks.
Lesson learned: Gas work is not DIY-friendly. For safety, I let the HVAC pro handle the connection and leak test.
Energy.gov has a helpful furnace overview: DOE Furnace Efficiency Guide ✔️.
💧 Step 5: Installing the Vertical Coil (CAPTA6030C3)
The coil sits between the furnace and the supply duct.
-
Placement: Mounted directly above the furnace.
-
Drain line: Installed a primary and secondary condensate drain with proper slope.
-
Insulation: Wrapped lines to prevent sweating.
-
Sealing: Used foil tape to prevent air leaks.
Lesson learned: Don’t cut corners on drainage. A clogged condensate line can flood your utility room in weeks.
📲 Step 6: Thermostat & Controls
Since this Goodman system supports staging, I opted for a Wi-Fi programmable thermostat.
-
Wiring: Connected R, C, Y, G, W to match system terminals.
-
Programming: Set schedules to match my family’s lifestyle.
-
Zoning: Not needed for my layout, but larger multi-story homes may benefit.
I used Energy Star’s Smart Thermostat Guide for selection: Energy Star Smart Thermostats ✔️.
🔍 Step 7: System Testing & Start-Up
This is where the pros really shine. My installer did:
-
Refrigerant charge check: Adjusted R-32 levels using digital gauges.
-
Airflow measurement: Ensured 400 CFM per ton (~2,000 CFM total).
-
Static pressure test: Confirmed ductwork wasn’t overly restrictive.
-
Combustion analysis: Verified furnace burned cleanly and vented safely.
Lesson learned: Commissioning isn’t optional. Without it, efficiency and comfort can suffer immediately.
📆 Post-Installation: What I Learned
-
Warranties: Registering Goodman equipment online extended coverage to 10 years.
-
Maintenance: Changed filters after 30 days, then every 90 days. Scheduled coil cleaning for spring.
-
Peace of mind: Energy bills dropped by ~15% the first summer, and the house finally felt evenly cooled.
✅ Key Takeaways for Homeowners
-
DIY-friendly steps: Prep work, pad setup, duct sealing, thermostat wiring.
-
Pro-required steps: Electrical, refrigerant charging, gas connections, commissioning.
-
The Goodman 5 Ton combo system is ideal for homes ~3,000–3,600 sq. ft., offering reliable efficiency with R-32 refrigerant and 80 AFUE heating.
🔑 Final Thoughts
Installing a Goodman 5 Ton combo system isn’t a weekend project—it’s a partnership between homeowner prep and professional expertise.
What I learned:
-
Don’t underestimate prep and permits.
-
Leave electrical, refrigerant, and gas to licensed pros.
-
A properly installed system will reward you with comfort, efficiency, and longevity.
If you’re planning this upgrade, follow the steps, lean on professionals where needed, and you’ll enjoy the payoff for years to come.
In the next topic we will know more about: How Much Does a 5 Ton Goodman R-32 AC + Furnace System Cost in 2025?


