Installing a wall air conditioner—or PTAC unit—can seem like a big project. But when summer hits and your home is sweltering, nothing beats the satisfaction of sliding that brand-new GE unit into place, flipping the switch, and feeling cool, efficient air flow through your room.
I’ve been there. And trust me—if you’re considering a GE wall unit for your home, rental property, or office, I’ll walk you through everything I learned from the process: the tools you’ll need, how to prep the space, and the little mistakes I wish someone had warned me about.
By the end of this guide, you’ll feel confident about whether you want to DIY the install or hire a pro, and you’ll know exactly what to expect either way.
🏠 Why I Chose a GE Wall Unit
Before we dive into tools and steps, let’s talk about why I went with GE in the first place.
-
Reputation: GE’s Zoneline series has been around for decades, especially in hotels and apartments. They’re built for heavy use.
-
Efficiency: Many GE wall units carry EnergyStar certification, which helps keep utility bills down .
-
Flexibility: GE offers both electric heat and heat pump models, giving year-round comfort.
-
Fit for Space: I needed a unit that wouldn’t hog a window or stick out awkwardly—through-the-wall was the perfect solution.
👉 Explore GE’s wall units at GE Zoneline PTAC.
🛠️ Tools & Materials You’ll Need
Here’s my complete checklist—save this before you start:
-
Wall sleeve (required for new installs; ~$150–$250)
-
Exterior grille (protects the unit; ~$60–$100)
-
Level (for proper alignment)
-
Drill & masonry bits
-
Screwdriver set
-
Sealant & insulation tape (to prevent leaks)
-
Measuring tape
-
Stud finder
-
Protective gear (gloves, safety glasses, dust mask)
-
Electrical outlet (usually 230V for GE units; confirm your model’s specs)
💡 Pro Tip: GE recommends using their factory-approved wall sleeve for best fit and warranty protection .
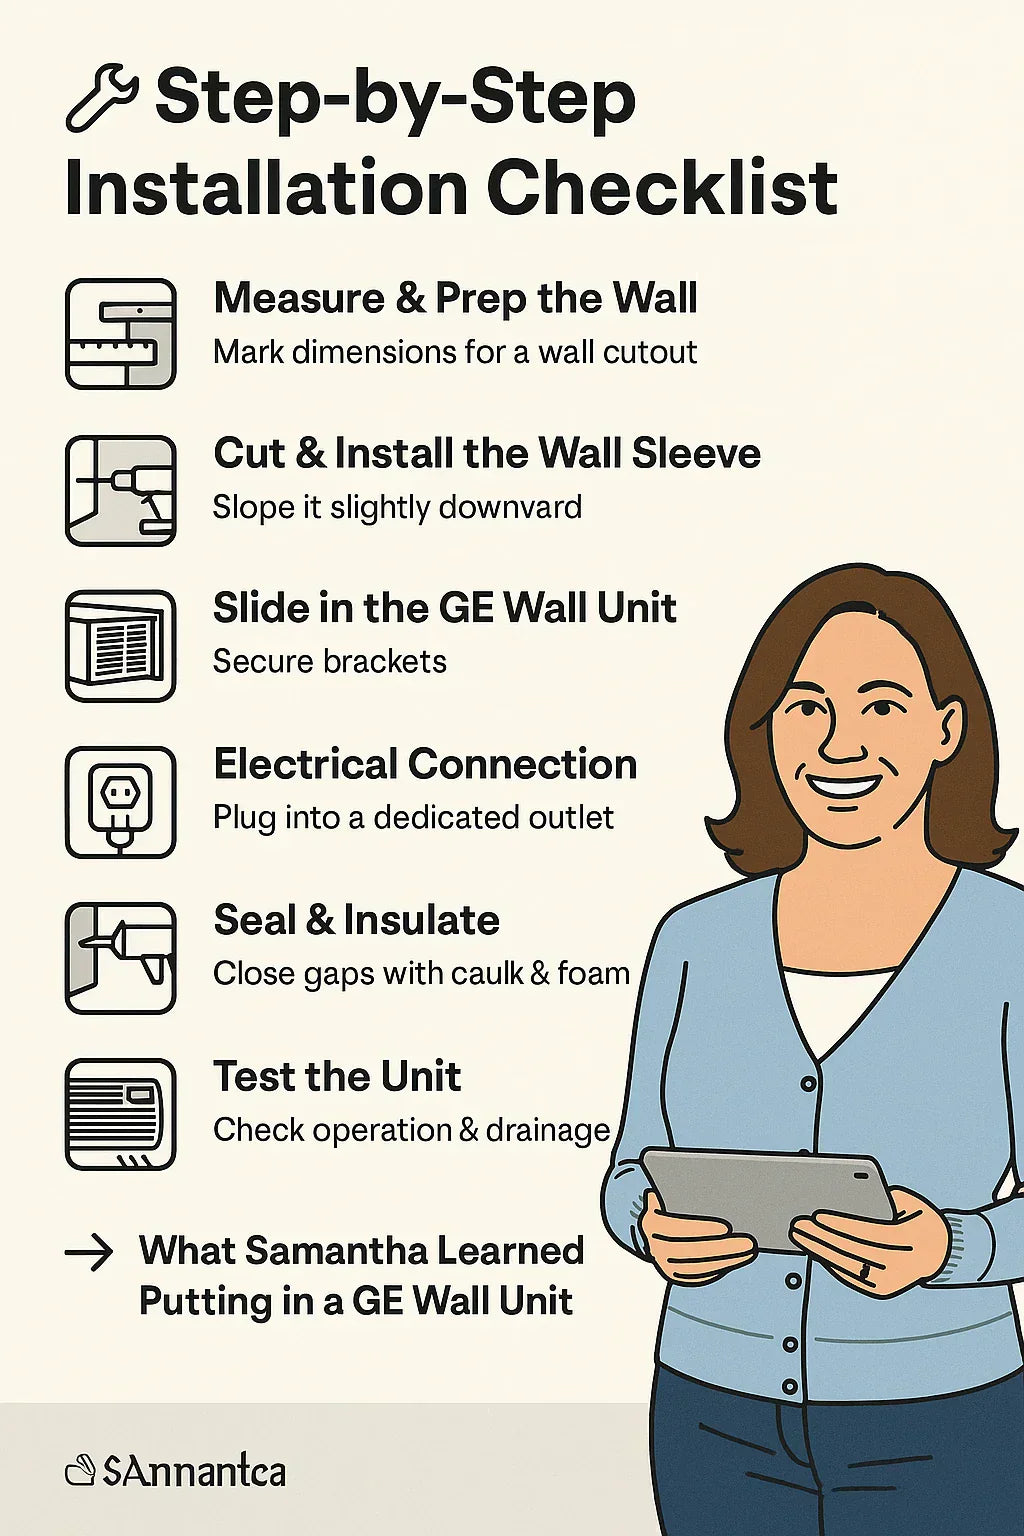
📏 Step 1: Measure & Prep the Wall
This step determines whether the whole project goes smoothly.
-
Locate the wall space
-
Choose an exterior-facing wall.
-
Avoid load-bearing studs if possible.
-
-
Measure sleeve dimensions
-
Most GE wall units fit a 42-inch-wide sleeve.
-
Double-check your model’s spec sheet.
-
-
Mark the cutout
-
Use painter’s tape to outline where you’ll cut.
-
Confirm clearances inside and outside the wall.
-
👉 GE provides downloadable installation manuals for each model. Always match your unit’s exact cutout requirements.
🔨 Step 2: Cut & Install the Wall Sleeve
This is the most hands-on part.
-
Cut the wall opening
-
For wood siding: use a circular saw.
-
For brick/masonry: a masonry drill and chisel may be required.
-
-
Slide the wall sleeve in place
-
Ensure the sleeve slopes slightly downward (about ¼ inch) toward the outside for drainage.
-
Use a level to double-check alignment.
-
-
Secure the sleeve
-
Fasten to wall studs with screws.
-
Seal around edges with weatherproof caulk.
-
💡 Mistake I made: I didn’t slope the sleeve enough at first. Result? Water pooling inside during rainstorms. Don’t skip this step.
⚡ Step 3: Electrical Connection
GE wall units are usually 208/230V systems.
-
If replacing an old unit:
-
Check if the existing outlet matches the new one’s requirements.
-
-
If installing fresh:
-
You may need an electrician to run a dedicated line ($200–$500).
-
👉 Electrical codes vary by state—see NFPA electrical safety standards or consult a licensed pro.
🧩 Step 4: Slide in the GE Wall Unit
This is the easiest (and most satisfying) part.
-
With a helper, lift and slide the unit into the sleeve.
-
Secure it with provided brackets or screws.
-
Attach the exterior grille.
-
Plug into the dedicated outlet.
💡 Pro Tip: These units are heavy—anywhere from 80–120 lbs. Don’t risk injury; get help.
🧵 Step 5: Seal & Insulate
The final touches make a huge difference in comfort.
-
Apply foam insulation strips around gaps.
-
Use weatherproof sealant on the exterior edges.
-
Double-check for air leaks by running the unit and feeling around the frame.
👉 Proper sealing improves efficiency by up to 20%, according to EnergyStar .
🔎 Step 6: First Run & Testing
Once installed:
-
Set the unit to cooling mode.
-
Check airflow direction and strength.
-
Test heating mode (if available).
-
Listen for unusual noises (grinding or rattling).
-
Ensure condensation drains outward properly.
If all works smoothly—you’re done!
🤔 DIY vs. Professional Installation
Should you install it yourself or hire out?
✅ DIY If…
-
You’re comfortable with cutting into walls.
-
The electrical outlet already exists.
-
You want to save $500–$1,500 in labor costs.
🚫 Hire a Pro If…
-
You need new electrical wiring.
-
The wall requires major structural modifications.
-
You live in a condo or rental with HOA restrictions.
👉 The DOE recommends professional installation if energy efficiency is a priority .
⚠️ Common Mistakes I Made (So You Don’t)
-
Not sloping the sleeve enough → caused water buildup.
-
Underestimating the weight → nearly dropped the unit!
-
Skipping extra insulation → resulted in minor air leaks.
Lesson: take your time, and don’t cut corners.
🛠️ Maintenance After Installation
Installing is step one—keeping it running is step two.
-
Clean filters monthly (replace if worn).
-
Inspect drainage holes every season.
-
Vacuum coils once a year.
-
Check seals before heating/cooling season.
👉 See the DOE’s AC maintenance guide for more seasonal tips .
📊 Cost Snapshot
| Category | DIY Cost | Pro Install |
|---|---|---|
| Wall Sleeve | $150–$250 | $150–$250 |
| Exterior Grille | $60–$100 | $60–$100 |
| Tools & Sealant | $100–$300 | Included |
| Labor | — | $500–$1,500 |
| Electrical Work | Optional $200–$500 | Included/extra |
| Total | $350–$650 | $1,000–$2,400 |
📝 Samantha’s Final Thoughts
Installing a GE wall unit isn’t a walk in the park—but it’s absolutely doable if you’re handy, patient, and prepared.
-
For me, the effort was worth it. I saved nearly $1,000 in labor, learned new skills, and now every time I turn on that cool air, I feel a little burst of pride.
-
But if you’re not comfortable with electrical work or wall modifications, don’t hesitate to call a pro. The upfront cost may sting, but the peace of mind and efficiency are priceless.
At the end of the day, the real win is having a cool, quiet, efficient GE system in your wall—ready to keep you comfortable all year long.
In the next topic we will know more about: Maintenance Checklist: Filters, Drains & Seasonal Care for Your Amana/GE/Hotpoint Unit


