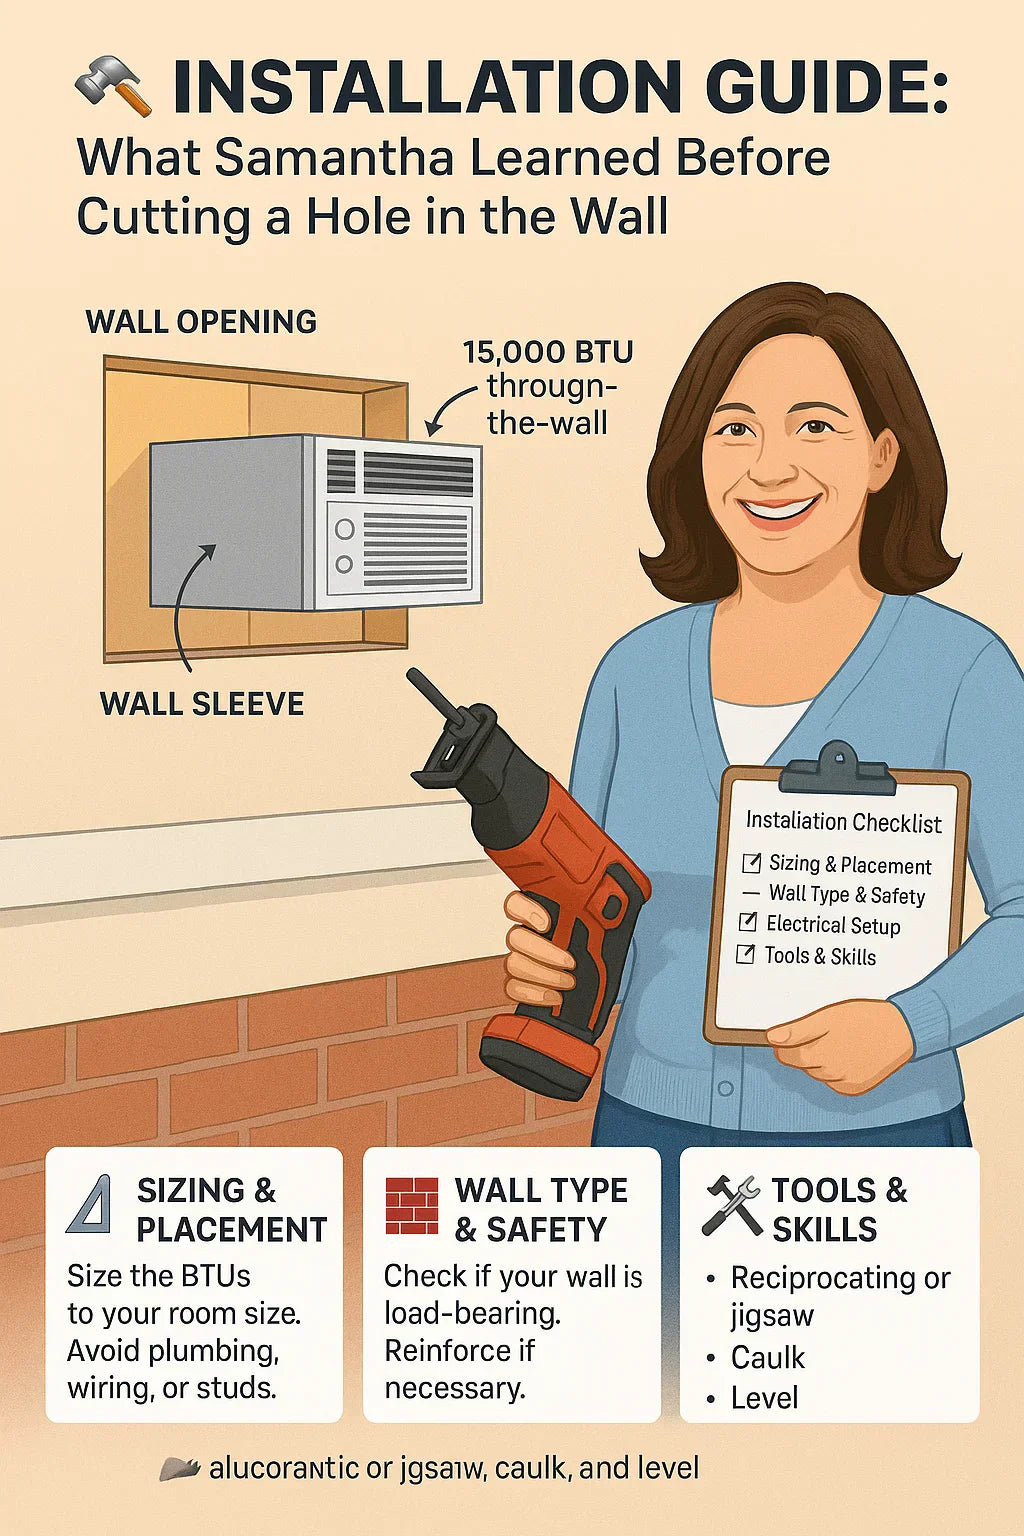
Hi there! I’m Samantha. When I first decided to install a 15,000 BTU through‑the‑wall AC unit, I thought it would be as easy as popping it in a window. But once I started researching, I quickly realized there’s a lot more to it — from sizing and placement to electrical work and wall safety.
Cutting a hole in your home is a big decision. So before you start, let me walk you through what I learned the hard way (and what I wish I’d known sooner).
📐 Step 1: Sizing & Placement Comes First
Why BTU Sizing Matters
A 15,000 BTU unit is designed for larger rooms — typically 700–850 square feet. But oversizing can cause short cycling (turning on/off too often), while undersizing leaves you sweating.
🔹 General guideline from Energy.gov:
-
150–250 sq ft → 6,000 BTUs
-
250–350 sq ft → 8,000 BTUs
-
350–550 sq ft → 12,000 BTUs
-
550–850 sq ft → 15,000 BTUs
Where to Place the Unit
-
Choose a central exterior wall for even airflow.
-
Avoid walls shaded by trees if possible — ACs need ventilation.
-
Stay away from areas with plumbing, wiring, or gas lines.
💡 Samantha’s tip: I used a stud finder to check my wall and even peeked at old floor plans before deciding.
🧱 Step 2: Checking Wall Type & Safety
Not every wall is suitable for cutting.
Load‑Bearing Walls
-
Cutting into these walls can compromise your home’s structure.
-
May require headers, reinforcements, or professional framing work.
Non‑Load‑Bearing Walls
-
Best choice for AC installation.
-
Still need a sleeve for support, but safer to modify.
How I Checked Mine
I tapped along the wall, checked my attic for support beams, and confirmed with a local contractor that my chosen wall was non‑load‑bearing.
🔗 Resource: Family Handyman’s guide is excellent for identifying load‑bearing walls.
⚡ Step 3: Understanding Electrical Requirements
Here’s the part I underestimated!
Voltage Needs
-
Many 15,000 BTU units require 230V outlets.
-
Standard U.S. outlets are 115V — so I had to call an electrician.
Dedicated Circuit
-
High‑capacity ACs often need a dedicated 20‑amp circuit.
-
Prevents tripping breakers when running with other appliances.
My Lesson Learned
I budgeted for the unit but forgot about the $350 electrician bill to install the outlet. Plan for this upfront!
🔗 Reference: Energy Star room AC guidance highlights checking voltage before purchase.
📦 Step 4: Choosing the Right Wall Sleeve
Why It’s Crucial
-
Provides structural support for the AC.
-
Prevents air leaks, moisture intrusion, and noise.
-
Required for warranty on most models.
Types of Sleeves
-
Manufacturer‑specific sleeves: Designed for a particular brand/model.
-
Universal sleeves: Fit multiple brands but may require trim adjustments.
💡 Samantha’s advice: Don’t try to reuse an old sleeve unless the manufacturer confirms compatibility. My dealer insisted on the matching sleeve, and I’m glad I listened — no drafts at all!
🔗 The Furnace Outlet’s wall sleeve guide explains how to pick the right size.
🛠️ Step 5: Tools & Skills You’ll Need
Before you cut, make sure you have the right gear:
-
Reciprocating saw or jigsaw (for siding & drywall)
-
Level & measuring tape (for a square cut)
-
Stud finder (to avoid hitting studs, wires, or pipes)
-
Caulk & insulation foam (to seal gaps)
-
Drill, screws, and anchors (to mount the sleeve)
-
Safety gear: gloves, goggles, dust mask
💡 Samantha’s note: I’m handy, but I still had a carpenter help with the actual cutting. The sleeve and sealing were DIY-friendly.
🧰 Step 6: Step‑by‑Step Prep Work
Here’s how I approached it:
-
Measure the unit & sleeve dimensions carefully.
-
Mark the opening on both interior and exterior walls.
-
Cut inside drywall first, checking for wires/pipes.
-
Cut exterior siding using a reciprocating saw.
-
Install the wall sleeve, ensuring it’s level and sloped slightly downward for drainage.
-
Slide in the AC unit, securing it with provided brackets.
-
Seal gaps with caulk and insulation foam.
🔗 This Old House provides a professional step‑by‑step example.
🌦️ Step 7: Weatherproofing & Finishing Touches
The last step is protecting your investment.
-
Apply outdoor caulk around the sleeve edges.
-
Use flashing above the unit to direct rain away.
-
Check that the drain pan slopes outward to avoid interior leaks.
-
Add interior trim for a clean look.
💡 Samantha’s lesson: Skipping flashing can lead to leaks. My contractor insisted, and it’s been dry ever since.
🛡️ Step 8: When to Call a Professional
While much of this can be DIY, here’s when you should pick up the phone:
-
Cutting into brick, stucco, or stone exteriors.
-
If your wall is load‑bearing.
-
For 230V outlet installation.
-
Anytime you’re unsure about wiring or insulation safety.
✅ Samantha’s Final Takeaway
Cutting a hole in your wall isn’t just a weekend project. It requires planning, precision, and the right tools. But if you:
-
Size your unit correctly
-
Choose a safe wall
-
Invest in a quality wall sleeve
-
Ensure proper electrical supply
-
Weatherproof the installation
…then you’ll have a cool, comfortable, and efficient home for years to come.
💡 Samantha’s rule: “If in doubt, hire it out. Peace of mind is worth every penny.”
In the next topic we will know more about: Do 15,000 BTU Through-the-Wall ACs Work for Year-Round Comfort? Heating Options Explained


