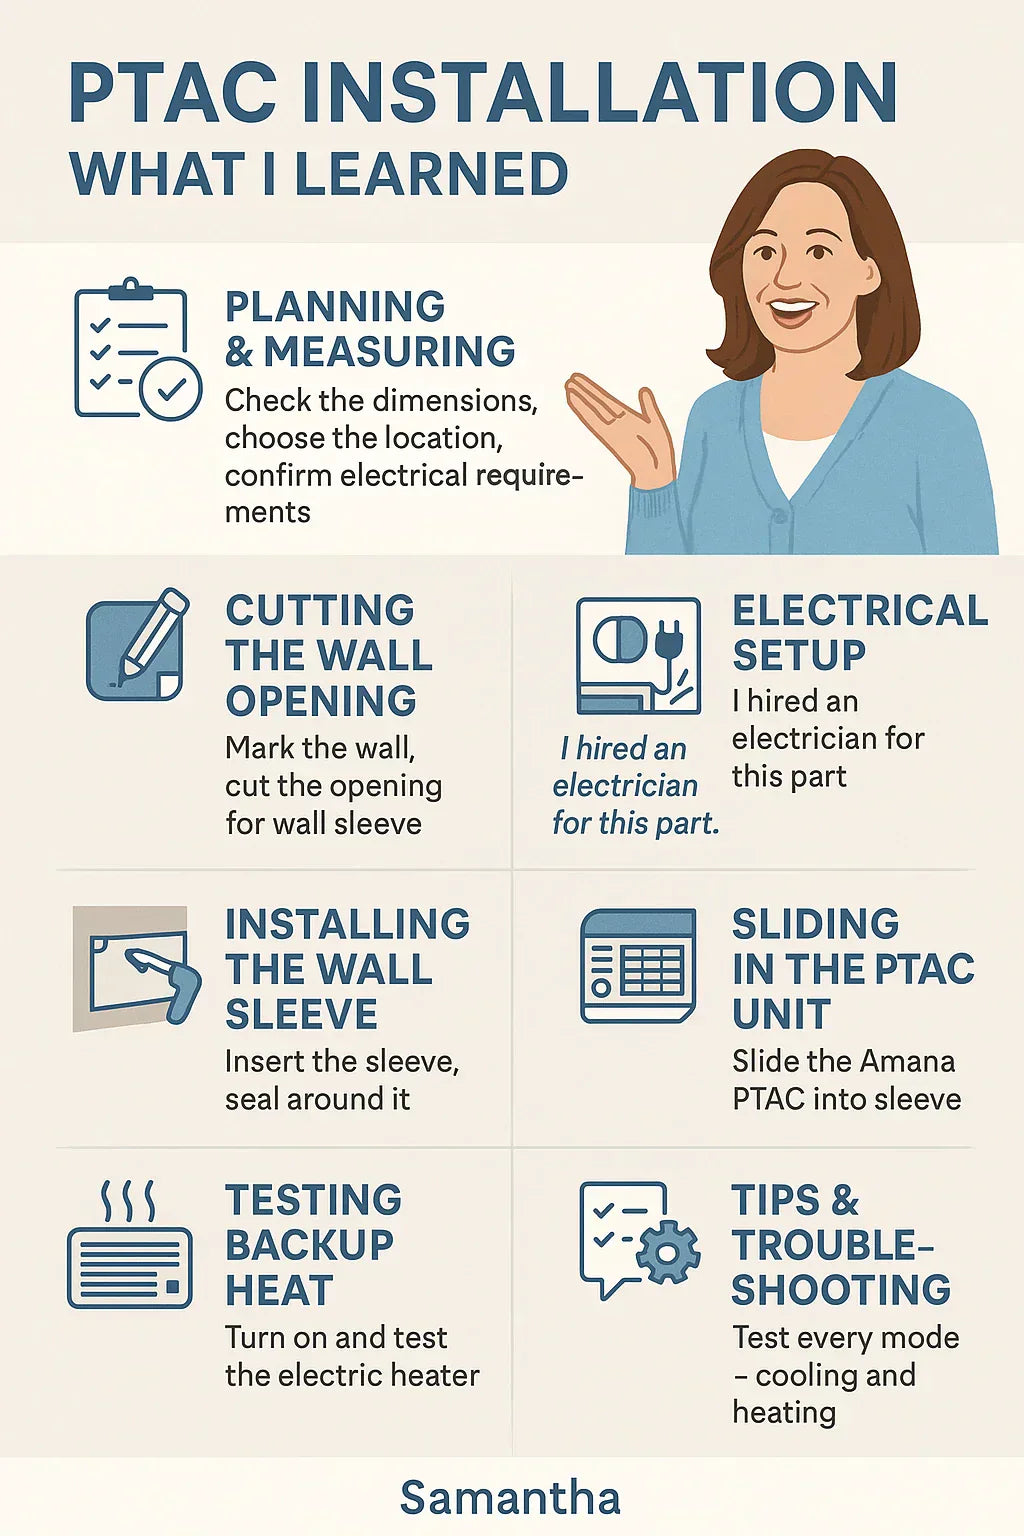
When I first decided to install a PTAC unit with both heat pump and electric backup, I thought: “How hard can this be? It’s just like a big window AC, right?”
Well, yes and no. A PTAC (Packaged Terminal Air Conditioner) is designed to fit neatly into a wall sleeve, but when you add backup heat into the mix, things get more technical—especially with electrical wiring.
Amana Distinctions 9,000 BTU PTAC Heat Pump with 2.5 kW Electric Heat Backup
This guide shares everything I learned while helping install the Amana Distinctions 9,000 BTU PTAC Heat Pump with 2.5 kW Electric Heat Backup in my cousin’s Airbnb studio. Whether you’re thinking of DIYing the project or hiring a pro, you’ll know exactly what to expect.
📋 Step 1: Planning & Measuring
Before cutting anything, planning is essential.
-
Check the room size. A 9,000 BTU PTAC works best for 300–400 sq. ft. rooms.
-
Choose the wall location. You want an exterior-facing wall with no obstructions.
-
Confirm electrical requirements. The Amana 9,000 BTU with 2.5 kW backup heat requires a dedicated 208/230V circuit.
👉 Samantha’s tip: “Always read the unit’s spec sheet before buying. The wrong power supply is the #1 mistake people make with PTACs.”
🔗 Reference: Energy.gov – Room Air Conditioners Guide.
🧰 Step 2: Tools & Materials Checklist
Here’s what we needed on installation day:
-
Wall sleeve (Amana-compatible)
-
Exterior grille (for airflow protection)
-
Tape measure, level, pencil
-
Reciprocating saw (for cutting wall opening)
-
Drill with masonry bit
-
Sealant, flashing tape, insulation strips
-
Mounting hardware
-
Dedicated electrical wiring kit (breaker, wiring, receptacle)
-
Safety gear (gloves, goggles, dust mask)
👉 Pro tip: Some suppliers sell PTAC installation kits with sleeve + grille. It’s often cheaper than buying separately.
🧱 Step 3: Cutting the Wall Opening
This was the part I was most nervous about. Cutting a hole in your home isn’t for the faint of heart.
Steps we followed:
-
Measure the wall sleeve dimensions (usually ~42” wide x 16” high).
-
Mark the outline on the drywall and exterior siding.
-
Check for studs, wires, or plumbing. Use a stud finder.
-
Cut through drywall and sheathing. A reciprocating saw worked best.
👉 My lesson: I thought I could handle the cutout myself, but when we hit exterior siding, I realized my tools weren’t enough. I ended up calling a contractor friend with a heavier-duty saw. It cost me $150, but saved hours of frustration.
🔗 Safety guide: OSHA – Hand and Power Tools.
📦 Step 4: Installing the Wall Sleeve
The wall sleeve is the “frame” that holds your PTAC in place. Without it, the unit won’t sit correctly.
-
Slide the sleeve into the opening.
-
Use a level to ensure it’s perfectly horizontal (important for drainage).
-
Seal around the sleeve with insulation strips and exterior-grade caulk.
-
Attach the exterior grille to protect the condenser coil.
👉 Samantha’s tip: “Don’t rush sealing. Any gaps mean air leaks, bugs, or water intrusion.”
🔗 Manufacturer’s installation PDF: Amana PTAC Installation Guide (Daikin Applied).
⚡ Step 5: Electrical Setup
Here’s where things get serious. Unlike a window AC that plugs into a standard outlet, a PTAC with electric backup heat requires a dedicated 208/230V circuit.
-
We had an electrician install a 20-amp double-pole breaker.
-
Ran wiring directly from the panel to a new PTAC receptacle.
-
Installed the proper Amana power cord kit (rated for the 2.5 kW backup heater).
👉 Samantha’s tip: “This is not a DIY step unless you’re a licensed electrician. Pay for professional wiring—your safety depends on it.”
🔗 NEC standards: National Electrical Code (NFPA 70).
🌀 Step 6: Sliding in the PTAC Unit
With the sleeve and wiring ready, we unboxed the Amana PTAC:
-
Carefully lifted the unit (they weigh 100–120 lbs—use two people).
-
Slid it into the sleeve until it clicked into place.
-
Secured with mounting brackets to prevent shifting.
-
Connected the power cord to the dedicated outlet.
🔄 Step 7: Testing Modes
We powered it up and tested each function:
-
Cooling mode: strong airflow, cold air within minutes.
-
Heat pump mode: efficient warm air at 50°F outdoor temp.
-
Backup heat: simulated cold conditions—instant warm air from the 2.5 kW strip heater.
👉 Samantha’s note: “Don’t skip testing the backup heat. You don’t want to discover wiring issues during a snowstorm.”
🛠️ Troubleshooting Common Issues
Here are problems you might run into:
-
Unit rattles → sleeve isn’t level.
-
Water leaks inside → sleeve isn’t tilted slightly outward for drainage.
-
No backup heat → wrong cord kit or breaker size.
-
Drafts → sleeve wasn’t sealed properly.
🔗 Troubleshooting help: Amana PTAC Support.
⚖️ DIY vs. Hiring a Pro
Here’s what I did myself vs. what I hired out:
✅ DIY Tasks
-
Measuring and planning.
-
Prepping tools and sealing sleeve.
-
Sliding in unit and testing modes.
🚫 Hired Out
-
Cutting the wall opening.
-
Electrical wiring.
💰 Cost breakdown (NC studio install):
-
Amana PTAC 9,000 BTU: $950
-
Wall sleeve + grille: $150
-
Contractor wall cutout: $150
-
Electrician (circuit + outlet): $400
-
Total: ~$1,650
Worth it? Absolutely.
🧹 Seasonal Maintenance After Installation
Once installed, upkeep is simple:
-
Clean filters monthly.
-
Vacuum coils every spring/fall.
-
Check sealant annually for cracks or leaks.
-
Test backup heat before each winter.
🔗 Reference: ASHRAE HVAC Maintenance Standards.
✅ Key Takeaways from Samantha’s PTAC Install
-
Plan before you cut—measure carefully.
-
Hire an electrician for backup heat wiring.
-
Seal the sleeve well to prevent leaks and drafts.
-
Test every mode before calling it done.
-
Installing a PTAC with backup heat is doable—but you don’t have to do it all yourself.
In the next topic we will know more about: Best Accessories for Your Amana PTAC: Thermostats, Wall Sleeves and Smart Controls


