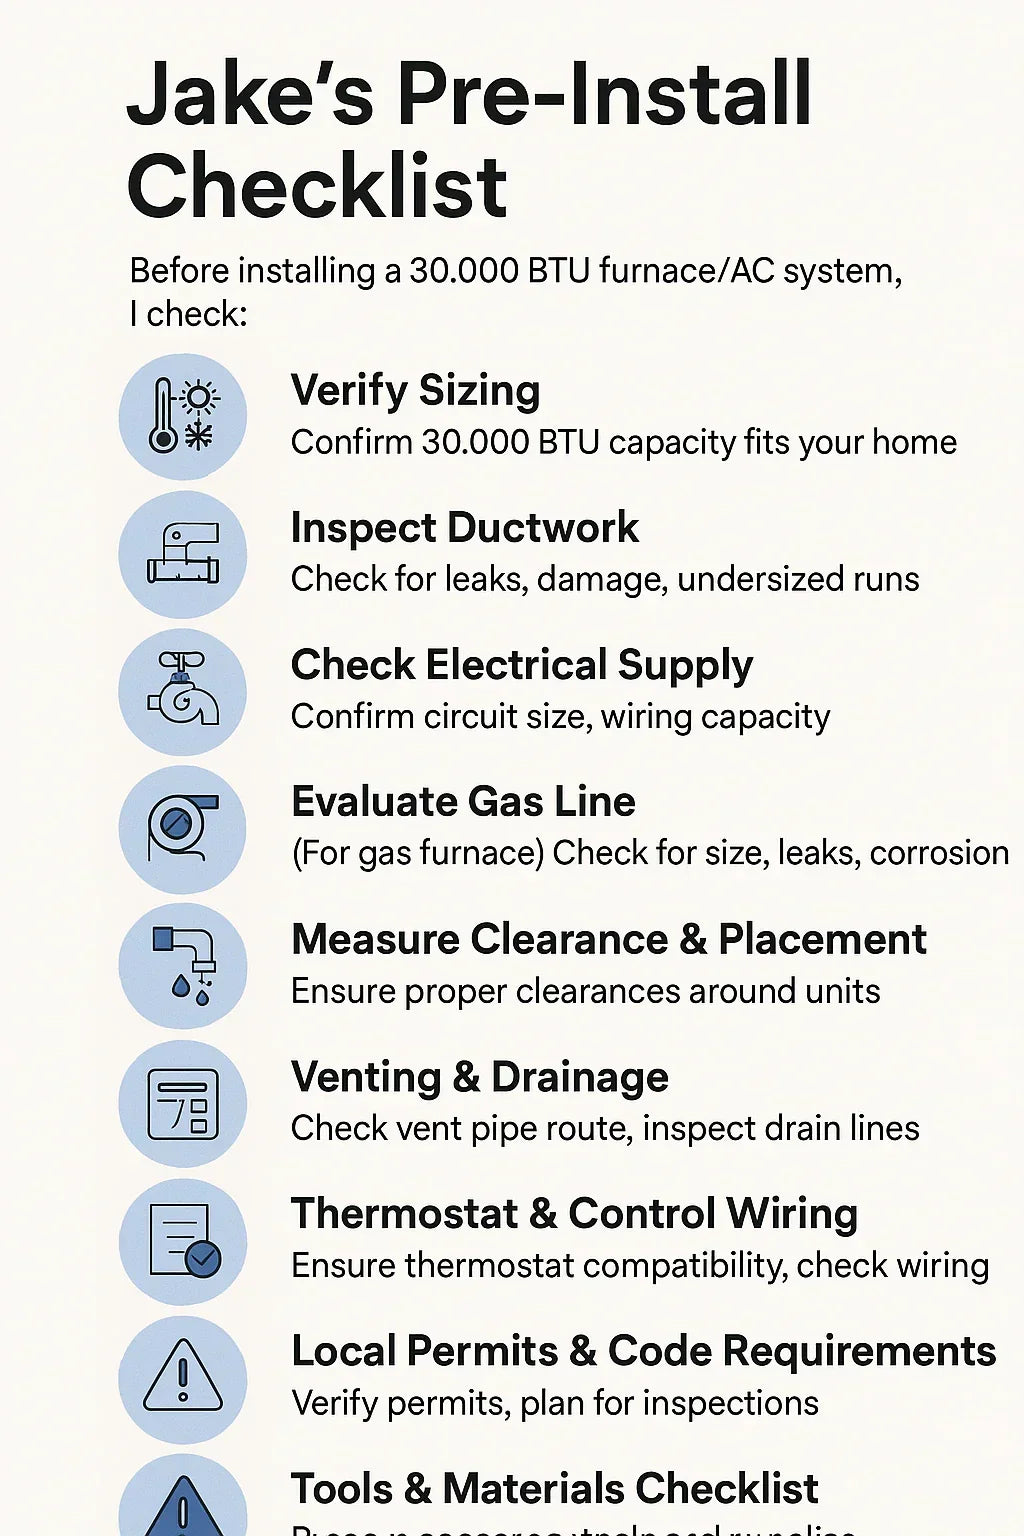
Installing a 30,000 BTU furnace and air conditioner combo is more than just putting the equipment in place and hooking up a few wires. The truth is, the quality of your installation starts long before you touch a single tool.
I’m Jake, and I’ve been on both sides of the install—DIY homeowner and helper for friends and neighbors. I’ve seen jobs go perfectly because of good prep, and I’ve also seen “oops” moments that cost hundreds to fix.
If you want your 30k BTU system to run efficiently, last longer, and keep you comfortable, here’s the checklist I run through every single time before I start an install.
1. Why Pre-Install Checks Matter
Skipping pre-installation checks is like building a house without looking at the foundation. Sure, you might get the walls up, but something will fail sooner than you think.
A few hours of prep can prevent:
-
Airflow problems that kill efficiency.
-
Safety hazards with gas or electrical lines.
-
Failed inspections.
-
Expensive rework.
2. Step 1 – Verify Sizing
Before anything else, make sure 30,000 BTUs is the right capacity for your home.
How I check:
-
Measure total heated/cooled square footage.
-
Factor in climate zone and insulation.
-
Consider ceiling height (tall ceilings = more volume to heat/cool).
-
Run a Manual J load calculation if possible.
Example: A 1,000 sq. ft. well-insulated ranch in North Carolina might be perfect for 30k BTUs. The same size home in Minnesota with poor insulation? It might need 36k BTUs.
3. Step 2 – Inspect Ductwork
Your system’s efficiency depends on the ducts delivering air properly.
What I look for:
-
Leaks: Seal with foil tape or mastic.
-
Damage: Dents, holes, collapsed sections.
-
Sizing: Match to system airflow requirements—undersized ducts will choke the system.
-
Insulation: Especially important in unconditioned spaces.
Jake’s Tip: Even a high-SEER2 unit won’t save you money if 20% of the air is leaking into your attic.
4. Step 3 – Check Electrical Supply
Both furnace and AC need proper power.
My checklist:
-
Confirm breaker size matches manufacturer specs.
-
Check wire gauge for load capacity.
-
Verify there’s a dedicated circuit.
-
Inspect disconnect switch near outdoor unit.
Common mistake: Installing a system without realizing the panel is maxed out—then having to pay for an electrical upgrade mid-project.
5. Step 4 – Evaluate Gas Line (Gas Furnace Only)
If you’re pairing your AC with a gas furnace:
-
Check the gas line size (BTU demand vs. line capacity).
-
Inspect for leaks or corrosion.
-
Make sure there’s an accessible shutoff valve.
-
Verify compliance with local building codes for material and routing.
6. Step 5 – Measure Clearance & Placement
Your equipment needs room to breathe—and room for you to work on it later.
Indoor Unit:
-
Follow manufacturer clearance specs on all sides.
-
Avoid cramming into tight closets without ventilation.
Outdoor Unit:
-
Keep at least 12–24 inches from walls/obstacles.
-
Maintain clear airflow above the unit (no overhanging decks or shrubs).
Jake’s Tip: Leave space for coil cleaning and service access—you’ll thank yourself later.
7. Step 6 – Venting & Drainage
For gas furnaces:
-
Check vent pipe type, slope, and termination point.
-
Ensure condensate lines from high-efficiency furnaces are properly routed.
For AC systems:
-
Inspect condensate drain lines for clogs.
-
Install a trap and slope the line away from the unit.
-
Consider a float switch for overflow protection.
8. Step 7 – Thermostat & Control Wiring
Your thermostat is the brain of the operation—make sure it speaks the right language.
Check:
-
Compatibility with staging (single-stage, two-stage, variable-speed).
-
Wire condition—replace frayed or brittle wires.
-
Number of conductors—high-end systems often need extra wires.
9. Step 8 – Local Permits & Code Requirements
Skipping permits can:
-
Void your manufacturer warranty.
-
Delay home sales.
-
Result in fines.
What I do:
-
Contact local building department.
-
Pull necessary permits for mechanical, gas, and electrical work.
-
Schedule inspection dates in advance.
10. Step 9 – Tools & Materials Checklist
I keep this list handy before I start:
-
Drill and bits
-
Wrenches and socket set
-
Level
-
Multimeter
-
Foil tape and mastic
-
PVC and fittings (for drains/vents)
-
Electrical connectors
-
Sealant
-
Safety gear: gloves, goggles, respirator
11. Step 10 – Safety Precautions
Lockout/tagout: Shut off power and gas before touching anything.
Proper lifting: These units are heavy—use a dolly or a second person.
Protective equipment: Gloves for sharp metal, goggles for debris, respirator for dusty attics.
12. Final Pre-Install Review
Before unboxing, I run through my Yes/No list:
-
Correct system size verified? ✅
-
Ductwork inspected and sealed? ✅
-
Electrical capacity checked? ✅
-
Gas line inspected (if applicable)? ✅
-
Clearances measured? ✅
-
Venting/drainage planned? ✅
-
Thermostat compatibility confirmed? ✅
-
Permits pulled? ✅
-
Tools ready? ✅
-
Safety gear on hand? ✅
If every box is checked, I know I’m ready to start.
Conclusion
A smooth installation starts with careful preparation. When you follow a checklist like this, you’re not just making the job easier—you’re setting your new system up for years of efficient, reliable performance.
In the next article we will know more about: How Much Does a 30,000 BTU Furnace & AC System Cost in 2025?


