When Tony finally decided on the GE 14,000 BTU Through-the-Wall Air Conditioner with Electric Heat (Model AJEQ14DWJ), he thought the hardest part was over. The unit offered exactly what he needed — powerful cooling for his 650 sq. ft. living room and supplemental heat for the shoulder seasons.
But a new challenge popped up: installation.
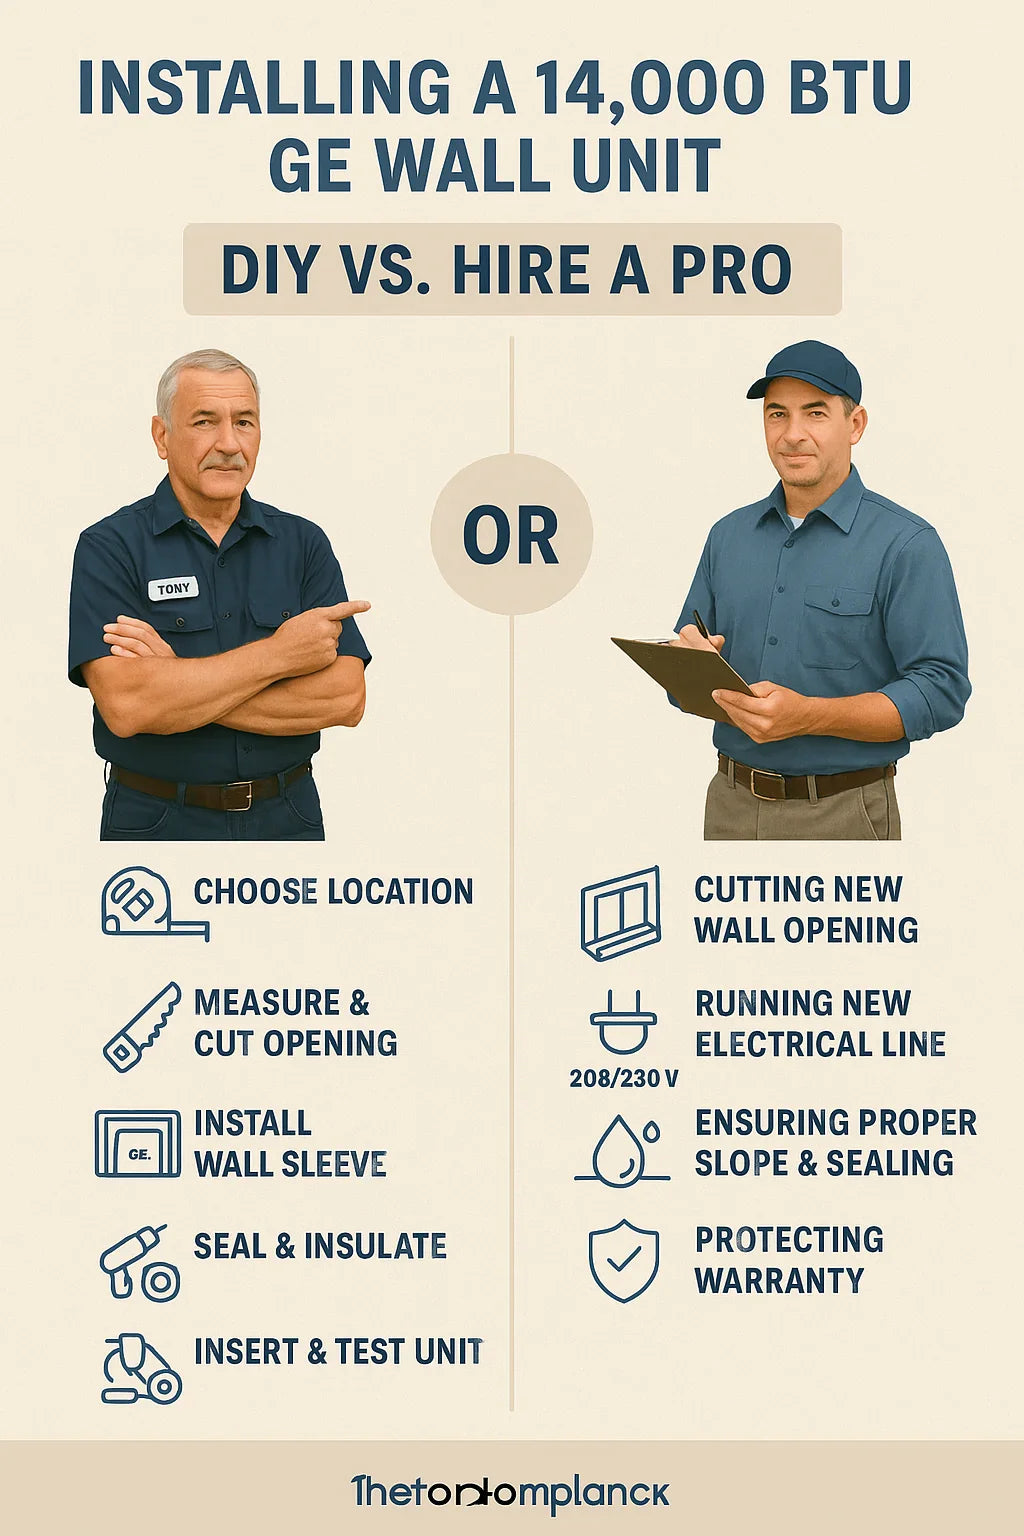
Should he roll up his sleeves and do it himself, or call in a professional installer? Like many homeowners, Tony wanted to save money but also didn’t want to risk voiding the warranty or botching the job.
This guide will walk you through both options — so you can decide if installing a 14,000 BTU GE through-the-wall AC is a project you can tackle or one you should leave to the pros.
📦 What Makes a Through-the-Wall AC Different to Install?
Unlike a window unit, which simply slides into place, or a portable AC, which vents through a window, a through-the-wall AC requires a permanent opening in your home’s exterior wall.
This means:
-
Cutting a precise hole.
-
Installing a wall sleeve (a protective casing for the unit).
-
Ensuring the unit slopes properly for drainage.
-
Verifying the correct 208/230V electrical connection.
👉 That’s why the debate between DIY vs. professional installation is such an important one.
🔗 Reference: GE Appliances – Through-the-Wall AC Installation Guide
🔧 Tools & Materials You’ll Need for DIY
Tony made a checklist before even considering DIY. Here’s what he (and you) would need:
-
Measuring tape & level – For precise alignment.
-
Stud finder – To avoid cutting into studs or wiring.
-
Reciprocating saw or circular saw – To cut through drywall and exterior siding.
-
GE wall sleeve – Required for this unit (sold separately).
-
Drill, screwdriver set, anchors & screws – For fastening the sleeve.
-
Insulation & weatherproof caulk – To prevent air leaks and moisture.
-
Protective gear – Safety glasses, gloves, dust mask.
-
Electrical tester – To confirm the outlet is 208/230V.
⚠️ Without these, DIY installation is a non-starter.
📐 Step-by-Step DIY Installation Guide
Here’s a simplified version of how Tony would have approached it if he decided to go DIY.
1. Choose the Location
-
Pick an exterior wall with no plumbing, wiring, or studs in the way.
-
Allow at least 6 inches clearance inside and 12–24 inches outside.
-
Avoid direct sunlight (south/west exposure) for efficiency.
🔗 Reference: Energy Star – Room AC Installation Tips
2. Measure and Cut the Opening
-
Use the wall sleeve dimensions from GE’s manual.
-
Cut drywall first, then insulation, and finally siding or brick.
-
Slope the bottom of the cut ¼ inch downward outside for proper drainage.
3. Install the Wall Sleeve
-
Slide the sleeve into the cut opening.
-
Level carefully — if it tilts wrong, the unit won’t drain properly.
-
Secure with screws, anchors, and seal edges with caulk.
4. Insert the AC Unit
-
With help (these units are heavy), slide the AC into the sleeve.
-
Lock it in place per GE’s instructions.
5. Seal & Insulate
-
Caulk around the sleeve edges.
-
Add foam insulation to block drafts.
-
Ensure no gaps remain where pests or moisture could enter.
6. Electrical Hookup
-
Plug into a dedicated 208/230V outlet.
-
Do not use extension cords.
-
Use an electrician if a new outlet or breaker is needed.
🔗 Reference: National Electric Code (NEC) Guidelines
7. Test Run
-
Run both cooling and heating modes.
-
Check for proper airflow, drainage, and no rattling or vibration.
If everything checks out — you’re good to go.
💰 Cost Comparison: DIY vs. Pro Installation
Tony also compared costs before deciding:
| Option | Upfront Costs | Pros | Cons |
|---|---|---|---|
| DIY | $200–$400 (tools, sleeve, caulk, insulation) | Saves money, rewarding project | Risk of mistakes, warranty issues, safety hazards |
| Professional Install | $500–$1,200 (labor + materials) | Expertise, warranty protection, no stress | Higher upfront cost |
✅ When DIY Makes Sense
DIY may be right for you if:
-
You already have an existing wall sleeve.
-
You’re handy with tools and comfortable cutting walls.
-
The electrical connection is already in place.
In this case, the project is more about sliding in and sealing the unit, not cutting new openings or rewiring.
🚫 When You Should Hire a Pro
Tony realized DIY wasn’t for him when he considered:
-
His condo had brick exterior walls — tough for DIY cutting.
-
He didn’t have a 208/230V outlet ready.
-
He wanted to make sure his GE warranty wasn’t voided.
Hiring a pro is the safer move if you:
-
Don’t have experience cutting walls.
-
Need to run new electrical lines.
-
Want to ensure proper slope and drainage.
-
Value warranty coverage and peace of mind.
🔗 Reference: Why Hire a Professional HVAC Installer
🧑🔧 Tony’s Final Decision
Tony weighed his options carefully.
-
DIY pros: Save $600+, satisfying to finish himself.
-
DIY cons: No experience cutting brick, risk of water damage if improperly sealed.
-
Pro pros: Warranty protection, correct electrical setup, done in a day.
-
Pro cons: Higher cost.
👉 In the end, Tony chose a professional installation.
He figured the extra cost was worth avoiding mistakes that could cost thousands in water damage or electrical issues down the road.
💡 Pro Tips if You DIY
Even if you go the DIY route, take Tony’s advice:
-
Watch GE’s installation videos before starting.
-
Have a friend help — the unit is too heavy to lift alone safely.
-
Double-check sleeve slope for drainage.
-
Don’t skimp on weatherproofing and insulation.
🔗 Reference: This Old House – How to Install an AC
✅ Conclusion: DIY or Pro — Which Should You Choose?
The answer depends on your skills, tools, and comfort level:
-
DIY makes sense if you already have a sleeve, the right electrical outlet, and are confident with wall modifications.
-
Professional installation is best if you’re cutting a new wall, dealing with electrical work, or want warranty protection.
For Tony, hiring a pro ensured his GE 14,000 BTU through-the-wall AC with heat was installed safely and correctly. For him, that peace of mind was worth every dollar.
In the next topic we will know more about: Noise Levels Explained: How Quiet Is the GE AJEQ14DWJ?


