🌟 Introduction: Why Knowing the Process Matters
Replacing an old HVAC system isn’t just a matter of swapping boxes — it’s a multi-step process that involves proper planning, safe removal, precise installation, and thorough testing.
A 3.5 ton AC with furnace combo is a big investment, and knowing exactly what to expect can save you from:
-
Surprise costs
-
Subpar performance
-
Voided warranties
-
Safety hazards
I’ve broken down the full journey from contractor selection to final inspection so you can be an informed homeowner from day one.
📋 Pre-Installation Preparation
1. Choosing the Right Contractor
-
Verify state licensing and insurance.
-
Look for NATE-certified technicians.
-
Get at least three written estimates for the same scope of work.
2. Manual J Load Calculation
Even though you’re targeting a 3.5 ton system, a good installer will run a Manual J load calculation to confirm it’s the right size.
Factors include:
-
Square footage
-
Insulation levels
-
Window types and orientation
-
Occupancy
-
Local climate
3. Selecting Furnace Type
-
Gas furnace for cold climates and lower heating bills where natural gas is available.
-
Electric furnace for all-electric homes or mild climates.
4. Permits & Scheduling
-
Most jurisdictions require a mechanical permit and sometimes an electrical or gas permit.
-
Coordinate with the contractor to schedule installation when you can be home.
🛠 Removal of Old Equipment
1. Refrigerant Recovery
-
Federal law requires EPA-certified recovery of refrigerant from your old AC system.
-
Your contractor must have Section 608 certification.
📎 Reference: EPA Refrigerant Regulations
2. Dismantling the Furnace
-
Disconnect gas or electric supply.
-
Remove flue pipe (gas models).
-
Disconnect from plenum and return duct.
3. Ductwork Assessment
-
Contractor should inspect for leaks, insulation gaps, and sizing issues.
-
Some ducts may need resizing to handle the airflow of the new system.
⚙ Installation Day – Step-by-Step
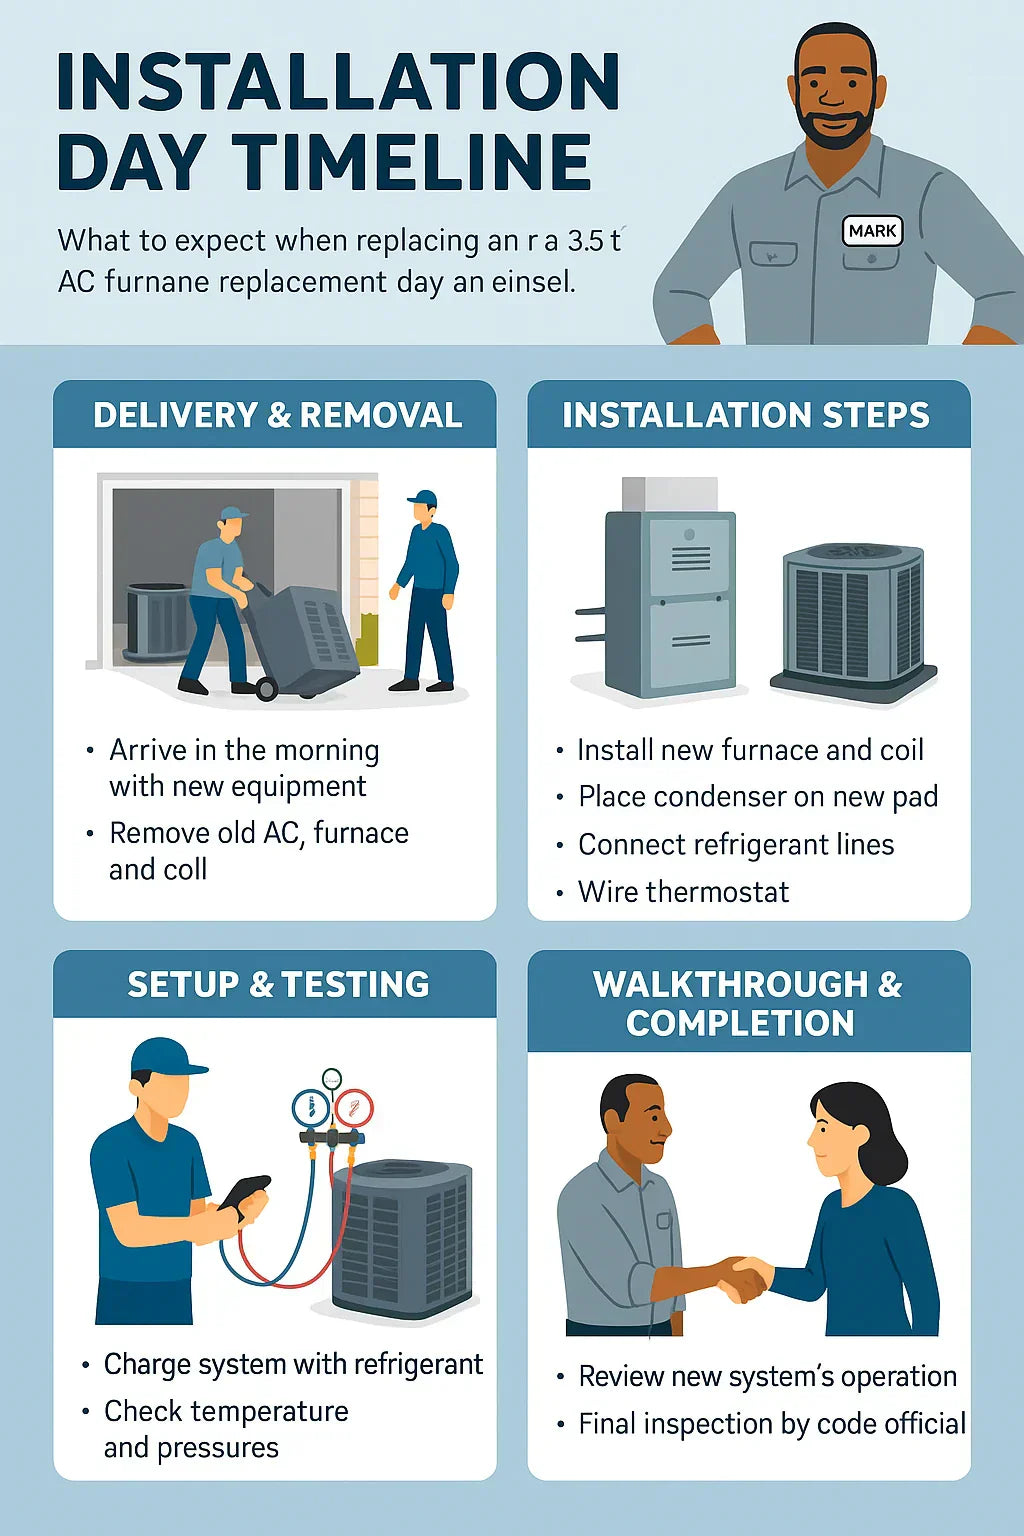
Here’s what happens on installation day for a 3.5 ton AC + furnace:
1. Delivery & Staging
-
New furnace, evaporator coil, condenser, thermostat, and accessories are delivered.
-
Tools, safety gear, and materials organized before starting.
2. Furnace & Coil Installation
-
Furnace positioned to allow service access.
-
Coil installed above (upflow) or below (downflow) furnace in the plenum.
-
Proper sealing with mastic or UL-181 foil tape.
3. Outdoor Condenser Placement
-
Pad leveled and vibration isolation pads used.
-
Minimum clearance from walls and obstructions per manufacturer specs.
4. Refrigerant Line Set
-
Replace old lines when possible.
-
Properly insulated suction line to prevent condensation.
5. Electrical & Thermostat Connections
-
Dedicated circuit for AC and furnace.
-
Low-voltage control wiring connected to thermostat.
-
Smart thermostat installed if included.
🔍 Quality & Code Checks
Before startup, your contractor should run system integrity checks:
-
Leak Testing
-
Pressurize with nitrogen.
-
Use electronic leak detector.
-
-
Airflow Verification
-
Adjust blower speed for correct CFM (cubic feet per minute).
-
Check static pressure against manufacturer’s max rating.
-
-
Combustion Safety (Gas Furnaces)
-
Inspect gas connections for leaks.
-
Verify venting slope and termination.
-
Test CO levels.
-
-
Electrical Safety
-
Confirm breaker sizing and wire gauge.
-
Tighten all lugs and connections.
-
🌡 System Startup & Testing
1. Refrigerant Charging
-
Charge by superheat (fixed orifice) or subcooling (TXV) per manufacturer specs.
-
Verify correct refrigerant type (R-410A or R-32 in new systems).
2. Temperature Split
-
Measure return and supply air temperature.
-
Target: 16–22°F difference for cooling.
3. SEER2 Performance Verification
-
Check amperage draw and operating pressures to ensure efficiency rating is met.
📄 Paperwork & Post-Install Steps
1. Warranty Registration
-
Many manufacturers require online registration within 60–90 days.
2. Permit Inspection
-
Local inspector checks installation for code compliance.
3. Homeowner Orientation
-
How to change filters.
-
Thermostat programming.
-
Maintenance schedule.
✅ Mark’s Pro Tips for a Smooth Install
-
Be Present: Stay home during installation to approve major decisions.
-
Document Everything: Take photos of new equipment model numbers and serial numbers.
-
Ask for a Copy of Load Calculation: It’s your proof that system size is correct.
-
Request a Commissioning Report: Includes test results and refrigerant readings.
📎 Verified External References
✅ Conclusion
A 3.5 ton AC with furnace replacement is one of the most important home upgrades you’ll make. When you understand the installation process, you can:
-
Hold contractors accountable
-
Avoid costly mistakes
-
Ensure your system runs at peak efficiency for years
If you follow this checklist, your installation day will be smooth, safe, and set up for long-term comfort.
In the next topic we will read more about: How to Maintain Your 3.5 Ton AC and Furnace for Maximum Lifespan


