When you’re upgrading to a new furnace — especially a two-stage, high-efficiency system — installation day can feel like a big event. You’re investing in comfort, reliability, and lower energy bills for years to come. But what actually happens between the moment your old furnace shuts off for the last time and when your new Goodman system hums quietly to life?
That’s where this guide comes in.
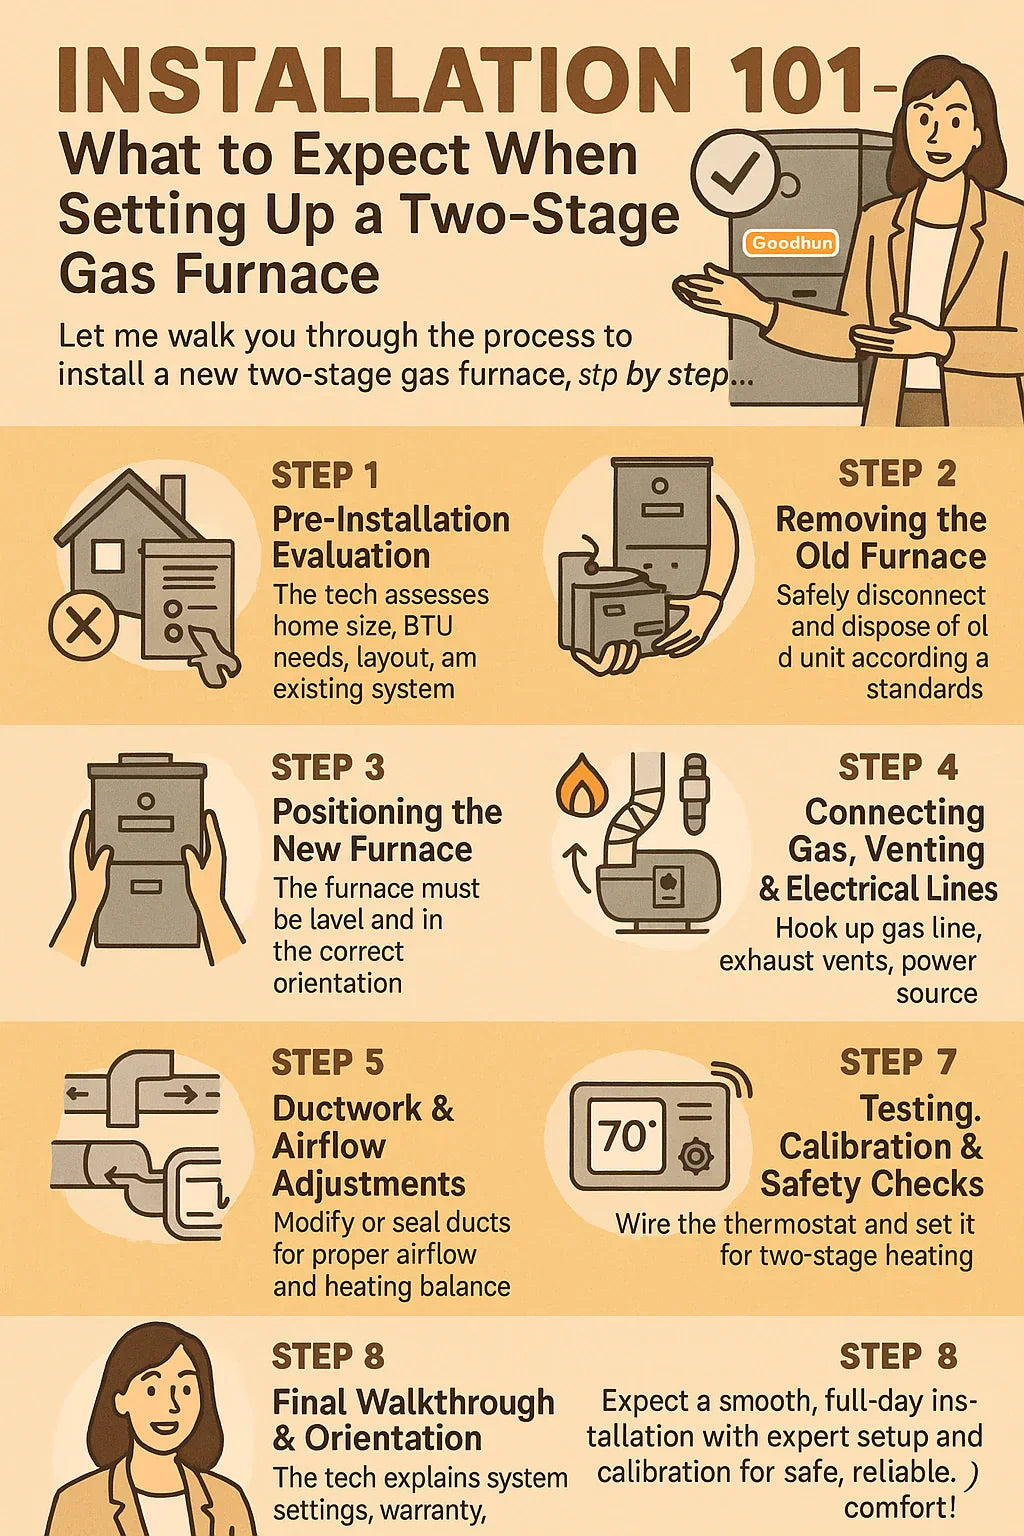
Savvy breaks down every stage of the process — from pre-installation planning to final calibration — so you’ll know exactly what to expect when your new two-stage furnace is installed.
🔍 Understanding What “Installation” Really Involves
Replacing a furnace isn’t just a simple “swap.” A proper installation means:
✅ Checking your home’s heating needs
✅ Matching the right-sized system
✅ Installing, wiring, venting, and calibrating components
✅ Testing airflow and combustion safety
According to Energy.gov, over half of all heating systems in U.S. homes operate below their rated efficiency because of improper installation.
That’s why choosing a qualified HVAC professional is just as important as choosing the right furnace.
Your installer will perform a Manual J load calculation, inspect your ductwork, verify your gas line, and ensure the system meets both local codes and manufacturer specifications — all before even lifting the new furnace into place.
📏 Step 1: Pre-Installation Evaluation
Before the first tool comes out of the truck, your HVAC technician will assess your home’s layout and existing system.
🧮 What They Check
-
Square Footage & Insulation: Determines how much heating power your home actually needs.
-
BTU Requirement: A 100,000 BTU furnace like the Goodman GRVT961005CN is typically perfect for 1,800–3,000 sq. ft. homes, depending on your climate zone.
-
Duct Condition: Old ducts can leak up to 30% of heated air, so technicians inspect for cracks, loose joints, or rust.
-
Gas Line & Electrical Setup: Proper sizing prevents fuel pressure or voltage issues later.
-
Airflow Direction: Deciding whether your home suits an upflow or horizontal installation.
Goodman furnaces simplify this process thanks to their multi-position design, which allows upflow or horizontal configuration without additional parts.
This pre-installation inspection is vital for maximizing efficiency and ensuring your warranty remains valid.
⚙️ Step 2: Removing the Old Furnace
Once the prep work is complete, your installer will safely remove your existing furnace.
🔧 Typical Removal Steps
-
Power & Gas Shutoff: All energy sources are disconnected before removal.
-
Duct Detachment: Supply and return ducts are carefully separated from the old unit.
-
Flue & Vent Removal: Older metal vents may be replaced with high-efficiency PVC pipes.
-
Condensate Line Disconnection: If you had a condensing unit, drainage lines are cleaned or replaced.
-
Safe Disposal: Technicians follow environmental standards for disposal and recycling of parts.
The EPA’s Responsible Appliance Disposal (RAD) Program ensures HVAC equipment is recycled safely, preventing metal and refrigerant waste from entering landfills.
Expect this phase to take 1–2 hours, depending on access and setup.
🧱 Step 3: Positioning the New Furnace
With the old unit out, it’s time to position your new Goodman furnace — the foundation for the next 15–20 years of home comfort.
Your technician will:
-
Place the furnace on vibration-absorbing pads or a secure platform.
-
Confirm the correct orientation (upflow or horizontal).
-
Level the unit to ensure proper condensate drainage.
-
Check clearance distances for safety and airflow.
The Goodman GRVT961005CN features a compact 21-inch cabinet width, making it ideal for tight closets, attics, or basements.
Because it’s field-convertible, installers can easily reconfigure airflow direction on-site — no need to order separate models for different layouts.
🔧 Step 4: Connecting Gas, Venting & Electrical Lines
Once the furnace is set, the real craftsmanship begins.
🔥 Gas Line Connection
-
The technician connects your home’s gas supply to the furnace’s valve, using flexible piping and high-temperature sealant.
-
A pressure test is performed to ensure no leaks.
-
Gas valve calibration is adjusted to manufacturer specs for safe, efficient combustion.
All gas piping work must comply with the International Fuel Gas Code (IFGC), ensuring your installation meets national safety standards.
💨 Venting Setup
-
For a 96% AFUE furnace, PVC venting is installed to handle condensation.
-
Pipes are angled slightly downward toward the furnace, ensuring proper drainage.
-
In horizontal configurations, condensate traps prevent backflow.
⚡ Electrical & Thermostat Wiring
-
The technician connects your control board, thermostat wires, and power lines.
-
Grounding is verified, and circuit breakers are labeled for safety.
This phase typically takes 2–3 hours and forms the heart of your installation’s safety and performance.
💨 Step 5: Ductwork & Airflow Adjustments
Your new Goodman furnace’s variable-speed blower motor delivers air differently than older single-speed systems. That means duct adjustments are often necessary.
🧰 Technicians Will:
-
Measure airflow (in cubic feet per minute or CFM).
-
Seal joints with mastic or foil tape to prevent leaks.
-
Adjust or resize supply ducts if airflow resistance is too high.
According to ENERGY STAR’s duct sealing guide, sealing ducts can cut heating costs by up to 20% and reduce uneven heating across rooms.
A balanced airflow system helps Goodman’s two-stage technology deliver perfectly even comfort throughout your home.
🧠 Step 6: Thermostat & Control Setup
Modern furnaces like Goodman’s are designed to work hand-in-hand with smart thermostats and digital controls.
💡 What Happens During Setup
-
Your thermostat is connected and programmed to communicate with both heating stages.
-
Goodman’s ComfortBridge™ technology monitors furnace performance in real-time, automatically adjusting settings for optimal efficiency.
By connecting the thermostat and ComfortBridge together, your furnace essentially “learns” your home’s heating rhythm, reducing energy use while maintaining consistent warmth.
🧪 Step 7: Testing, Calibration & Safety Checks
Before the system is considered ready, your installer will perform a full start-up procedure and calibration.
🧾 Tests Typically Include:
-
Gas Pressure Testing: Ensures correct combustion.
-
Temperature Rise Check: Verifies proper heat exchange (usually 35–65°F difference between intake and output).
-
Flame Signal Measurement: Confirms efficient ignition.
-
Blower Speed Calibration: Adjusts CFM for each heating stage.
-
CO2 and Carbon Monoxide Testing: Ensures combustion safety.
-
Thermostat Communication Check: Confirms staging transitions work smoothly.
All these steps align with the ACCA Quality Installation Standard 5, which defines the national best practices for HVAC commissioning.
Once testing is complete, the furnace runs at full and partial load to confirm smooth operation.
📋 Step 8: Final Walkthrough & Homeowner Orientation
Before leaving, your technician should take time to walk you through your new system. This step is often overlooked but critical for long-term satisfaction.
👋 What to Expect
-
Demonstration of thermostat controls and two-stage settings.
-
Review of filter location and replacement frequency (typically every 60–90 days).
-
Explanation of the condensate drain system and how to spot clogs.
-
Guidance on registering your warranty through Goodman’s warranty portal.
-
Answers to all your questions about efficiency settings, airflow, and maintenance schedules.
Most homeowners appreciate this personalized walkthrough — it ensures you understand how to operate and maintain your investment.
💰 What Impacts Installation Cost
Installation prices vary, but several key factors determine your final total.
| Factor | Impact on Cost |
|---|---|
| Labor Rates | Vary by region; attic installs may cost more than basements |
| Ductwork Repairs | Sealing or resizing ducts adds $300–$700 |
| Vent & Drain Replacement | Required for high-efficiency models |
| Smart Thermostat Upgrade | Adds $150–$300 |
| Permits & Inspections | Required in most areas for gas systems |
According to 2025 HVAC cost guide, the average cost for a two-stage, high-efficiency furnace installation ranges $3,500–$6,500 depending on home size and complexity.
While it’s an investment upfront, the long-term savings from improved efficiency, reliability, and warranty coverage quickly offset the difference.
🛡️ Why Professional Installation Matters
It’s tempting to think you can save money with DIY installation — but a two-stage gas furnace is not a weekend project.
Here’s why professional installation is essential:
-
Safety First: Gas leaks or improper venting can cause carbon monoxide hazards.
-
Warranty Protection: Manufacturers like Goodman require professional installation for warranty validity.
-
Calibration Accuracy: Two-stage systems rely on precise staging control and blower speed setup.
-
Code Compliance: Licensed installers handle permits and inspections for your safety.
Energy.gov’s guide to choosing HVAC contractors recommends hiring certified technicians through ACCA, NATE, or HVAC Excellence programs.
🧽 Post-Installation Maintenance Tips
Once your Goodman furnace is up and running, ongoing care ensures it continues to perform like new.
🔄 Savvy’s Maintenance Routine
-
Change air filters regularly (every 2–3 months).
-
Inspect intake/exhaust vents seasonally.
-
Schedule annual tune-ups to clean burners, sensors, and coils.
-
Keep your thermostat firmware updated if using smart controls.
The Air Conditioning Contractors of America (ACCA) confirms that regular professional maintenance can reduce repair costs by 30% and extend system life by 5+ years.
🏁 Savvy’s Final Verdict — A Smooth Install = Years of Comfort
When done right, a new furnace installation sets you up for more than just warm winters — it’s the start of smart comfort for decades.
Here’s what to expect from your Goodman two-stage installation:
✅ 4–8 hours from start to finish
✅ Professional technicians handling every connection and calibration
✅ A detailed walkthrough before they leave
✅ A registered warranty that protects your investment
Savvy says: “A well-installed furnace doesn’t just heat your home — it protects your comfort investment for years.”
With professional installation and proper care, it’s a system built not just to heat your home — but to make it smarter, quieter, and more efficient in every season.


