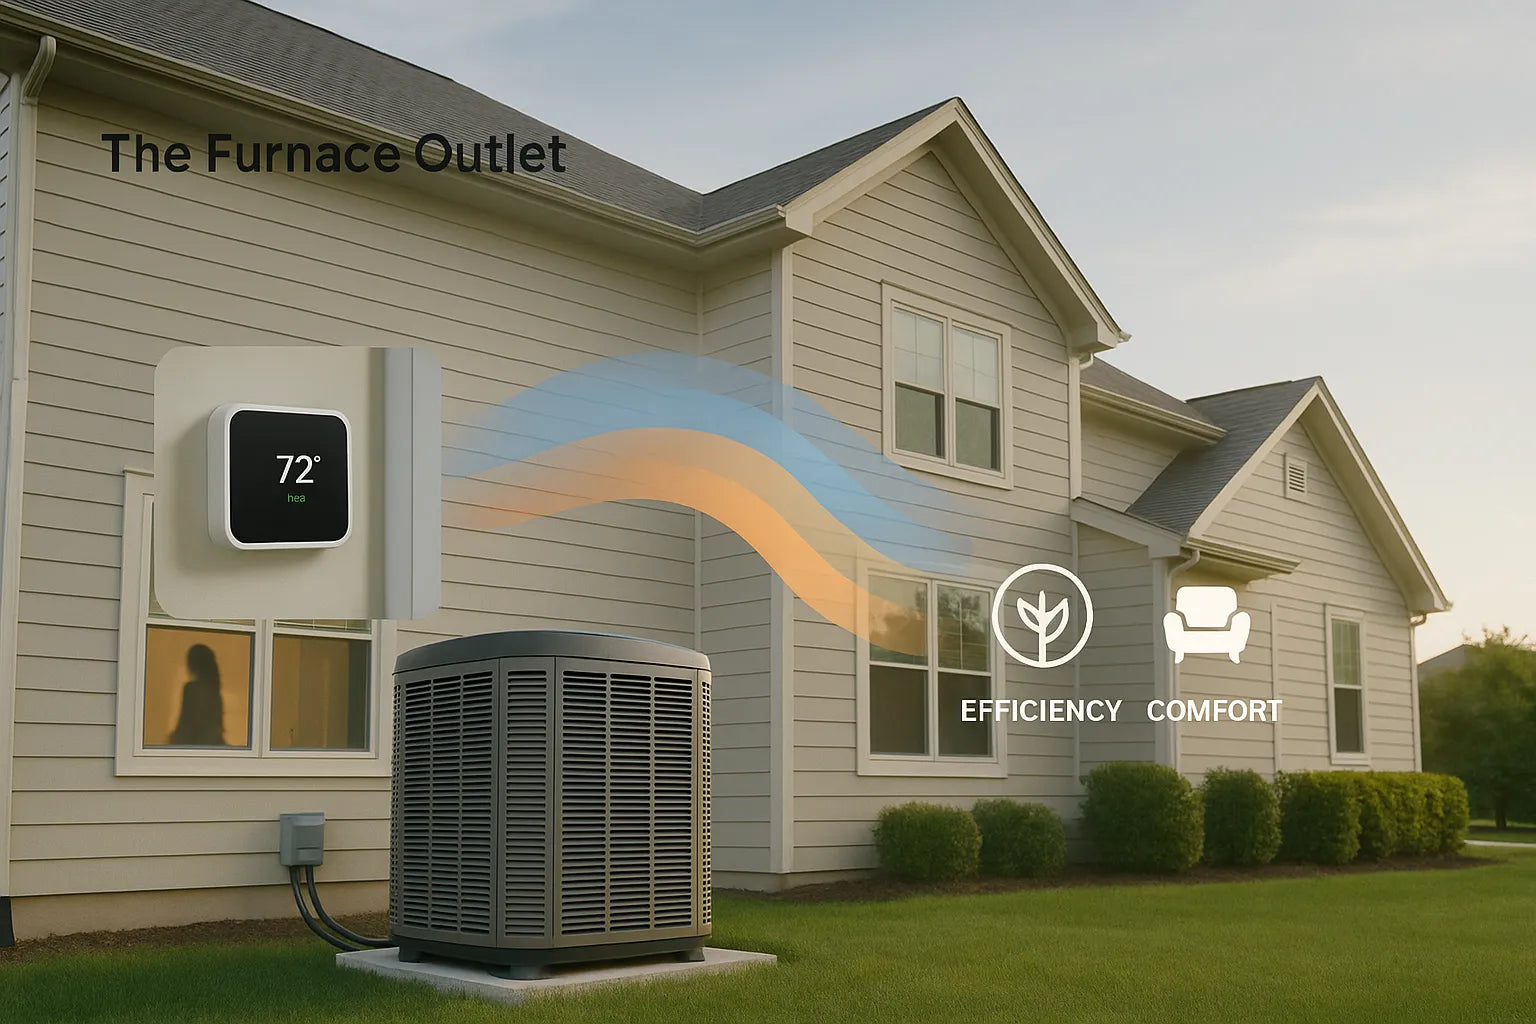
Why stories help you choose an HVAC system
When your AC dies in July or your furnace limps into January, decisions get rushed. That’s when clear stories beat jargon. Visual storytelling and homeowner case studies cut through stress by showing what really happened in homes like yours what broke, what was installed, and how comfort and bills changed afterward. Research shows buyers don’t decide on specs alone; reputation, warranties, and price all matter, but trust leads. Strong stories let you judge a contractor’s process, not just the pitch: Did they test static pressure? Fix duct leaks? Size the system right? If you want a quick baseline while you browse, check our simple HVAC Sizing Guide and explore options like ductless mini-splits. The right story won’t pressure you—it shows clear steps, clean workmanship, and measurable results you can verify.
What a trustworthy case study looks like
A solid HVAC case study reads like a job folder, not a commercial. Look for five parts:
-
Problem—symptoms (hot rooms, high bills), root causes (undersized return, failing blower), and risks if ignored.
-
Solution—equipment model/tonnage, duct fixes, controls, and why those choices fit the home.
-
Results—numbers you can check: supply temps, static pressure, SEER2/HSPF2, bill changes.
-
Testimonial—specifics about scheduling, cleanliness, and follow-up.
-
Visuals—before/after photos of pads, line sets, drain, and electrical.
When those elements are present, you can compare apples to apples across bids. If you’re mapping solutions, browse furnaces or packaged options in one cabinet: package units. Real stories + clear specs = confident decisions.
How to read before-and-after photos like a pro
Photos aren’t fluff they’re proof. In before shots, note messy wiring, kinked line sets, sagging flex, or units crammed against walls. In after shots, look for:
-
Clearances & leveling: condenser off the soil on a proper pad.
-
Refrigerant lines: insulated, strapped, no tight bends.
-
Drainage: trapped and sloped condensate with cleanout.
-
Safety: service disconnect mounted correctly, sealed wall penetrations.
-
Ductwork: mastic-sealed joints, supported runs, lined returns.
If a case study claims “quieter” or “colder supply,” visuals should match: lined return drops, isolation pads, and a measured supply temperature. Considering a compact install? Explore R32 packaged systems or room-by-room upgrades like ceiling cassette mini-splits.
Video testimonials: the signals of real quality
Video beats text because you can see and hear specifics. Look for unscripted comments about:
-
Comfort changes (“bedrooms finally the same temp”).
-
Process (arrival times, drop cloths, permit handling).
-
Numbers (old vs new kWh/therms, noise levels).
-
Aftercare (walk-through, warranty registration).
Keep an eye on credibility markers: short clips (under two minutes), clear audio, and shots of the actual equipment and work area. If it’s all buzzwords and no utility closet, be cautious. Pair what you hear with written scope and model numbers on the proposal. Ready to price the path you just saw on video? See current R32 AC and coils you can review with your installer.
Turning stories into the right system type
Stories help you picture what will work in your home:
-
Heat pumps for efficient heating/cooling in many U.S. climates compare.
-
Gas furnace + AC when natural gas is cheap and winters are colder.
-
Ductless mini-splits for additions, sunrooms, or homes without ducts.
-
Packaged units where indoor space is tight.
Use case studies to match home age, insulation level, and room complaints to system type. Then confirm sizing and airflow targets in the Design Center before choosing equipment.
Compare quotes with one simple “story frame”
To compare bids fairly, insist every proposal answers the same story prompts:
-
Load & sizing: Manual J (or equivalent) target tonnage and CFM.
-
Duct plan: returns added? supply resizing? target static ≤ manufacturer spec.
-
Equipment: brand, model, SEER2, HSPF2/AFUE, capacity at design temp.
-
Controls & IAQ: thermostat type, filtration, ventilation.
-
Start-up data: refrigerant weight in/out, superheat/subcool, measured supply temp.
-
Warranty & service: parts, labor, first-year tune-up.
Keep these as a checklist. If a case study shows what “good” looks like, your bid should promise the same measurements at start-up. For a smoother process, you can start with a Quote by Photo and follow up with a load calc.
Cost vs value: use ROI math you can explain
Great stories include numbers you can verify. Here’s a simple way to frame value:
-
Estimate annual energy savings (kWh/therms) from the case study or utility data.
-
Multiply by your local rates for dollars saved per year.
-
Subtract any maintenance savings.
-
Divide net project cost by annual savings to get simple payback.
Example: If a heat pump upgrade saves $550/year and the net cost is $6,000, payback ≈ 10.9 years, with comfort and warranty as added value. Want to spread payments while you capture savings? Review HVAC financing. ROI isn’t just bills it’s quieter rooms, better air, and a system sized for actual loads.
Reducing installation disruption (the part nobody explains)
Good case studies talk about the day-of experience. Expect:
-
Prep: floor protection, attic/closet access plan, and a clear schedule.
-
Swap: crane or dolly plan for condensers, safe electrical isolation, and refrigerant recovery.
-
Duct fixes: sealing and balancing, not just equipment replacement.
-
Commissioning: documented pressures, airflow, and controls setup.
-
Cleanup & orientation: filter sizes, breaker labeling, thermostat training.
If you work from home or manage a property, ask for a timeline with noisy steps grouped together. For tight timelines or hotels, consider PTAC/VTAC options. Still mapping choices? Our HVAC Tips blog has practical checklists you can use before the crew arrives.
Where to find (and share) useful HVAC stories
Homeowners: start with a contractor’s website and service pages that’s where the best case studies and videos live. Look for projects that resemble your home: similar square footage, attic/basement ducts, or climate. On social, posts with photos get far more engagement, so you’ll often find the clearest before/after there.
Pros: publish case studies on your site, then repurpose into short clips for Instagram and email. Link back to detailed write-ups so buyers can see testing data. Need parts and odds-and-ends for a tidy finish? Check accessories and line sets.
Measure what matters after the install
A story isn’t over at startup, it's proven over the first season. Track:
-
Comfort: even room temps, quieter runs, fewer hot/cold complaints.
-
Bills: compare 12-month usage vs. last year (weather-normalize if you can).
-
Air quality: dust levels, filter life, humidity stability (30–50% RH).
-
Service: response time on the first call, warranty handing.
When the results look like the case study is great. If not, you have data to request adjustments under the Satisfaction Guarantee or our Lowest Price Guarantee.


