Maintaining your 1-zone mini split system isn't just about keeping things running—it’s about preserving energy efficiency, indoor air quality, and extending the life of your investment. Whether you’re using a ductless mini split in a bedroom, garage, office, or studio apartment, routine upkeep makes a big difference in performance and comfort year-round.
In this comprehensive maintenance guide, we’ll walk you through everything a homeowner needs to know to properly maintain a 1-zone mini split system—including how to clean filters, check drain lines, manage refrigerant issues, and handle seasonal checks before heating and cooling seasons. Plus, we’ll break down when to call in a pro, what tools you might need, and what maintenance mistakes to avoid.
🔧 Why Maintenance Matters for Your 1-Zone Mini Split
You may have installed your 1-zone ductless system because of its flexibility, energy efficiency, or zoned comfort control—but that efficiency can fade fast without care. Here's what proper maintenance ensures:
-
✅ Consistent airflow and temperature control
-
✅ Higher SEER/EER performance over time
-
✅ Lower monthly energy bills
-
✅ Fewer costly repairs
-
✅ Longer equipment lifespan (12–20 years is realistic with care)
Neglecting maintenance, on the other hand, can lead to reduced airflow, frozen coils, foul odors, or even mold growth in the indoor unit—all avoidable with the tips below.
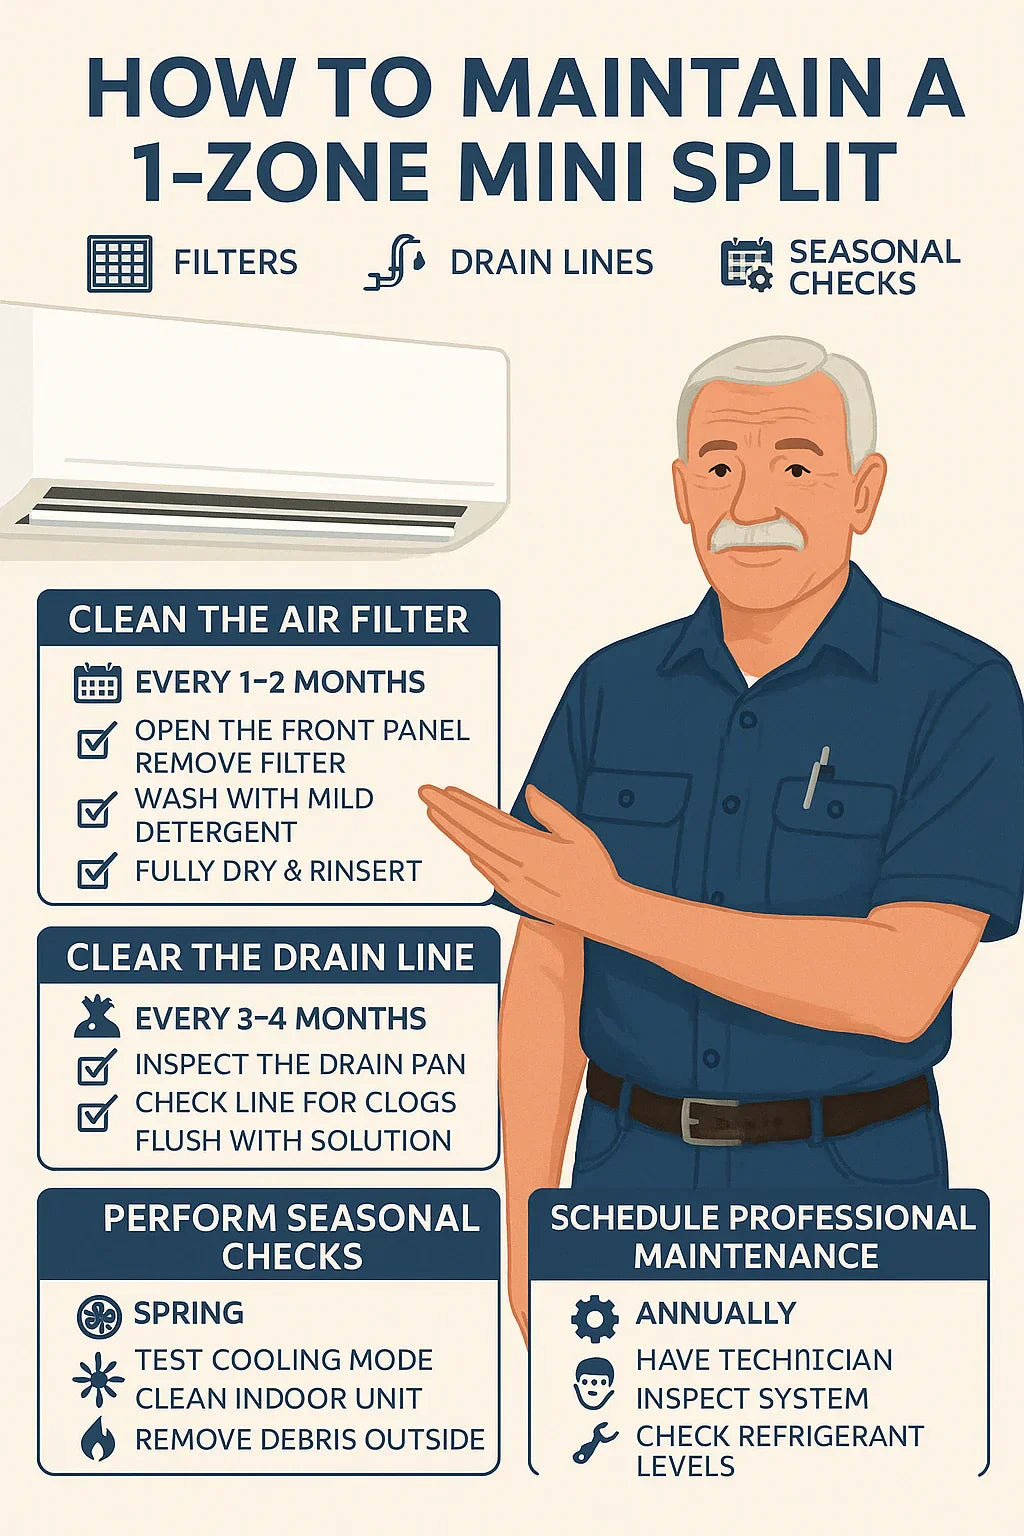
🧼 Step 1: Clean or Replace Your Mini Split Filters (Monthly or Bi-Monthly)
The most frequent task for any homeowner is filter cleaning. Your mini split filter is your first line of defense against dust, pollen, pet dander, and more.
✔️ What Kind of Filters Do Mini Splits Use?
Most mini splits use washable mesh filters—similar in appearance to reusable furnace filters. These sit right behind the front cover of the indoor wall unit.
Some premium models may also have:
-
Electrostatic filters
-
Activated charcoal filters
-
Anti-allergen or antibacterial filters
🧽 How to Clean a Mini Split Filter
-
Turn off the unit. Use the remote or wall switch.
-
Open the front panel. It usually lifts upward on a hinge.
-
Remove the filter. Slide it out gently.
-
Vacuum the filter. Use a brush attachment to remove surface dust.
-
Rinse with water. If very dirty, use mild soap.
-
Dry completely. Never reinstall a wet filter!
-
Reinsert and close the panel.
📅 Do this every 4–6 weeks during peak heating or cooling seasons. Homes with pets or smoke may require more frequent cleaning.
💧 Step 2: Inspect and Flush the Condensate Drain Line
The drain line removes moisture from your mini split’s cooling process. If it clogs, you may see:
-
Water leaking from the indoor unit
-
Musty or mildew smells
-
Mold around the wall sleeve or base
🛠 How to Maintain the Drain Line
-
Locate the drain line. It’s usually a small PVC pipe near the outdoor unit or behind the indoor unit (running through the wall).
-
Visually inspect for clogs. Look for algae buildup or standing water.
-
Flush with distilled vinegar or drain-line tablets (available at hardware stores).
-
Use a wet/dry shop vacuum on the outdoor end to suction debris (optional but effective).
🗓 Flush every 3–6 months, especially before summer cooling kicks in.
🌀 Step 3: Clean Indoor Coils (Every 6–12 Months)
While the filters catch most debris, some dust can pass through and collect on the evaporator coils.
Why Clean Coils Matter
-
Dirty coils reduce efficiency
-
They cause uneven cooling/heating
-
Ice buildup is more likely in winter
How to Safely Clean Coils
-
Turn off power
-
Open the indoor unit’s cover
-
Use a coil-safe foaming cleaner (not oven cleaner!) available at HVAC stores
-
Let it soak for the directed time
-
Gently wipe clean or let condensate rinse it off
If you’re uncomfortable doing this, a professional maintenance visit is a good idea.
❄️ Step 4: Inspect the Outdoor Condenser Unit
Don’t forget the outdoor half of your 1-zone system! The condenser (compressor) handles refrigerant and airflow for heat transfer.
Outdoor Maintenance Checklist
-
Clear leaves, weeds, and debris within 2–3 feet of the unit
-
Inspect fins for dirt or bent metal (use a fin comb if needed)
-
Listen for strange noises (buzzing, humming, or rattling could indicate loose parts)
-
Wash exterior gently with a garden hose (never a pressure washer)
📅 Do this every spring and fall before switching modes.
🔋 Step 5: Check Remote Batteries and Signal
Your remote is your main control hub—and weak batteries or poor positioning can make your system seem faulty.
Pro Tips:
-
Replace batteries every 6 months
-
Use lithium batteries for longer life
-
Always point the remote directly at the indoor unit
-
Wall-mounted remotes or WiFi apps may need firmware updates
🧊 Step 6: Seasonal Checks Before Heating or Cooling Mode
Mini splits require different stress tests for summer vs. winter. Doing these checks each season can prevent mid-season breakdowns.
✅ Pre-Cooling Season Checklist (Spring)
-
Clean filters and coils
-
Flush drain line
-
Confirm proper cooling airflow
-
Test for cold air and listen for strange noises
🔥 Pre-Heating Season Checklist (Fall)
-
Clean or replace filters
-
Clear outdoor obstructions (like snow covers)
-
Run a heating test cycle
-
Check that defrost mode kicks in (when applicable)
🧰 Optional DIY Tools That Help
-
Shop vac (for drain line suction)
-
Fin comb
-
Step ladder
-
Mini split cleaning bib (for deep cleaning the indoor unit)
-
Digital thermometer (to test supply/return temp differential)
🔧 When to Call an HVAC Pro for Maintenance
While many tasks are homeowner-friendly, some signs of deeper issues require an expert:
| 🚨 Issue | 🔧 DIY or Call a Pro? |
|---|---|
| Refrigerant leak | ❌ Pro only (EPA-licensed) |
| Electrical error codes | ⚠️ Call a pro |
| Strange mechanical noises | ⚠️ Better to have checked |
| Ice forming on indoor coils | ⚠️ Check filter first, then pro |
| Weak airflow even after cleaning | ⚠️ Likely a blower motor or fan issue |
A once-a-year professional tune-up is recommended, especially if your mini split is more than 3 years old or under warranty.
🏠 Common Mini Split Maintenance Mistakes to Avoid
-
❌ Skipping filter cleaning for months
-
❌ Using harsh cleaners or bleach on coils
-
❌ Using a pressure washer on the condenser
-
❌ Not flushing the drain line
-
❌ Forgetting to clean before peak seasons
🧾 Tax Incentives for Maintenance?
While regular maintenance usually isn’t tax-deductible, certain energy-efficiency upgrades or replacements (like Energy Star air handlers or thermostats) may qualify under the Inflation Reduction Act’s energy credits. Keep receipts and consult a tax professional if you upgrade.
✅ Final Checklist for Seasonal Mini Split Maintenance
| Task | Frequency |
|---|---|
| Clean filters | Monthly |
| Flush drain line | 2–3 times/year |
| Clean indoor coils | Every 6–12 months |
| Clean outdoor condenser | Spring & Fall |
| Test remote + batteries | Every 6 months |
| Full pro tune-up | Yearly |
👨🔧 Mike’s Pro Tip:
“If your single-zone system feels less powerful than last year, it’s probably the filters or a partially clogged drain. Homeowners think it’s the unit—but 80% of the time, it’s just overdue for basic TLC.”
🔚 Final Thoughts: A Little Maintenance Goes a Long Way
Keeping your 1-zone mini split clean, clear, and regularly checked ensures it keeps delivering year-round comfort efficiently. Whether you’re cooling a home office or heating a converted garage, maintenance isn’t optional—it’s essential.
Want to go further? Pair this guide with your system’s owner’s manual for exact model-specific recommendations. And if you need filters, drain tablets, or remote upgrades—shop trusted mini split accessories online from certified HVAC retailers.
In the next topic we will know more about: Troubleshooting Your Single-Zone Mini Split: What to Do If It’s Not Cooling or Heating


