🔹 Introduction: The Power of DIY Comfort
The MRCOOL DIY Easy Pro Mini Split allows homeowners to install their own ductless heat pump system without needing a vacuum pump, specialized HVAC licensing, or advanced tools. With pre-charged lines and intuitive connection systems, it’s one of the most accessible mini splits for DIY installation, offering real savings on labor while preserving warranty and performance.
This guide covers:
-
Required tools and safety considerations.
-
Pre-installation preparation.
-
Step-by-step installation instructions.
-
Testing and startup procedures.
-
Maintenance tips post-install.
If you want to enjoy efficient heating and cooling without paying thousands in install fees, read on.
🧰 What You’ll Need Before Starting
-
MRCOOL DIY Easy Pro Mini Split kit (indoor head, outdoor unit, pre-charged lineset, controller)
-
Drill and hole saw (for wall penetration)
-
Stud finder
-
Level
-
Screwdrivers and wrench set
-
Torque wrench
-
Pipe insulation tape
-
Vacuum cleaner (for cleaning the area)
-
Safety glasses and gloves
📦 Pre-Installation Checklist
✅ Choose the installation location for the indoor air handler (high on the wall, central to the room).
✅ Ensure clear airflow around the indoor and outdoor units.
✅ Check local codes for electrical connection compliance.
✅ Have a dedicated 230V electrical circuit ready.
✅ Measure the lineset length and route.
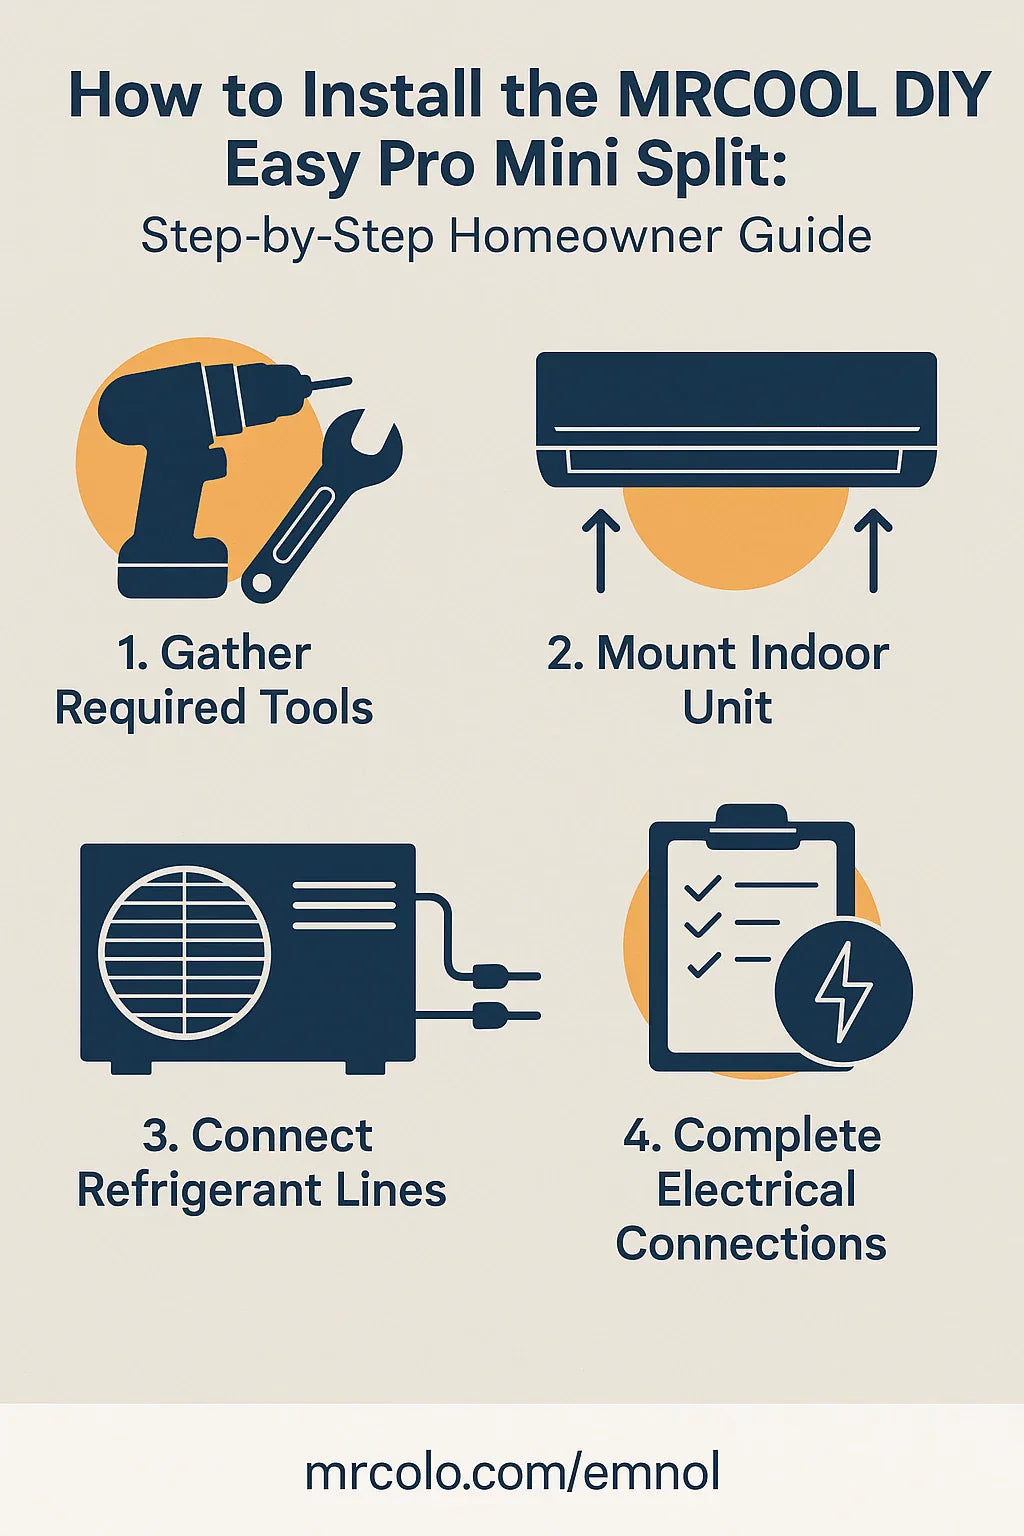
🛋️ Step 1: Mounting the Indoor Air Handler
-
Use a stud finder to locate studs.
-
Place the mounting bracket on the wall and use a level for alignment.
-
Drill holes and secure the bracket firmly.
-
Use a hole saw to drill a 3" hole through the wall for the refrigerant lines, drain hose, and wiring bundle.
-
Feed the lineset, drain hose, and wiring through the hole.
-
Hang the indoor unit securely on the bracket.
🌬️ Step 2: Preparing the Outdoor Unit
-
Place the outdoor unit on a stable surface or a wall bracket (sold separately) with vibration pads.
-
Ensure clear space (at least 12–24 inches) around the unit for airflow.
-
Position it close to the hole to minimize lineset routing.
🔩 Step 3: Connecting the Lineset
-
Carefully uncoil the pre-charged lineset without kinking.
-
Connect the refrigerant lines using a torque wrench to the specified tightness.
-
Wrap connections with insulation tape to prevent condensation.
-
Connect the wiring harness from the indoor unit to the outdoor unit following color-coded guides.
💧 Step 4: Setting Up the Drain Line
-
The drain line should slope downward to ensure gravity drainage.
-
If necessary, install a condensate pump for long runs or below-grade installations.
-
Test by pouring water into the drain pan and ensuring it exits freely.
⚡ Step 5: Electrical Connections
-
Connect the outdoor unit to a dedicated 230V breaker using proper gauge wire per MRCOOL and local code.
-
Double-check connections with the wiring diagram included with your MRCOOL kit.
-
Ensure a proper ground connection for safety.
✅ Step 6: System Startup and Testing
-
Power on the system.
-
Use the remote to select cooling or heating mode.
-
Allow the unit to run for 15–30 minutes to stabilize.
-
Check for cold or warm air from the indoor unit.
-
Check the outdoor unit for abnormal vibrations or noise.
-
Confirm the system cycles off when the target temperature is reached.
🧼 Post-Installation Maintenance Tips
-
Clean the filters monthly.
-
Check for leaks around connections during seasonal transitions.
-
Use the MRCOOL app (if applicable) for remote monitoring and control.
-
Keep the outdoor unit clear of debris and snow.
-
Schedule a professional check every 2–3 years for optimal longevity.
🔗 Verified External Resources
For additional visual support and compliance checks:
🏁 Conclusion: DIY Confidence and Comfort
Installing the MRCOOL DIY Easy Pro Mini Split empowers you to achieve professional-level comfort while saving on labor costs. By following these steps carefully, you can safely and efficiently install your mini split system and enjoy year-round heating and cooling tailored to your needs.
In the next topic we will read about: What Does a Mini Split Heat Pump Installation Cost in 2025? Real-World Estimates & Budgeting Tips


