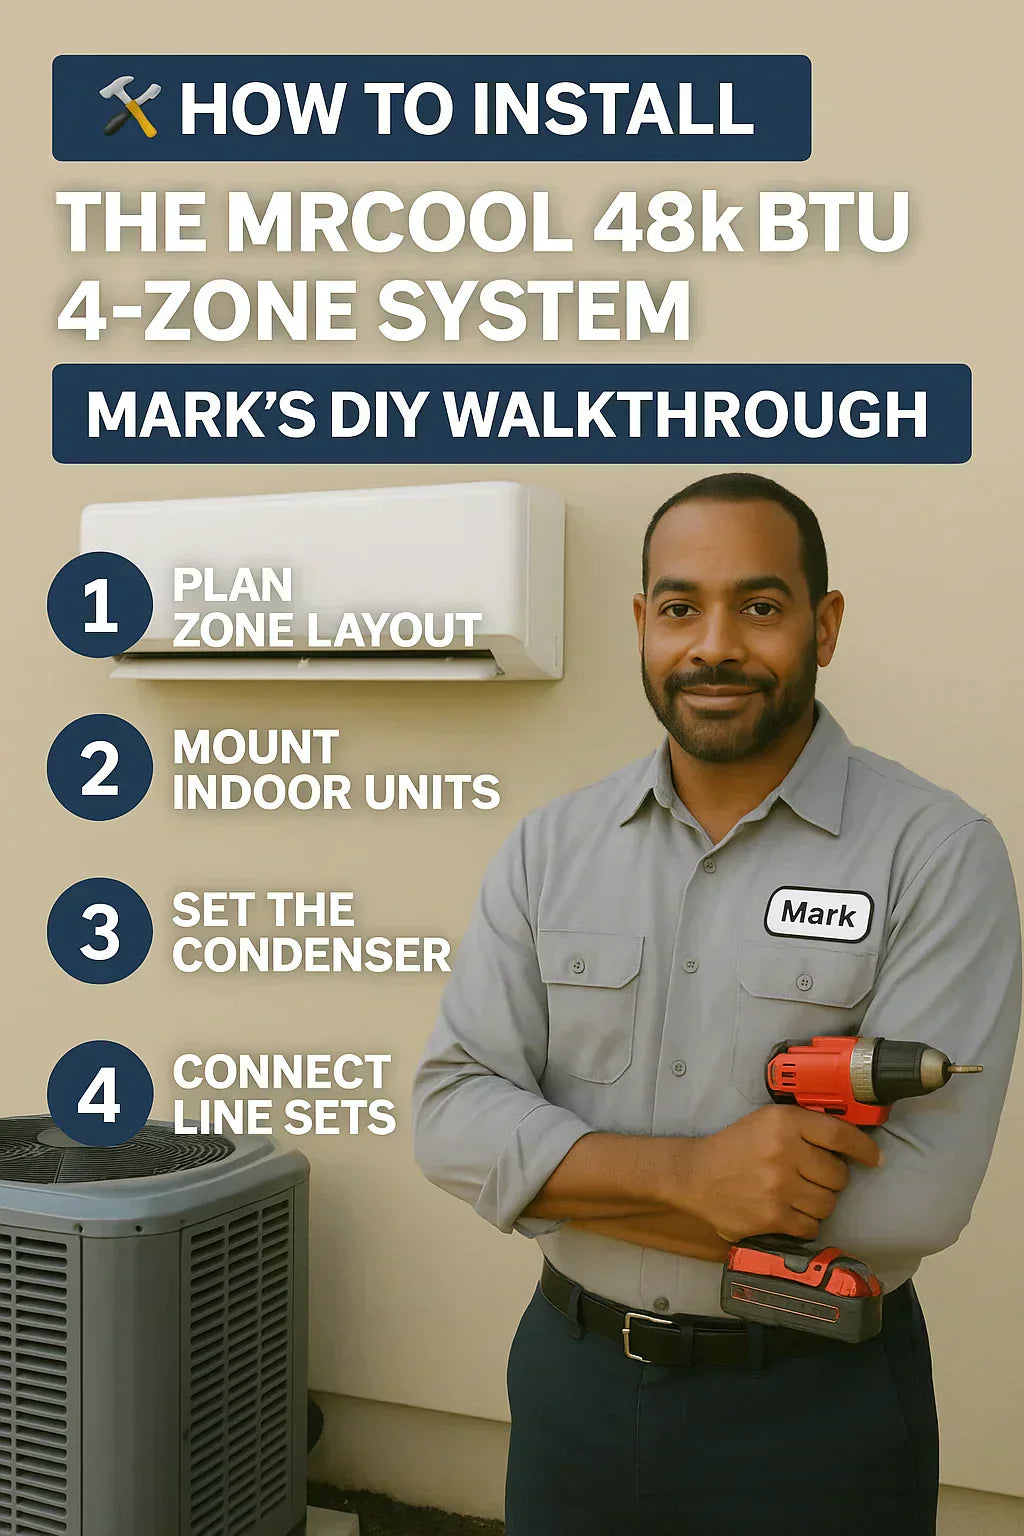
🧰 Introduction: Yes, You Can Install a 4-Zone Mini Split Yourself
Installing a ductless mini split used to be a job only licensed HVAC techs could touch. But with the MRCOOL DIY 5th Gen system — especially the 48k BTU 4-zone setup — homeowners like Mark are now empowered to handle the process themselves. This walkthrough documents how Mark installed his 9k+9k+9k+24k configuration over a weekend with basic tools, smart planning, and some patience.
⚠️ Note: This guide assumes you have access to a pre-charged DIY model. Other models require refrigerant charging and must be installed by professionals per EPA rules.
📋 Tools & Materials Checklist
Before you begin, gather everything you’ll need:
✅ Basic Tools:
-
Cordless drill/driver
-
Level
-
Stud finder
-
Utility knife
-
Tape measure
-
Hole saw (3.5" or 4")
-
Ladder
✅ Supplies:
-
Outdoor mounting bracket or pad
-
Electrical disconnect box
-
Surge protector (recommended)
-
Exterior caulk
🧊 View full accessories list: MRCOOL DIY Accessories Catalog
🏡 Step 1: Plan Zone Layout and Wall Placement
The 9k+9k+9k+24k configuration supports:
-
Three small to mid-size zones (bedrooms, office, etc.)
-
One large open zone (living/dining/kitchen combo)
Mark sketched a floor plan of his single-story 2,200 sq. ft. home to finalize:
-
Where each indoor air handler would be mounted
-
How the line sets would route back to the outdoor condenser
-
Power source location for the condenser
💡 Pro Tip: Keep line set runs under 25 feet for best performance. The 24k head should ideally be within 50 feet of the condenser.
🪟 Step 2: Mount the Indoor Units
Each indoor unit comes with a mounting bracket. Here's how Mark installed his three 9k units and one 24k unit:
1. Choose Wall Placement
-
Avoid direct sunlight, heat sources, or exterior doors.
-
Place heads 7'–8' above the floor.
-
Leave 6"+ clearance above, 12" left/right, and 6"+ below the unit.
2. Mark and Mount Bracket
-
Use a level and stud finder.
-
Anchor into at least one stud for security.
-
Check bracket is straight before fully tightening screws.
3. Drill Wall Hole
-
Use a 3.5" hole saw.
-
Drill at a slight downward angle toward the outside for drainage.
-
Insert provided wall sleeve and seal interior gaps.
4. Feed Through Line Set, Drain & Power
-
Carefully bend lines with hands (don’t kink them!).
-
Wrap tightly with included insulation tape.
-
Seal the hole from the outside with caulk.
🧯 Step 3: Set the Condenser
Mark installed his condenser pad on the side of his home, 8 inches off the ground on a plastic composite pad.
Key Rules:
-
Leave 24–36 inches of clearance around all sides.
-
Keep at least 6 inches away from wall for airflow.
-
Use vibration isolation pads if installing on concrete or decking.
-
Secure power shutoff box nearby per code.
⚡ Tip: Check with your local building authority about electrical permits for 220V outdoor units.
🔌 Step 4: Electrical Wiring & Circuit Setup
This is one area where Mark hired a professional electrician. Here's what was involved:
Specs for the 48k BTU Condenser:
-
208/230V, single phase
-
50-amp dedicated circuit recommended
-
Double-pole breaker
-
10/2 NM cable (minimum) from breaker to disconnect box
✅ Power should not be turned on until after connecting line sets and leak-checking.
🧪 Step 5: Connect Line Sets
Here’s where the MRCOOL system really shines — no vacuum pumps, no gauges, no refrigerant tools needed. Mark’s hands-only approach followed these steps:
1. Uncoil & Align Lines
-
Keep them straight and supported — don’t force sharp bends.
2. Thread on Quick Connects
-
Hand-tighten first, then torque with a wrench (using included specs).
-
Each line has a color-coded or label-coded match to the zone.
3. Check for Leaks
-
Use included leak test spray or soapy water.
-
Look for bubbling at connections.
💻 Step 6: Power Up and Pair Units
Now you can energize the system:
-
Flip the breaker and outdoor disconnect switch to ON.
-
Each head should beep and display power indicators.
-
Use the remote or MRCOOL SmartHVAC app to sync each zone.
🌡️ Step 7: Test Modes and Operation
Run each zone through:
-
Cooling
-
Heating
-
Fan
-
Auto Mode
Use the remote to check:
-
Temperature consistency
-
Airflow direction
-
Indoor fan speeds
-
No error codes (check for E1, E6, etc.)
🧽 Bonus: Maintenance Checklist for DIY Systems
To ensure long-term performance, Mark recommends:
| Task | Frequency |
|---|---|
| Clean filters | Monthly |
| Rinse condenser coils | Quarterly |
| Clear condensate drains | Semiannually |
| Inspect line insulation | Annually |
| Update app firmware | As needed |
🧾 Total Cost Estimate (Mark’s Actual Spend)
| Item | Cost (USD) |
|---|---|
| MRCOOL 48k 4-Zone System | $4,999 |
| Line set extensions & covers | $285 |
| Electrical panel upgrade | $450 |
| Outdoor pad & brackets | $120 |
| Tools (hole saw, level, etc.) | $110 |
| Total | $5,964 |
Mark saved over $3,500 in labor by doing the install himself.
✅ Summary: Mark’s Tips for a Successful DIY Install
-
Measure twice. Check line set runs before mounting anything.
-
Label everything. Mark zones and cables before routing.
-
Use a pro for electrical. It’s safer and often required.
-
Don’t rush. Install over 2–3 days to avoid fatigue.
-
Call MRCOOL support if anything feels off — they’re DIY-friendly.


