When I first looked into buying a 12,000 BTU mini split, I thought the cost was simple: buy the system, plug it in, and you’re good. The MRCOOL Advantage I found online was priced under $1,000. My reaction? “Wow, that’s all it takes to get cool air in my living room?”
Wrong.
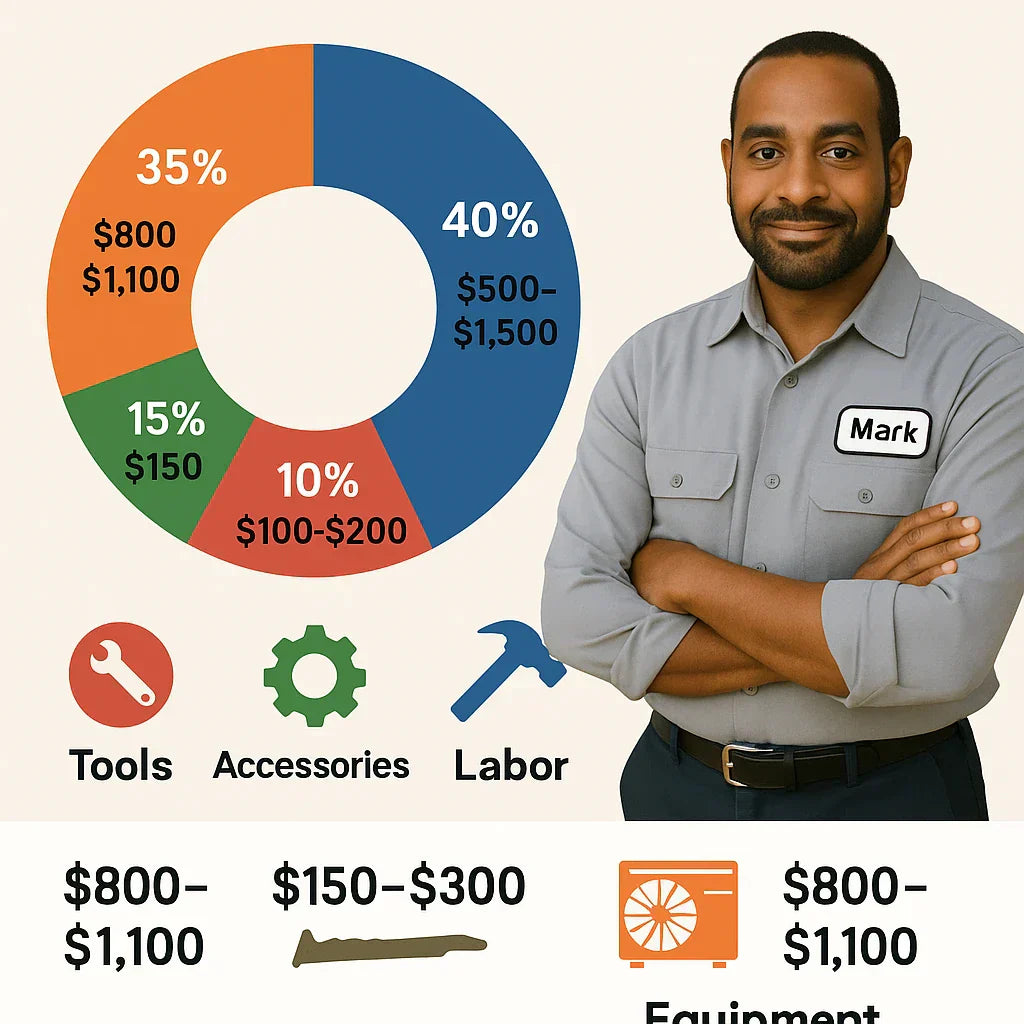
After digging deeper—and going through my own installation—I realized there are three major cost buckets you have to plan for:
-
The equipment itself (the mini split system)
-
Labor and tools (especially if you don’t DIY everything)
-
Accessories and extras (the stuff nobody tells you about until you need it)
This guide breaks down every dollar you might spend installing a 12k BTU ductless mini split, using real-world examples, cost scenarios, and my own experience as a homeowner who went through the process.
MRCOOL Mini-Split Advantage Series 12,000 BTU 230V Wall Mounted Heat Pump System
📦 Equipment Cost (The System Itself)
This is the starting point: buying the actual mini split system.
MRCOOL Advantage 12k
-
Price range: $800–$1,100
-
Efficient (SEER2 ~18), quiet, great for single-zone spaces.
-
Downsides: requires HVAC-style install (vacuum pump, gauges).
MRCOOL DIY 12k
-
Price range: $1,200–$1,500
-
Higher efficiency (SEER2 ~20–22).
-
Comes with pre-charged line sets, making installation much easier.
-
Slightly more expensive upfront.
Premium Brands (Mitsubishi, Daikin, Fujitsu)
-
Price range: $2,000–$3,000+ for a comparable 12k system.
-
Extremely efficient (SEER2 ~22–26).
-
Long lifespans, strong warranties.
-
Often require professional installation.
👉 Mark’s Take: “I went with the Advantage because of the price. If I’d wanted easier installation, I would’ve spent the extra $300–$400 for the DIY.”
🛠️ Labor Costs (Pro vs. DIY)
Here’s where things get interesting.
Professional Installation
-
Basic install fee: $500–$1,500
-
Depends on region, complexity, and whether electrical work is included.
-
Covers vacuum pump use, line set connection, system testing.
Electrical Work
-
$300–$600 for a dedicated 230V breaker, wiring, and outdoor disconnect box.
-
Required for Advantage systems (most run on 230V).
-
DIY models sometimes use 115V, reducing cost.
DIY Installation
-
Cost: $0 in labor (but your time + effort).
-
Advantage requires specialty tools (vacuum pump, gauges, torque wrench).
-
DIY series avoids these costs with pre-charged line sets.
👉 Mark’s Tip: “I handled most of the install myself, but I called an electrician buddy to wire the breaker. It cost me a six-pack of beer and a favor, but normally it would’ve been a $400 job.”
🔌 Accessories You’ll Need
Most homeowners forget this part until halfway through installation. Here’s what I needed:
-
Wall sleeve: $20–$50
Protects the hole drilled for line sets. -
Electrical whip & disconnect box: $40–$150
Required for code compliance. -
Line set covers: $50–$150
Makes the outside look clean and protects refrigerant lines. -
Condensate pump (optional): $100–$300
Only needed if the drain can’t flow by gravity. -
Mounting pad or wall bracket for outdoor unit: $50–$150
Ensures stability and prevents vibration.
👉 Mark’s Story: “I thought I was done, then realized my drain hose needed a pump to reach outside. That added another $120 I hadn’t budgeted for.”
🌬️ HVAC Tools & Supplies (if DIY with Advantage)
If you choose the Advantage model and install yourself, you’ll need some gear:
-
Vacuum pump rental: $50–$100
-
Manifold gauges: $70–$150
-
Torque wrench: $50–$100
-
Hole saw (3.5”): $30–$50
-
Safety gear (gloves, goggles, tester): $25–$50
👉 Borrow or rent whenever possible. Buying everything new can add $300–$400.
Energy.gov – AC Installation Guide
📊 Cost Scenarios
Let’s put it all together.
Scenario 1: DIY with Advantage 12k
-
Equipment: $900
-
Tools: $200 (if rented/borrowed)
-
Accessories: $200
-
Electrical: $0 (DIY or already available)
-
Total: ~$1,300
Scenario 2: Pro Install with Advantage 12k
-
Equipment: $900
-
Labor: $1,200
-
Electrical: $400
-
Accessories: $300
-
Total: ~$2,800
Scenario 3: DIY with MRCOOL DIY 12k
-
Equipment: $1,400
-
Tools: $0 (pre-charged system)
-
Accessories: $200
-
Electrical: $0 (if using 115V model)
-
Total: ~$1,600
👉 Mark’s Note: “If you’re hiring a pro, DIY is cheaper overall. If you’re handy, Advantage saves money. Either way, expect more than the sticker price.”
🏠 Hidden Costs Homeowners Forget
-
Permit fees: $50–$300 (some cities require permits for electrical work).
-
Wall/ceiling repairs: if drilling isn’t precise.
-
Long line set extensions: can add $100–$200.
-
Energy bills: higher SEER2 = lower bills. Over 10 years, the difference can be $500–$1,500.
⚖️ Long-Term Value: Cheap vs. Efficient Systems
It’s tempting to buy the cheapest system, but here’s what I found:
-
Advantage: Lower upfront, solid efficiency (SEER2 ~18). Good balance.
-
DIY: Higher upfront, easier install, more efficient (SEER2 ~20–22). Long-term savings offset cost.
-
Premium brands: Most expensive, but maximum comfort + lowest bills.
👉 Think in terms of total cost of ownership (TCO) over 10–15 years.
✅ Mark’s Final Verdict
When someone asks me, “How much does it cost to install a 12k mini split?” my answer is:
-
At least $1,300 if you DIY everything with Advantage.
-
Around $1,600 if you go with MRCOOL DIY.
-
Closer to $2,500–$3,000 if you hire pros.
The sticker price of $900 is just the beginning. Once you add accessories, labor, and tools, the true cost comes into focus.
👉 My advice: make a full checklist before you buy. Know your electrical setup, decide if you’ll DIY or hire a pro, and budget for accessories. That way, you’ll avoid surprises—and your new mini split will be a smooth upgrade, not a stress bomb.
In the next topic we will know more about: Cold Climate Performance: Can a 12k Advantage Handle Winter Heating?


