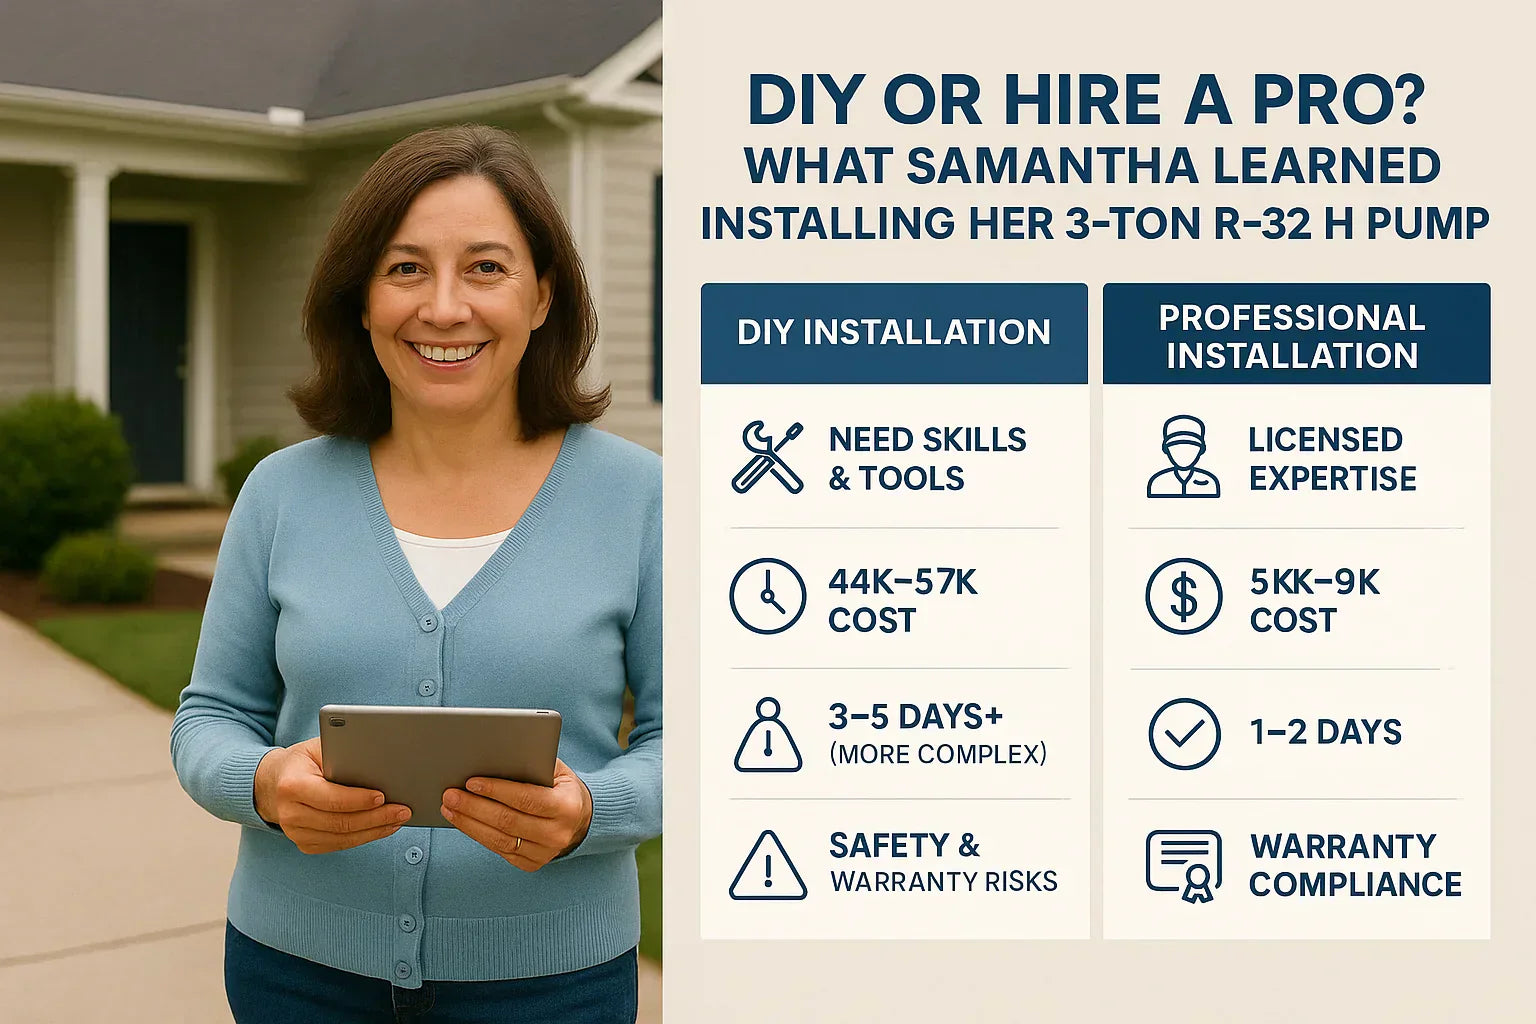
💬 Introduction: Samantha’s Installation Story
When my old heat pump died in the middle of July, I had two thoughts:
-
It’s going to be expensive.
-
Maybe I can save money by installing it myself.
I’m no stranger to DIY—I’ve built decks, wired light fixtures, and even tiled a bathroom. But this was my first time considering installing a 3-ton R-32 heat pump. I thought it would just be a matter of connecting some pipes and wires.
Spoiler: I did some parts myself, but I quickly realized R-32 refrigerant and modern HVAC systems are a whole different ballgame.
This guide is my way of sharing what I learned, so you can decide if installing a heat pump yourself is worth the risk—or if you’re better off hiring a pro.
🛠️ What’s Involved in Installing a 3-Ton R-32 Heat Pump
If you’re picturing simply “swapping the box outside,” think bigger. Here’s a high-level installation sequence for a split system heat pump:
-
Site Prep & Permits
-
Choosing a level outdoor pad location with good airflow.
-
Pulling permits (required in most areas).
-
-
Electrical Setup
-
Running new high-voltage wiring from the panel to the disconnect box.
-
Adding a dedicated circuit breaker.
-
-
Line Set Installation
-
Running insulated copper refrigerant lines between the indoor and outdoor units.
-
Securing and protecting lines against damage.
-
-
Indoor Air Handler Installation
-
Connecting supply and return ducts.
-
Mounting and leveling.
-
-
Drainage Setup
-
Installing the condensate drain and ensuring proper slope.
-
-
Vacuum & Leak Testing
-
Pulling a deep vacuum to remove moisture.
-
Pressure testing for leaks.
-
-
Refrigerant Handling (R-32)
-
Charging the system with the precise refrigerant amount.
-
Checking superheat/subcooling for performance tuning.
-
-
System Startup & Commissioning
-
Verifying airflow, temperature split, and electrical safety.
-
Key difference with R-32: It’s classified as an A2L mildly flammable refrigerant, which means different tools, hoses, leak detectors, and safety measures compared to R-410A (AHRI A2L Safety Guidelines).
⚠️ Safety Considerations
Working with a refrigerant system isn’t like replacing a ceiling fan—it’s a combination of electrical, mechanical, and chemical hazards.
-
Refrigerant Risks – R-32 is low toxicity but can displace oxygen in confined spaces, and under certain conditions, it can ignite (EPA R-32 Safety Overview).
-
High Voltage – Outdoor units use 240V, which can cause severe injury or worse if handled improperly.
-
Pressure Hazards – Refrigerant systems operate at hundreds of psi; incorrect handling can cause dangerous blowouts.
-
Tool Requirements – You need A2L-rated gauges, vacuum pumps, recovery machines, and leak detectors.
If you’re missing any of these tools—or the certification to use them—you’re already at a disadvantage.
💰 Cost Comparison: DIY vs. Hiring a Pro
One of my main motivations for DIY was cost savings. Here’s what I found:
| Expense Category | DIY Estimate | Professional Install |
|---|---|---|
| Heat Pump Unit (3-ton R-32) | $3,000–$5,000 | $3,000–$5,000 |
| Tools & Equipment | $600–$1,200 | Included |
| Electrical Work | $300–$800 | Included |
| Permits | $50–$200 | $50–$200 |
| Labor | Free (your time) | $2,000–$4,000 |
| Total | $3,950–$7,200 | $5,050–$9,200 |
On paper, DIY can save $1,500–$2,500—but that doesn’t include the value of your time, the risk of mistakes, or the potential voiding of your warranty.
📜 Warranty & Code Compliance
Here’s the part most DIYers don’t know until it’s too late:
-
Manufacturer Warranties – Many brands require proof of licensed professional installation to honor compressor or parts warranties
-
Local Codes – Some municipalities won’t allow refrigerant work without a licensed HVAC contractor
-
Insurance Issues – If a DIY installation causes a fire or water damage, your homeowner’s insurance could deny the claim.
⏱️ Time Investment
Even with experience, a full install takes time:
-
Licensed Pro Team – 1 to 2 days
-
DIY (Skilled) – 3 to 5 days
-
DIY (Learning as You Go) – 1 week or more, plus possible rework
For me, I did the site prep, electrical conduit runs, and mounting the air handler myself. Once it came to refrigerant work, I called in a pro. They had the system evacuated, charged, and running in under 3 hours.
🔍 Samantha’s Lessons Learned
Here’s my honest breakdown:
-
What I could handle myself
-
Pouring the pad for the outdoor unit
-
Mounting the air handler
-
Running low-voltage thermostat wire
-
Installing the condensate drain
-
-
What I left to the pro
-
Pulling the vacuum and leak testing
-
Charging with R-32 refrigerant
-
Final system commissioning
-
The peace of mind knowing my refrigerant circuit was properly sealed and charged was worth every penny.
🧮 Decision Framework for Homeowners
Ask yourself these questions before deciding:
-
Do you have EPA Section 608 Certification to handle refrigerants?
-
Do you own or can you rent A2L-compatible tools?
-
Are you comfortable with 240V wiring?
-
Are you okay risking your warranty?
-
Do you have 3–5 uninterrupted days to work on the project?
If you answered “no” to any of these, you might be better off hiring a pro for at least part of the job.
💬 Closing Thoughts
Installing a 3-ton R-32 heat pump isn’t impossible for a skilled DIYer, but it’s not like swapping a dishwasher either.
My hybrid approach—doing the non-refrigerant tasks myself and hiring a certified tech for the rest—saved me some money and kept my warranty intact.
Sometimes the smartest DIY move is knowing when to call in the experts.
External Links Used
In the next topic we will read about: Will a 3-Ton R-32 Heat Pump Fit in My Utility Space? Clearance & Noise Considerations


