Diy Vs Pro Mini Split
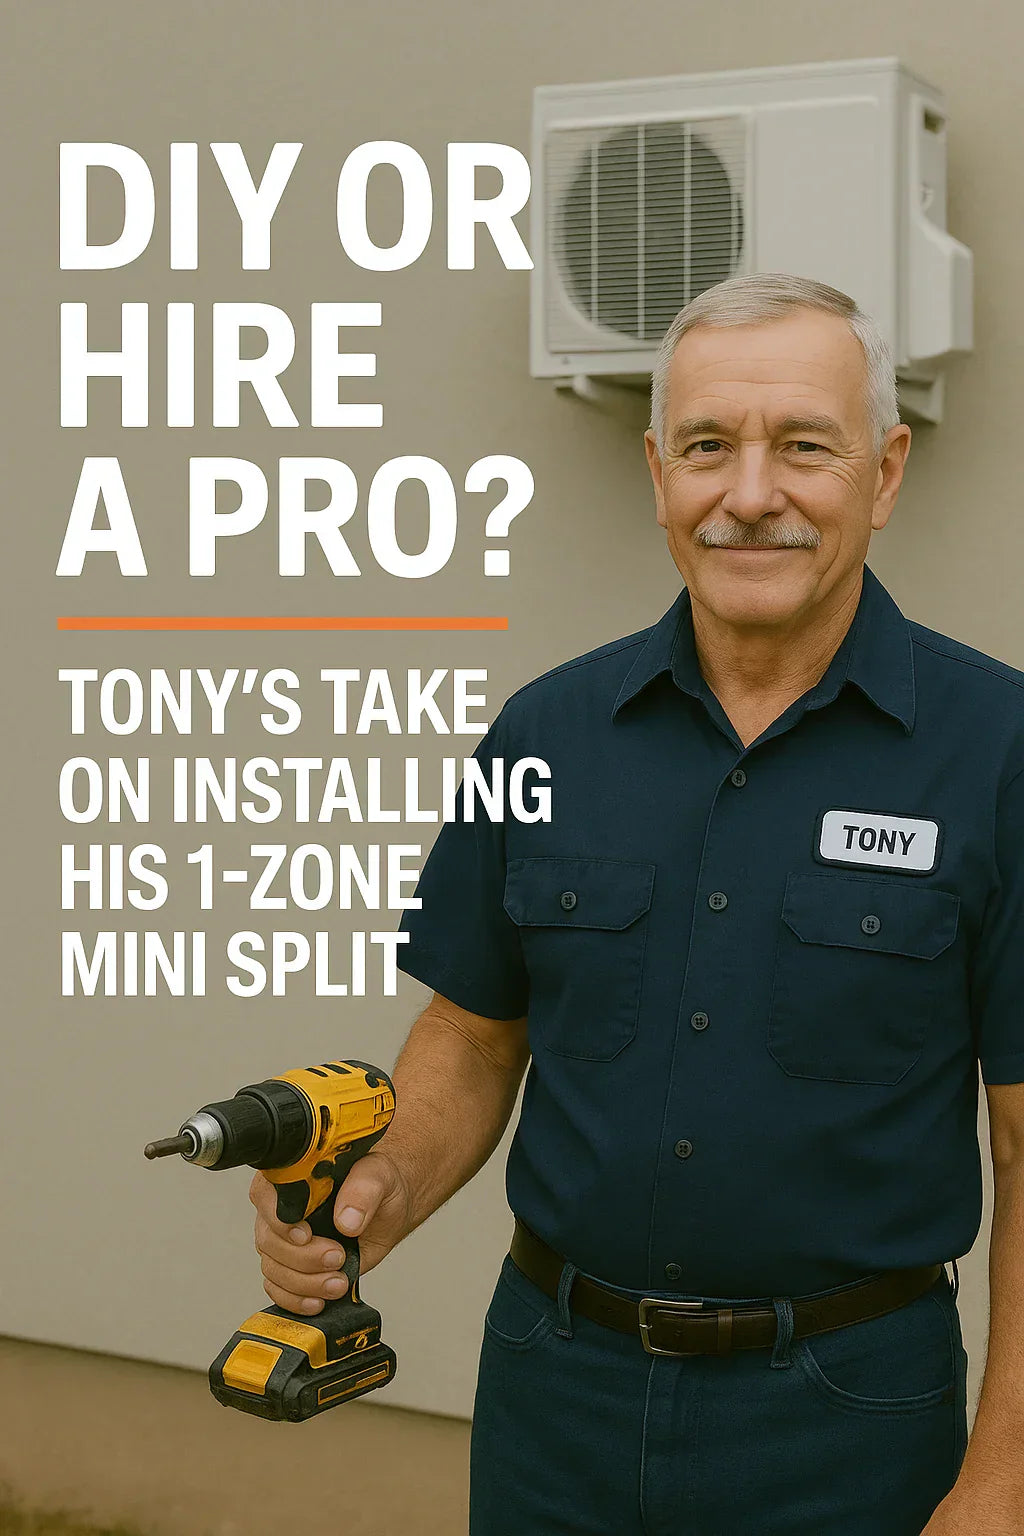
🛠️ DIY or Hire a Pro? Tony’s Take on Installing His 1-Zone Mini Split
If you're like Tony — a savvy homeowner who loves tackling projects but also knows when to bring in help — this guide will walk you through everything you need to consider before deciding to DIY your ductless install or call in a pro.
✅ Why This Question Matters
More homeowners than ever are installing single-zone mini split systems to control the temperature in garages, bedrooms, studios, and home offices. With brands like MRCOOL offering fully DIY-capable kits, the temptation to save hundreds in labor costs is real.
But DIY doesn’t always mean easy.
-
Will you void your warranty?
-
Can you safely handle 220V wiring?
-
Are your tools sufficient for a leak-proof install?
Tony wrestled with the same questions before installing his 18,000 BTU system in the garage. Let’s look at what’s really involved.
🧰 What’s in the Box: What a DIY Kit Includes
Most DIY-friendly mini split kits (like those from MRCOOL or Pioneer) include:
-
✅ Indoor wall-mounted air handler
-
✅ Outdoor condenser unit
-
✅ Pre-charged refrigerant line set (typically 16, 25, or 35 feet)
-
✅ Control wire bundle
-
✅ Remote or wall thermostat
-
✅ Mounting bracket and drain line
What’s not included:
-
❌ Wall sleeve or hole cover
-
❌ High-torque drill for masonry
-
❌ Conduit or cable clamps
-
❌ Electrical disconnect box and whip kit
📦 See what comes in the MRCOOL DIY kit: MRCOOL DIY 3rd Gen Unboxing
Tony’s tip: “Unpack and inspect everything the day it arrives. You don’t want to find a kinked line set mid-install.”
📋 Installation Overview: 10 Major Steps
Installing a single-zone system isn’t overly technical — but it does demand precision. Here’s what’s involved:
-
Find an indoor wall with proper clearance
-
Drill a 3" hole through the wall for line set and wiring
-
Mount the indoor air handler using a level bracket
-
Install the outdoor condenser on a pad or bracket
-
Feed the line set and wires through the wall to the condenser
-
Connect drain line and slope it correctly
-
Wire the condenser to your home’s electrical panel (usually 220V)
-
Attach line set and torque to spec using provided fittings
-
Power up the unit and test for cooling/heating
-
Adjust settings and verify airflow, temperature, and condensate drainag
🧠 Should You DIY? 5 Questions to Ask Yourself
Before picking up a drill, consider these questions:
1. Are you confident using power tools?
Drilling a hole through wood, vinyl, or brick siding takes strength and accuracy.
2. Can you safely work around 220V circuits?
Many single-zone systems require a dedicated 240V breaker. Mistakes can be deadly.
3. Do you understand torque specs and flaring?
Even pre-charged lines need precise tightening to prevent leaks.
4. Can you lift and maneuver a 100+ lb condenser?
Solo installs can be risky without help. Use a dolly or team up.
5. What’s your time worth?
A DIY install could take 6–10 hours. Factor in your learning curve.
Tony’s take: “I’m comfortable with tools, but I still brought in an electrician to handle the breaker panel work.”
👷 When to Call a Pro
Hiring an HVAC technician may be necessary — or even legally required — in situations like:
-
You need a permit or inspection from your city
-
Your home’s wiring isn’t ready for 220V
-
You’re cutting through brick, stucco, or concrete
-
The indoor unit must be installed on a second story
-
You’re unsure about refrigerant or torque specs
📍 Find a licensed installer through Energy Star’s locator
💵 Cost Comparison: DIY vs. Pro Install
| Installation Type | Estimated Cost |
|---|---|
| DIY with MRCOOL kit | $0 labor (plus tools) |
| DIY + licensed electrician | $300–$600 |
| Full pro install | $1,200–$2,000+ |
Extra Costs to Budget For:
-
Hole saw for 3" line set opening: $35–$80
-
Disconnect box + whip kit: $60–$120
-
Mounting bracket or pad: $80–$150
-
Wall sleeve, sealant, conduit: $40–$100
Tony’s budget breakdown:
-
Tools & parts: $200
-
Electrician for panel wiring: $400
-
Saved over $1,000 compared to pro install
🗣️ Tony’s Story: Installing a Garage System Solo
Tony’s 2-car garage (575 sq. ft) needed serious cooling for summer workouts. Here’s how it went:
-
Unit chosen: 18,000 BTU MRCOOL DIY
-
Tools needed: Hammer drill, torque wrench, conduit bender
-
Hardest part: Drilling the wall without damaging siding
-
Pro help: Called in a friend (electrician) for breaker install
-
Outcome: “Runs great. Took 2 Saturdays and a lot of measuring — but it was worth it.”
⚠️ Common DIY Mistakes & How to Avoid Them
-
❌ Cutting line set too short (measure twice!)
-
❌ Forgetting to slope drain line (can cause water backup)
-
❌ Skipping torque wrench use (leads to refrigerant leaks)
-
❌ Not sealing wall penetration (invites pests and drafts)
-
❌ Misreading power requirements (breaker size, wire gauge)
Tony’s tip: “Take your time. Watch 3–5 YouTube installs before touching anything.”
🧾 Permits, Warranties & Legal Fine Print
-
Check local code for HVAC permits — especially electrical work
-
Some brands void warranty if not professionally installed (not MRCOOL, but others do)
-
Insurance may not cover damage from DIY electrical work
-
Always pull a permit if required — it protects you if issues arise
🔎 Use PermitPlace.com to check by ZIP code
🧠 Conclusion: Tony’s Final Advice
Tony says:
“If you’re mechanically inclined and patient, a single-zone install is doable. But don’t cheap out on tools or safety. And if you’re unsure, call a pro — even just for part of the job.”
🛠️ DIY May Be Right For You If:
-
You’re confident with drills, wiring, and measuring
-
Your space has easy wall access
-
Your electrical is already up to code
👷 Hire a Pro If:
-
You’re not comfortable with 240V
-
Permits or local codes are strict
-
You’d rather save time than money
Need help picking a DIY-friendly unit? Explore the best Single-Zone Mini Splits on The Furnace Outlet


