When I first started looking into new HVAC options for my home, I knew I didn’t want to spend thousands on labor if I could avoid it. I’ve always been a DIY kind of guy — fixing leaky faucets, patching drywall, even wiring a ceiling fan or two. But an HVAC system? That felt like the “next level.”
That’s when I found the MRCOOL DIY Mini Split Easy Pro 24,000 BTU system. It promised something rare in the HVAC world: a true DIY install without needing an HVAC license or expensive tools. At first, I was skeptical. But after some research, I decided to give it a shot.
This article is my full installation walkthrough, including everything I learned — the easy parts, the tricky surprises, and the tips I’d pass on to any homeowner considering the same project.
📦 What’s in the Box?
The first thing I did was unbox everything to see what I was working with. The MRCOOL Easy Pro 24k kit comes pretty complete:
-
Indoor wall-mounted air handler
-
Outdoor condenser (pre-charged with refrigerant)
-
Pre-charged line set with quick-connect fittings
-
Communication cables for power between indoor/outdoor units
-
Remote control with mounting hardware
-
Wall template for drilling the pass-through hole
-
Mounting bracket for the indoor unit
-
Drain hose
What I still had to buy separately:
-
Electrical whip & disconnect box
-
230V breaker
-
Wall sleeve for the line set
-
A pad/stand for the outdoor condenser
-
Spray foam to seal the wall penetration
👉 Tip: If you’re considering this system, budget an extra $150–$200 for accessories and electrical parts.
🔧 Tools I Needed
One of the best parts about the Easy Pro series is that it’s designed for homeowner tools — nothing super specialized. Here’s my list:
-
Drill + hole saw (3.5" bit)
-
Torque wrench for flare connections
-
Level & tape measure
-
Standard screwdriver set
-
Adjustable wrenches
-
Safety gear (gloves, goggles, ladder)
-
Cordless impact driver (helpful but optional)
Because the line set is pre-charged, I didn’t need to buy a vacuum pump or gauges (though I borrowed a pump from a friend to pull an extra vacuum for peace of mind).
For a great reference, see Home Depot’s recommended HVAC install tools.
📍 Choosing the Right Location
This step took me longer than I thought. Picking the right spot is half the battle.
Indoor Unit
-
Needs to be high up on a wall, away from direct sunlight.
-
Shouldn’t blow directly onto where you sit or sleep.
-
Needs a clear path for airflow.
I chose my open-concept living/dining/kitchen space, about 1,200 sq. ft. This made sense since the Easy Pro 24k is perfect for large single-zone areas.
Outdoor Unit
-
Must sit on level ground, with at least 2–3 feet of clearance.
-
Needs to breathe — don’t stick it against a wall or fence.
-
Keep away from dryer vents (lint + heat = bad combo).
👉 My first mistake: I wanted to place the condenser right next to the deck stairs for convenience. Bad idea — it would’ve restricted airflow. I ended up pouring a small concrete pad 3 feet away from the house for proper clearance.
For official guidance, Energy Star’s ductless installation guide is a lifesaver.
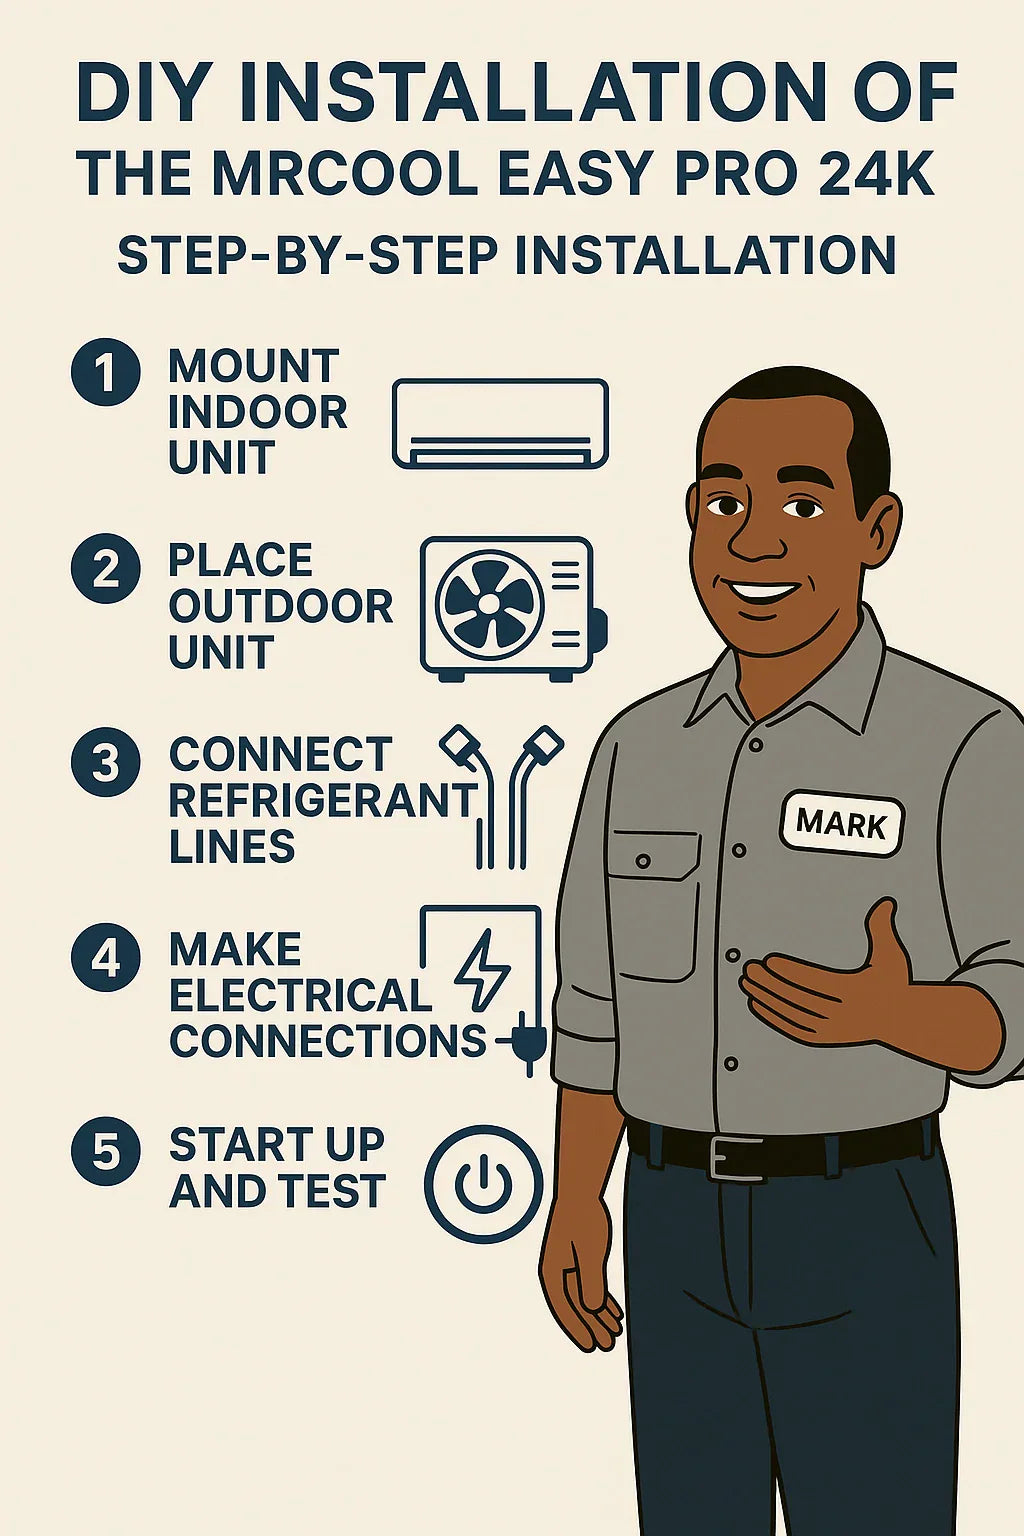
🛠️ Step-by-Step Installation Walkthrough
Here’s where the real fun started.
1. Mounting the Indoor Air Handler
-
I used the included wall bracket and a level to mount it on an interior wall.
-
Using the paper template, I drilled a 3.5" hole through the wall for the line set, communication wire, and drain hose.
-
Feeding the line set through was a little awkward (more on that later).
2. Placing the Outdoor Condenser
-
With the pad cured and level, I placed the condenser.
-
I used vibration-dampening pads under the feet (optional but helps reduce noise).
-
The pre-charged line set connected directly with quick-connect fittings — no gauges required.
3. Electrical Setup
This was the scariest part for me. The Easy Pro 24k requires 230V power. I installed a dedicated breaker in my panel and ran conduit to a disconnect box mounted near the condenser.
From there, I connected the whip to the unit. The indoor and outdoor units communicate via a 4-wire cable — MRCOOL includes this, and it’s color-coded for simplicity.
If you’re not comfortable with electrical work, I strongly recommend hiring an electrician. The NEC (National Electrical Code) has strict rules here.
4. Connecting the Line Set & Drain
-
The line set connections are hand-tightened, then torqued.
-
I double-checked the seals with soapy water for leaks.
-
The drain hose gravity-fed through the wall and into a PVC drain I set up.
5. Startup
Once powered up, the unit beeped and came to life. I tested:
-
Cooling mode: within 10 minutes, my living room dropped from 78°F to 73°F.
-
Heating mode: within 15 minutes, warm air was pumping steadily.
⚡ The Tricky Parts I Didn’t Expect
No DIY project is perfect. Here are my “gotchas”:
-
Leveling the indoor unit: Even being off by half an inch causes drainage issues.
-
Feeding the line set through the wall: It’s stiff and heavy. I needed my wife to guide it from outside.
-
Torqueing flare nuts: Too loose = leaks, too tight = damage. A torque wrench is mandatory.
-
Sealing the wall hole: The kit includes putty, but I added spray foam for extra insulation.
-
Lifting the condenser: It weighs over 100 lbs. Don’t try it solo.
🧪 Testing the System
I let the unit run in cooling mode for 30 minutes, then switched to heating. Everything checked out:
-
No leaks.
-
Strong airflow.
-
Whisper-quiet operation (quieter than my old window unit).
I compared my startup to MRCOOL’s official installation videos and was happy to see I followed their process closely.
💡 Lessons I Learned
-
Prep is half the job. Laying everything out ahead of time saved me headaches.
-
Don’t skimp on tools. A torque wrench is worth every penny.
-
Electrical is serious business. If you’re not confident, hire help.
-
Having a helper is a must. I couldn’t have done the line set install without another set of hands.
-
DIY satisfaction is unbeatable. Not only did I save money, but I now understand how my system works.
🛑 Safety First
If you attempt this, take safety seriously:
-
Always kill power before wiring.
-
Secure ladders properly (OSHA ladder safety guide).
-
Don’t over-tighten refrigerant connections.
-
Use gloves when handling metal parts.
💰 Cost Savings Breakdown
-
MRCOOL Easy Pro 24k system: $1,950 (with shipping).
-
Accessories (pad, disconnect, whip, breaker, misc.): ~$180.
-
Tools (torque wrench + bits I didn’t own): ~$120.
-
Total DIY cost: ~$2,250.
Local HVAC quotes for this job? Between $4,500–$5,000.
👉 My savings: $2,000–$2,500.
🔄 Maintenance After Installation
Keeping the system running is simple:
-
Clean air filters monthly.
-
Wipe down indoor unit coil quarterly.
-
Keep outdoor condenser clear of leaves/debris.
-
Flush the drain line every spring.
For full guidance, check Energy.gov’s ductless mini split maintenance guide.
✅ Conclusion: Would I Recommend DIY?
Absolutely — if you’re handy, patient, and comfortable around power tools.
Would I recommend it for everyone? Not quite. If electrical scares you or your layout is tricky, paying for professional install may be worth it.
For me, the MRCOOL Easy Pro 24k was the perfect middle ground: powerful enough for my open floor plan, simple enough to install myself, and cost-effective compared to traditional HVAC.
And honestly? Flipping the breaker, pressing “ON” on the remote, and feeling that first blast of cool air — knowing I did it myself — felt pretty incredible.
In the next topic we will know more about: How Efficient Is the Easy Pro 24k? Understanding SEER2, EER & Real-World Savings


