🎯 Introduction
When most homeowners think about HVAC installation, they picture the furnace, the air conditioner, or the thermostat. But behind the scenes, there’s a quiet workhorse that makes or breaks your system’s performance: the plenum box.
The plenum is the chamber that connects your HVAC blower to the ductwork. If it’s installed incorrectly, your system will waste energy, struggle to heat and cool your home, and wear out sooner than it should.
Unfortunately, even experienced DIYers — and sometimes contractors — make critical mistakes when installing plenums. The good news? With a little knowledge, you can spot these pitfalls and avoid them, ensuring smooth airflow, balanced comfort, and lower energy bills.
Let’s dive into the most common plenum installation mistakes and how you can prevent them.
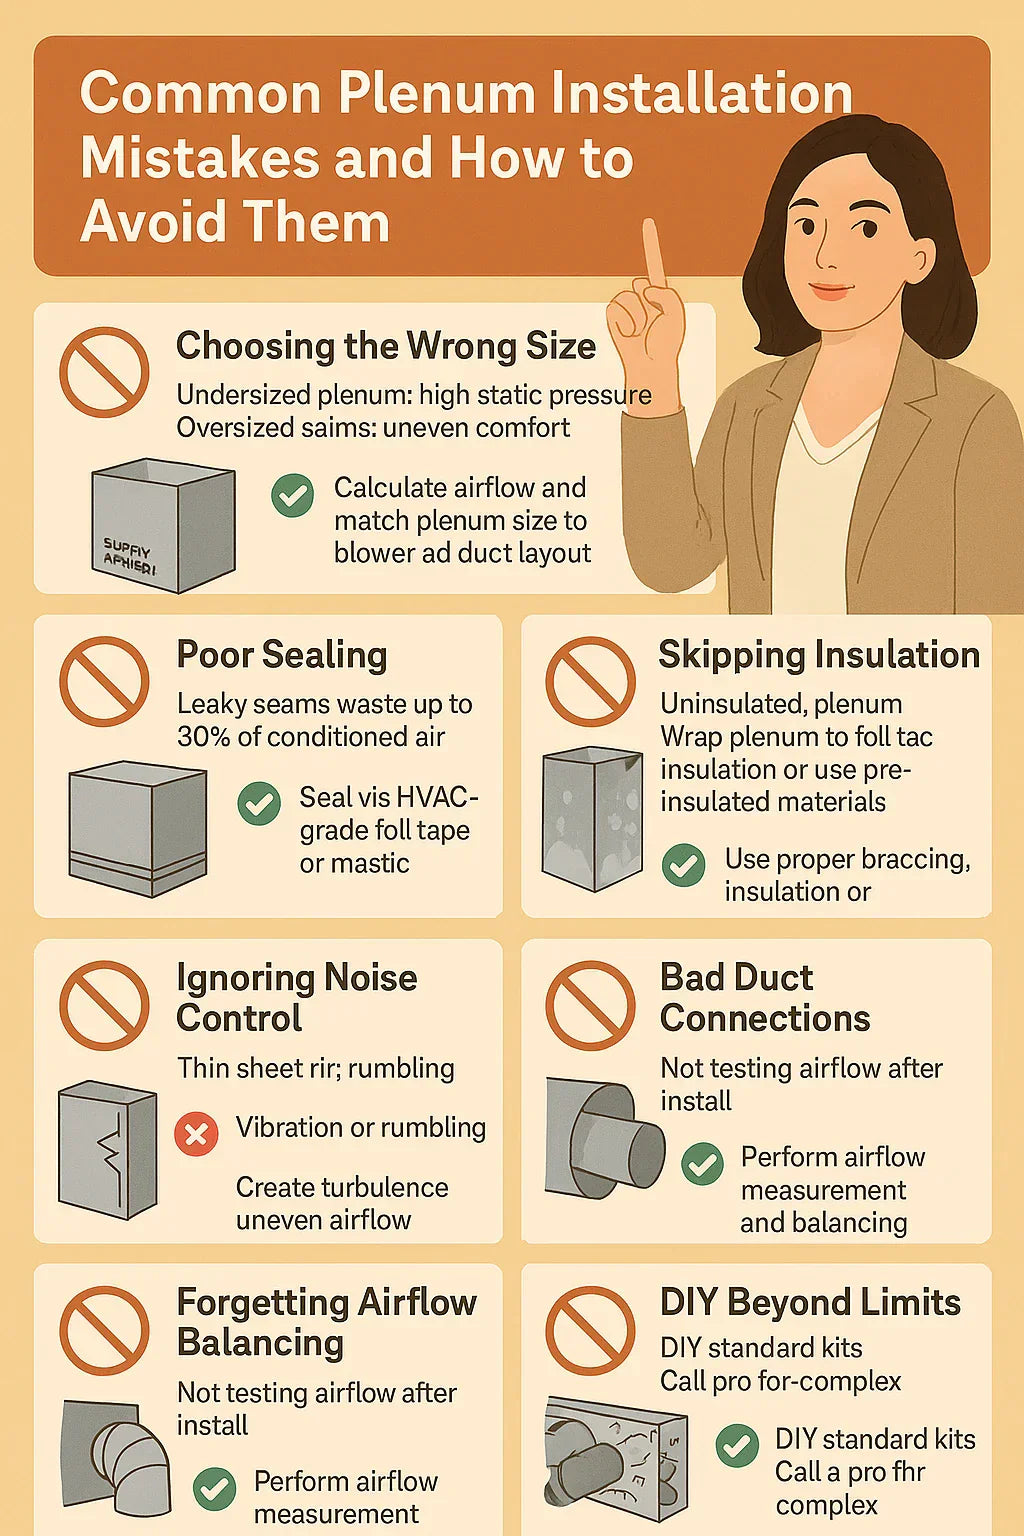
🔩 Mistake 1: Choosing the Wrong Size
Your HVAC system’s airflow depends on plenum size. Think of it like Goldilocks: too small or too big throws everything off.
❌ Undersized Plenum
-
Restricts airflow, raising static pressure.
-
Blower motor strains, leading to higher energy use.
-
Registers farthest from the system get weak airflow.
-
Creates noisy ducts as air forces its way through.
❌ Oversized Plenum
-
Air moves too slowly (low velocity).
-
Rooms receive uneven heating/cooling.
-
Dust and debris can settle inside.
✅ How to Avoid It
-
Match plenum size to system tonnage (rule of thumb: 400 CFM per ton).
-
Use manufacturer recommendations.
-
A standard 20x20x36 plenum kit fits many 3-ton systems.
📖 Further Reading: ASHRAE Air Distribution Fundamentals
🏗️ Mistake 2: Poor Sealing
Even a perfectly sized plenum won’t work if it leaks air at the seams.
❌ Common Problems
-
Using standard duct tape, which dries out and peels.
-
Leaving gaps at corners or around duct collars.
-
Air leaks that reduce efficiency by up to 30%【DOE†source】.
✅ How to Avoid It
-
Seal joints with HVAC-grade foil tape or mastic sealant.
-
Reinforce seams with mesh tape before applying mastic.
-
Double-check by running the blower and feeling for escaping air.
📖 Further Reading: DOE – Duct Sealing & Efficiency
🧱 Mistake 3: Skipping Insulation
Plenums without insulation are like drinking coffee in a paper cup — they lose heat (or cool) fast.
❌ What Happens Without Insulation
-
Energy loss in attics, basements, and crawlspaces.
-
Condensation forms, leading to mold or rust.
-
Higher energy bills due to wasted heating/cooling.
✅ How to Avoid It
-
Wrap sheet metal plenums with foil-faced insulation wrap.
-
For high-humidity areas, consider rigid foam board for extra protection.
-
If using fiberglass duct board plenums, insulation is already built in.
📖 Further Reading: Energy.gov – Heating & Cooling Efficiency
🔊 Mistake 4: Ignoring Noise Control
A noisy HVAC system isn’t just annoying — it’s a sign of poor installation.
❌ Noise Issues from Plenums
-
“Oil canning” — sheet metal panels flexing noisily under pressure.
-
Whistling or rumbling from poorly cut duct connections.
-
Vibration transferring into ductwork.
✅ How to Avoid It
-
Use thicker-gauge sheet metal for plenums.
-
Add insulation to dampen vibrations.
-
Ensure duct cutouts are smooth and collars are fitted correctly.
📖 Further Reading: Carrier – HVAC Noise Troubleshooting
📏 Mistake 5: Bad Duct Connections
Ducts must connect to the plenum smoothly and strategically.
❌ Common Errors
-
Cutting sloppy openings that create turbulence.
-
Jamming ducts in at awkward angles.
-
Overcrowding the plenum face with too many ducts.
✅ How to Avoid It
-
Use proper sheet metal collars for each duct.
-
Space ducts evenly on the plenum face.
-
Avoid sharp turns immediately after the plenum.
-
Transition gradually to maintain airflow velocity.
📖 Further Reading: Trane – Duct Design & Airflow
⚡ Mistake 6: Forgetting Airflow Balancing
Installing a plenum is only half the battle — balancing airflow is just as important.
❌ Without Balancing:
-
Rooms closest to the unit get blasted with air.
-
Farther rooms feel starved and uncomfortable.
-
The blower works harder to compensate.
✅ How to Avoid It
-
After installation, measure airflow at registers (using an anemometer or by a pro).
-
Install dampers in ducts to fine-tune airflow.
-
Adjust until each room receives the right amount of CFM.
📖 Further Reading: ACCA – Airflow Testing & Balancing
🏡 Mistake 7: DIY Beyond Limits
Plenum kits make installation DIY-friendly, but there are times to call a pro.
❌ Risks of Going Too Far
-
Complex multi-zone systems require advanced airflow calculations.
-
Older homes may need custom transitions or fabricated plenums.
-
Poor DIY installs may void equipment warranties.
✅ How to Avoid It
-
DIY when replacing a simple plenum with a kit.
-
Call a pro if dealing with custom duct layouts, static pressure issues, or zoning systems.
📖 Further Reading: ACHR News – Common HVAC Installation Errors
📊 Real-World Example
Case 1: Poor Installation
-
A homeowner installs a plenum with duct tape and no insulation.
-
Within 1 year, air leaks cause a 25% efficiency drop.
-
Summer energy bills rise by $400.
Case 2: Proper Installation with Kit
-
Another homeowner uses a 20x20x36 plenum kit.
-
Seals seams with mastic, insulates with foil wrap, balances airflow.
-
Air distribution is even, energy bills stay low, and comfort improves.
✅ Conclusion
The plenum may seem like a simple metal box, but mistakes during installation ripple through your entire HVAC system.
Here’s what to remember:
-
Size matters → Match plenum size to system airflow.
-
Seal everything → Leaks waste money and comfort.
-
Insulate properly → Prevent condensation and energy loss.
-
Balance airflow → Every room deserves equal comfort.
-
Know your limits → Use kits for DIY, call pros for complex systems.
By avoiding these common mistakes, you’ll extend your system’s life, lower energy bills, and enjoy consistent comfort.
In the Next Topic we will know more about: Maintenance Tips for Your HVAC Plenum: Sealing, Insulation & Inspections


