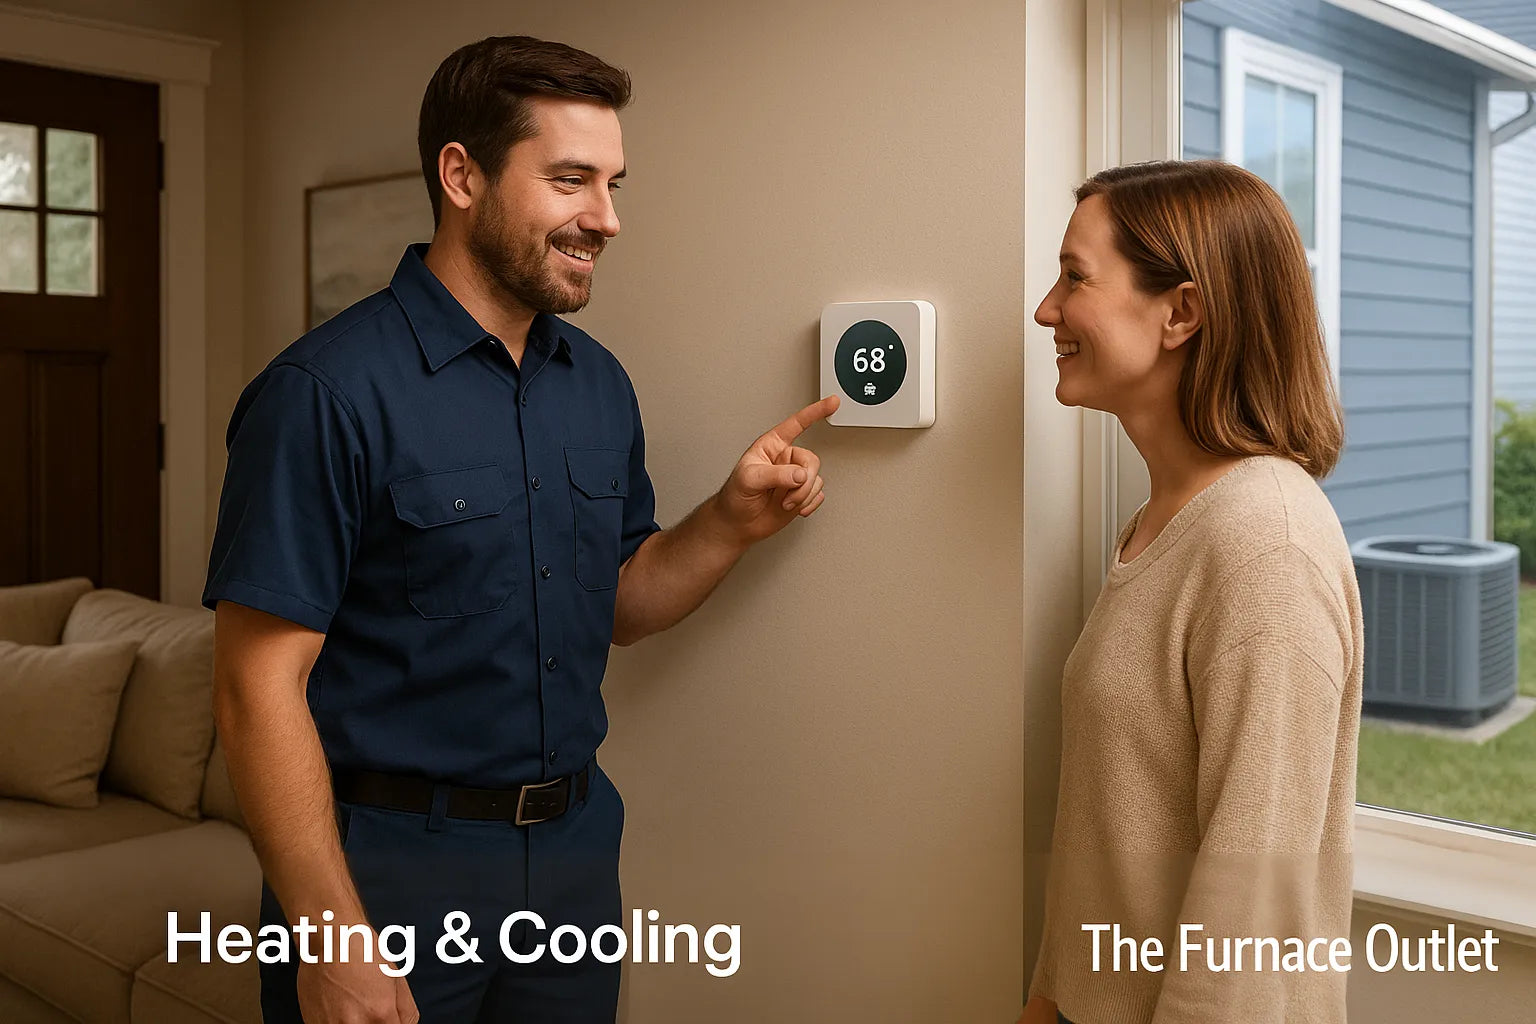
Why duct sealing matters in Climate Zone 1A
In Zone 1A, long cooling seasons and high outdoor dew points amplify every duct leak. Typical homes lose 30% or more of conditioned air through ductwork, and overall HVAC efficiency can drop up to 40% from leakage alone. That means longer cycles, higher bills, clammy rooms, and more maintenance stress on equipment. When supply ducts leak, they depressurize the home and suck in 95 °F, high-RH air through cracks and chases. Your AC must then cool and dehumidify that inflow expensive work. Sealed ducts reduce runtime and stabilize room temps, allowing filtration and dehumidification to operate as designed. Many homeowners see 20–30% energy savings post-seal with simple paybacks around three years, especially when ducts run through attics or crawlspaces. If you’re simultaneously right-sizing or modernizing equipment, browse high-efficiency R32 air handler systems to lock in gains.
How energy is lost (and why it’s worse in humidity)
Air prefers the path of least resistance. Every unsealed joint, boot, and takeoff is a pressure relief valve bleeding your supply or return. In cooling mode, the system moves large CFM at modest static pressures so even modest leak areas compound. Supply leaks push paid-for air out; return leaks drag unfiltered, humid air in. The result is longer runtime and 20–30% efficiency erosion even at modest leak rates. In humid weather, latent load dominates: the system must cool and dry infiltrating air from ~95 °F to supply temps near 50 °F. That dehumidification penalty often exceeds the sensible penalty of lost BTUs.
flowchart LR
A[Air Handler] -->|Supply| B(Ducts)
B -->|Leaks| C[Attic/Crawl]
D[Home] -->|Return| B
C -->|Humid Air In via Return Leaks| B --> A
Before changing equipment, cap the bucket. Seal first; then consider high-efficiency upgrades like R32 condensers.
Moisture dynamics & mold growth in leaky systems
Warm, moisture-laden air contacting cool duct surfaces = condensation. In attics and crawlspaces, RH routinely sits above 70%; add night-time radiative cooling of metal ducts and you have persistent wetting cycles. Return-side leaks are double trouble: they actively pull humid air from damp zones into the system, overwhelming the coil’s dehumidification capacity and creating that “cold but clammy” feel. Persistent moisture feeds mold on porous insulation, inside duct liners, and around boots. Sealing supply and return paths reduces infiltration and keeps the coil working on indoor air—not the attic’s. Pair seals with proper insulation on ducts in unconditioned spaces to keep surface temperatures above the dew point. If problem rooms persist, a targeted ductless mini-split can dehumidify locally while you address hidden leakage.
IAQ: contaminants, allergens, and combustion safety
Leaky returns behave like vacuum hoses in the wrong places. They can pull attic dust, insulation fibers, pesticides, stored chemical odors, and garage exhaust into the breathing zone. Those contaminants then distribute to every room. Sealing restores designed airflow through the filter, improving capture efficiency and reducing recirculated allergens and mold spores. There’s also a safety angle: significant return leakage can depressurize zones with atmospherically vented appliances, increasing backdrafting risk and potential CO intrusion. Seal returns, verify combustion safety, and maintain unrestricted makeup air where required. After sealing, upgrade filtration (as the system can now deliver rated airflow through the filter media) and consider coil/evaporator inspection if previous leakage was severe.
After a big seal job, do a smoke test near the water-heater and furnace draft hoods with the equipment running. If in doubt, have a pro conduct combustion safety testing. See our Help Center.
Finding the leaks: a fast, practical assessment
Start with the obvious: disconnected runs, torn flex, loose collars, leaky boots, and sloppy plenum seams. Clean surfaces so dust doesn’t masquerade as “insulation.” With the blower running, use a smoke pencil or incense around seams to spot movement. Listen for hiss. Feel for temp changes near joints. At return cabinets, look for dust streaking a classic sign of infiltration. Mark suspects with painter’s tape before you open materials. If you own a manometer, note static pressure before/after sealing to confirm improvements. Pros can run duct pressurization to quantify leakage and pinpoint diffuse problem areas. While you’re there, inspect insulation wrap and support straps on flex; compression, kinks, and sags increase friction and lower delivered CFM.
Painter’s tape, foil tape (UL-181), water-based mastic, fiberglass mesh, tin snips, sheet-metal screws, brush/putty knife, gloves, eye protection. See Accessories.
Materials that last: mastic vs. UL-181 foil tape
Water-based mastic is the pro standard for permanence; it cures into a flexible, airtight membrane that tolerates vibration and temperature swings. Use a brush or putty knife; allow 24–48 hours for full cure. UL-181 aluminum foil tape is a fast, clean option for small leaks and labeling, but its adhesive ages faster—think 3–5 years under real attic conditions.
|
Material |
Best For |
Advantages |
Limiters |
|
Mastic (water-based) |
Joints, collars, plenums, boots |
20–30-yr durability, flexible, bonds to metal/flex/fiberglass |
Messy; cure time; tight access |
|
UL-181 Foil Tape |
Quick fixes, small seams |
Instant seal; easy; heat-resistant |
Adhesive aging; wrinkles/tears; prep sensitive |
Tape to position and pre-close; mastic to permanent-seal. For concealed or widespread leakage, consider internal sealing (below).
Explore upgrade pairings: R32 AC & coils.
Application rules by gap size (with QA steps)
Prep is everything: clean, dry, oil-free surfaces. For < 1/4" gaps, mastic or UL-181 foil tape is sufficient. For 1/4–3/4", bridge with fiberglass mesh tape embedded in mastic for strength. For > 3/4", install a mechanical patch (sheet-metal plate and screws), then mastic over seams and fasteners. Butter collars and inside-boot seams generously; tool the mastic to a uniform thickness. On flex, re-seat inner liners over collars, clamp with drawbands, then mastic the joint; finally, tape and secure the outer jacket. Allow 48 hours of cure before pressure testing for best read.
graph TD
A[Gap < 1/4"] -->|Seal| B(Mastic or Foil Tape)
C[Gap 1/4–3/4"] -->|Reinforce| D(Mastic + Fiberglass Mesh)
E[Gap > 3/4"] -->|Patch| F(Metal + Screws + Mastic)
QA: Post-seal, re-run the smoke pencil. Photograph key joints for your records and future inspections.
Airflow, pressure, and why returns deserve first place
Sealing supply leaks stops waste, but return integrity is what protects IAQ and filter performance. A tight return ensures air passes through the filter at rated velocity, improving capture without choking the blower. After sealing, re-check filter fit; bypass at filter racks nullifies gains. Observe door-close behavior: if bedroom doors slam or room-to-hall pressure is high, you may have restricted return paths—fix door undercuts or add transfer grilles. Balanced, sealed ducts stabilize static pressure, reduce coil icing risk, and improve latent removal. This is also the time to confirm that ducts in unconditioned spaces are insulated to limit conduction and sweating. If a space remains under-served, a concealed-duct or cassette mini-split can fine-tune distribution without over-pressurizing the main trunk.
When to call a pro: internal sealing & verification
DIY gets the obvious joints. For hidden runs and buried trunks, internal sealing technologies (e.g., aerosolized sealants) can address leaks from the inside and routinely close up to 90% of total leakage. A pro will baseline the system with duct pressurization, apply the seal, then document before/after leakage (and often airflow) so you can quantify gains. In hot-humid markets, it’s common to see 20–30% HVAC energy savings, $200–$400/yr cost reductions, and ~3-year simple paybacks. Pair pro sealing with coil cleaning and filtration upgrades to capitalize on regained airflow. For guidance or a remote quote, use our Quote by Photo.
Maintenance & monitoring for humid seasons
Seals don’t need much care, but the system does. Replace or wash filters on schedule tight ducts push full airflow through the media, so clogged filters now matter more. Inspect boots, collars, and flex supports seasonally; temperature cycling and service access can nudge joints. In attics, look for new dust streaks or water marks near seams. Keep insulation intact around ducts to prevent condensation, especially at boots and takeoffs. If rooms feel “cold but damp,” check for new return leaks or a filter bypass before blaming equipment. Track utility bills and runtime; sudden jumps often track to a dislodged joint. When upgrading equipment, coordinate sealing with commissioning and airflow balancing for the cleanest baseline. For targeted comfort issues or additions, consider through-the-wall units while preserving the main system’s pressure balance.
Quick reference: cost, ROI, and pairing with upgrades
-
Energy waste today: ~25% typical HVAC energy lost to ducts; homes often leak 30%+ of supply air; effective capacity can fall up to 40%.
-
Savings potential: 20–30% reduction in heating/cooling waste; $200–$400/yr typical bill savings; ~3-yr simple payback; strong ROI in 1A climates.
-
Moisture & IAQ: Sealing curbs humid infiltration, cuts condensation risk, and reduces allergen spread; improves filtration and lowers backdrafting risk.
-
DIY vs. Pro: Use mastic for permanent joints; UL-181 foil tape for small, accessible seams. For hidden runs, consider internal sealing.
-
Next steps: After sealing, consider right-sized, efficient R32 systems to capture full benefits.


