🔧 “I Thought I Could Do It All Myself…”
A few summers ago, my neighbor, Kevin, decided to replace his aging heat pump over a long weekend. He poured a concrete pad, hauled the new condenser into place, ran a few wires, and proudly flipped the breaker.
For two glorious days, it worked. Then the system froze solid, tripped the breaker, and started blowing lukewarm air.
The cause? A vacuum line he never pulled — moisture had entered the refrigerant circuit and ruined his brand-new compressor.
Kevin’s story is a classic homeowner tale: the desire to save money versus the risk of skipping critical installation steps.
Installing a heat pump, especially something like the Goodman 2.5 Ton 14.5 SEER2 System, looks straightforward in theory. But once you add refrigerant pressures, electrical codes, and warranty terms, “DIY-friendly” becomes a gray area.
This guide breaks down what you can safely do yourself, what you shouldn’t touch, and how to strike a smart hybrid balance that saves money without losing peace of mind.
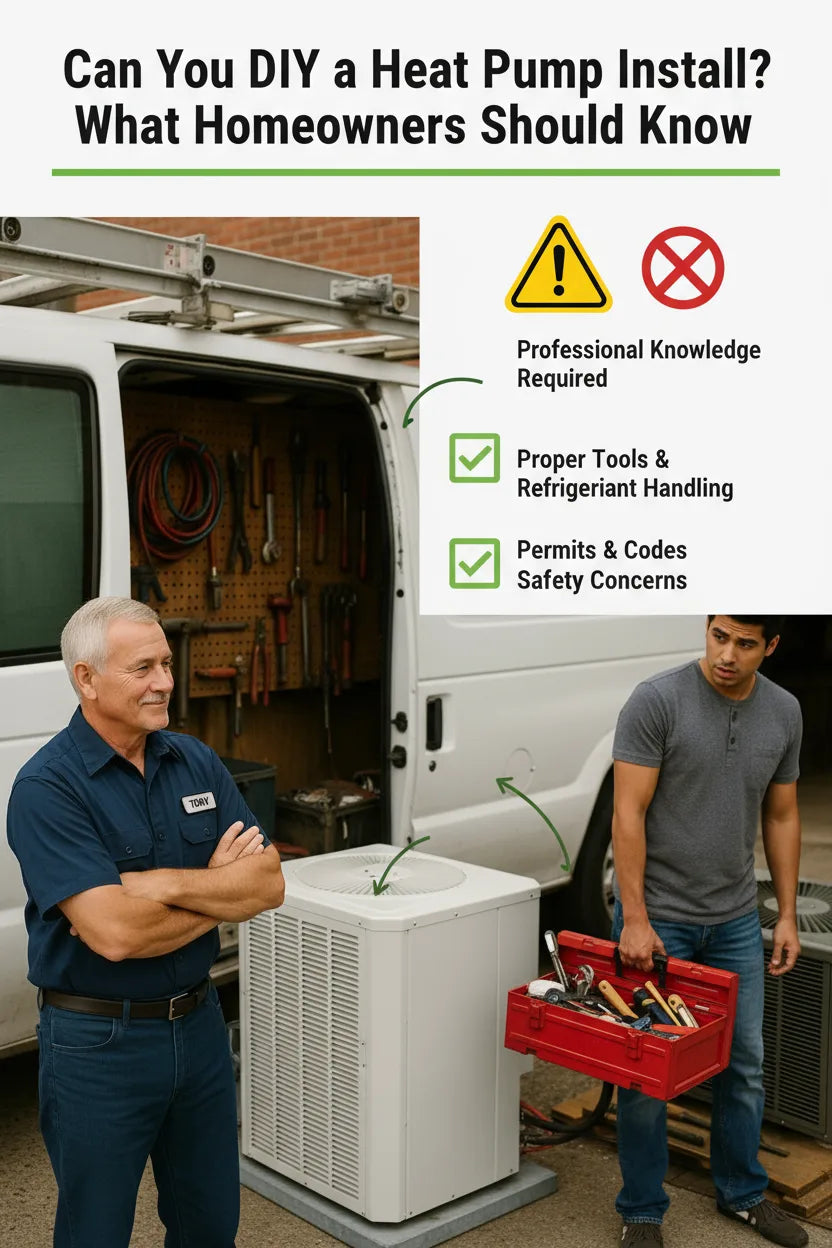
⚙️ Why Heat Pump Installation Isn’t as Simple as It Looks
A modern split-system heat pump combines electrical, mechanical, and refrigerant systems that all have to work in harmony.
To install one properly, technicians must:
-
Run a dedicated 240-volt circuit and disconnect switch.
-
Evacuate and vacuum the refrigerant lines down to 500 microns.
-
Charge the system with the correct amount of R-410A or R-32.
-
Connect low-voltage control wiring to the thermostat and air handler.
-
Braise or flare copper lines and pressure-test them with nitrogen.
-
Check airflow and static pressure for proper duct balance.
That’s why the U.S. Department of Energy lists installation quality as one of the top factors affecting efficiency and lifespan
🧰 What You Can Do Yourself
If you’re handy with tools, there’s plenty you can handle safely before a technician arrives.
1️⃣ Site Preparation
Choose a flat, shaded location with 18 inches of clearance on all sides and at least 5 feet of vertical space above the condenser.
2️⃣ Mount the Pad or Bracket
Pour a small concrete slab or install an approved wall bracket rated for the system’s weight. Make sure it’s level — even a half-inch tilt can stress compressor bearings.
3️⃣ Run Low-Voltage Thermostat Wire
You can route 18/5 control wire between the air handler and outdoor unit, leaving the connections for the technician.
4️⃣ Install a Smart Thermostat
Many homeowners handle this themselves — just remember to shut off power first and label each wire.
5️⃣ Prep the Condensate Drain Line
Connect PVC tubing from the indoor unit’s drain pan to a floor drain or condensate pump.
6️⃣ Seal Duct Leaks
Apply mastic or foil tape to joints before startup to boost efficiency.
“When I installed my Goodman system, I handled every prep task except the refrigerant and breaker hookup,” Tony says. “It saved about $400 and made the pro’s job twice as fast.”
⚠️ What Absolutely Requires a Licensed HVAC Tech
| Task | Why You Need a Pro | Regulation / Risk |
|---|---|---|
| Refrigerant evacuation & charging | Must pull deep vacuum and weigh precise charge | EPA Section 608 |
| Electrical hookup to main panel | 240 V line, breaker sizing, and disconnect code compliance | National Electrical Code |
| Nitrogen pressure test | Prevents leaks and moisture contamination | Coil damage risk |
| Warranty registration | Goodman requires licensed startup | Void without licensed install |
You might find tutorials online showing how to “just top off refrigerant,” but under EPA Section 608, handling refrigerants without certification can result in fines up to $37,500 per day
⚡ Permits and Local Code Rules
Even if you own the home, most jurisdictions require a mechanical permit for HVAC replacement. Inspectors verify:
-
Correct breaker and wire gauge
-
Electrical disconnect within sight
-
Line-set routing and insulation
-
Proper condensate disposal
-
Outdoor clearance and secure mounting
Skipping permits can void homeowners-insurance coverage and lead to expensive code corrections later【ICC – Residential Mechanical Code】.
💸 How Much You’ll Really Save
| Installation Type | Typical Labor Cost | Warranty Coverage | Risk Level |
|---|---|---|---|
| Full Pro Install | $2,000–$3,000 | Full 10-yr parts warranty | Low |
| Hybrid DIY (Prep + Pro Hookup) | $1,200–$1,800 | Full warranty | Medium-Low |
| Full DIY Install | $0 labor | Warranty voided | High |
Tony’s math:
“I prepped the pad, ran conduit, and had a pro handle the rest. My total job cost dropped 35%, and I kept my full warranty.”
📘 Reference: Forbes Home – 2025 Heat Pump Installation Cost Guide
🔩 Tools Required for a True DIY Install
If you planned to install everything yourself, you’d need:
-
Vacuum pump (500 micron capable)
-
Manifold gauge set
-
Nitrogen tank & regulator
-
Tubing bender and flaring tool
-
Torque wrench for flare nuts
-
Micron gauge
-
Digital multimeter
That’s $1,000–$1,500 in tools before you even start. Unless you’re doing multiple installs, hiring a pro for a few hours is cheaper.
🧊 Pre-Charged Systems: The “Almost-DIY” Option
Some brands sell pre-charged line-set systems that avoid refrigerant handling — like MRCOOL DIY mini-splits.
But Goodman’s split heat pumps are not pre-charged beyond the outdoor unit. The installer must pull a vacuum and weigh the charge based on line-set length.
“Goodman’s designed for pros — and that’s not a bad thing,” Tony notes. “It means tighter tolerances and long-term reliability.”
📗 Reference: ENERGY STAR – Split vs. Packaged Systems
🧱 Safety Risks Most DIYers Miss
-
Improper electrical wiring → shock or fire risk
-
Incorrect refrigerant charge → frozen coils or compressor burnout
-
Skipping vacuum step → moisture corrosion
-
Blocked drain line → water damage and mold
-
Unsealed ducts → lost airflow and higher bills
Tony remembers:
“A friend’s compressor failed in three months because he didn’t vacuum moisture out. Goodman covered the part — but not the $900 labor, since it wasn’t pro-installed.”
📘 Reference: Goodman – Warranty Information
🧾 DIY Prep Checklist Before the Installer Arrives
✅ Level and cure the concrete pad
✅ Measure 18″ clearance on all sides
✅ Run conduit from breaker panel to disconnect box
✅ Install thermostat backplate and wiring
✅ Mount condensate drain line
✅ Seal all duct connections
✅ Verify correct breaker amperage (per nameplate)
Doing this prep trims install time by several hours and keeps your warranty intact【Goodman – Installation Manual】.
🧠 Tony’s “Hybrid DIY” Formula
If you like to get hands-on, you can still play an active role safely:
-
Prep the site, wiring path, and drain lines.
-
Hire a licensed tech for refrigerant and electrical work.
-
Have the tech pull vacuum, charge, and start up the system.
-
Register the warranty under the technician’s license.
This approach saved Tony roughly $1,000 while maintaining full warranty coverage.
“You can swing the hammer and save cash — just don’t touch the gauges or the gas.”
🧩 What to Expect During Professional Hookup
A good installer will:
-
Pull a deep vacuum to ≤ 500 microns.
-
Weigh in the refrigerant per Goodman specs.
-
Pressure-test with nitrogen.
-
Measure voltage, amperage, and airflow.
-
Run the system through heating and cooling modes.
-
Register the unit for the 10-year warranty.
Ask for a startup sheet or commissioning report — this document proves the system was installed to manufacturer specs. Keep it with your receipts.
💬 How Long Will a Pro Install Take?
| Step | DIY Prep Done | No Prep |
|---|---|---|
| Outdoor unit placement | 30 min | 1 hr + |
| Electrical and drain | 1 hr | 2–3 hr |
| Line set brazing + vacuum | 2 hr | 2 hr |
| Startup & testing | 1 hr | 1 hr |
| Total Time | ≈ 4–5 hr | 7–8 hr |
Doing your prep can reduce install time — and therefore labor cost — by 25-40%.
💡 Why Licensed Installation Pays Off
-
Full 10-Year Parts Warranty — Goodman covers major components only if installed by a licensed contractor.
-
Code Compliance — avoids inspection headaches when selling the home.
-
Higher Efficiency — properly charged systems meet SEER2 ratings.
-
Safety — correct breaker sizing prevents electrical fires.
Even the best DIY effort can’t replicate the calibration tools a pro uses.
🔍 Comparing DIY-Ready vs. Traditional Heat Pumps
| Feature | DIY-Ready Mini-Split | Goodman 2.5 Ton System |
|---|---|---|
| Pre-charged lines | Yes | No |
| Requires EPA certification | No | Yes |
| Max line-set length | 25–50 ft | Up to 75 ft (custom) |
| Warranty for homeowner install | Limited | Void |
| Long-term serviceability | Moderate | Excellent |
| Ideal User | Apartment or garage DIYer | Whole-home owner |
So if you’re heating or cooling a garage or addition, a DIY mini-split might fit. But for a primary home system, Goodman’s pro-installed heat pump is the reliable, efficient choice.
🧠 Real-World Lessons from Tony’s Install
-
Prep counts. Laying the pad and conduit cut my labor bill by a third.
-
Good communication matters. My installer appreciated the prep and finished early.
-
Watch the process. I learned how refrigerant evacuation works — and gained respect for why pros charge what they do.
-
Register immediately. The 10-year parts warranty requires registration within 60 days.
“The peace of mind knowing my system was charged right and warrantied? Worth every penny I paid the pro.”
🧮 The Cost of Doing It Wrong
| DIY Mistake | Typical Repair Cost | Prevention |
|---|---|---|
| Skipped vacuum step | $900–$1,200 compressor replacement | Hire licensed tech |
| Wrong breaker size | $250–$600 electrical repair | Follow nameplate amps |
| Low refrigerant charge | $200–$400 service call | Proper startup test |
| Water drain error | $150–$500 water damage | Use trap & secure hose |
A single mistake can erase all potential DIY savings.
🧱 Maintenance You Can Handle Post-Install
Once your Goodman system is running, you’re back in familiar DIY territory:
-
Replace filters every 1–3 months.
-
Keep 18″ clearance around the condenser.
-
Rinse coils each spring.
-
Check condensate line for blockage.
-
Schedule a pro tune-up each fall.
📗 Reference: Goodman – Maintenance Tips
✅ Final Thoughts — “DIY Smart, Not Dangerous”
Installing a heat pump isn’t like painting a room or swapping a light fixture. It’s a precise balance of pressure, wiring, and airflow that rewards precision and punishes shortcuts.
You can — and should — tackle the prep work: pour the pad, run the wiring path, and set up the thermostat. But for refrigerant, vacuum, and final electrical, let a licensed HVAC technician take the wheel.
“A weekend of prep saved me hundreds,” Tony says, “but letting a pro finish saved me years of headaches.”
If you want a system that runs quietly, efficiently, and safely for 15+ years, trust a pro for the final steps — especially with a reliable brand like Goodman.
In the next topic we will know more about: How to Maintain Your Goodman System for Long-Term Performance


