🔥 **Before You Replace Anything:
Samantha’s Home Heat-Flow Audit Using a $20 Tool**
By Samantha Reyes — Smart, Practical Home Comfort Guide
🏡 Introduction: “Don’t replace your furnace until you understand where your heat actually goes.”
Most homeowners believe the moment their home feels uncomfortable — too cold in winter, too warm in summer, uneven room temperatures — the solution is to replace the furnace or AC.
But Samantha has seen this mistake too many times:
-
A brand-new furnace struggling to heat the home
-
A state-of-the-art heat pump short-cycling
-
A high-efficiency AC that still leaves the upstairs muggy
-
A homeowner spending thousands without fixing the root problem
So she teaches a rule that surprises every homeowner:
“Comfort problems don’t start with equipment.
They start with heat-flow problems.”
And the fastest way to understand your home’s heat-flow is not with an expensive energy audit, infrared camera, or invasive testing.
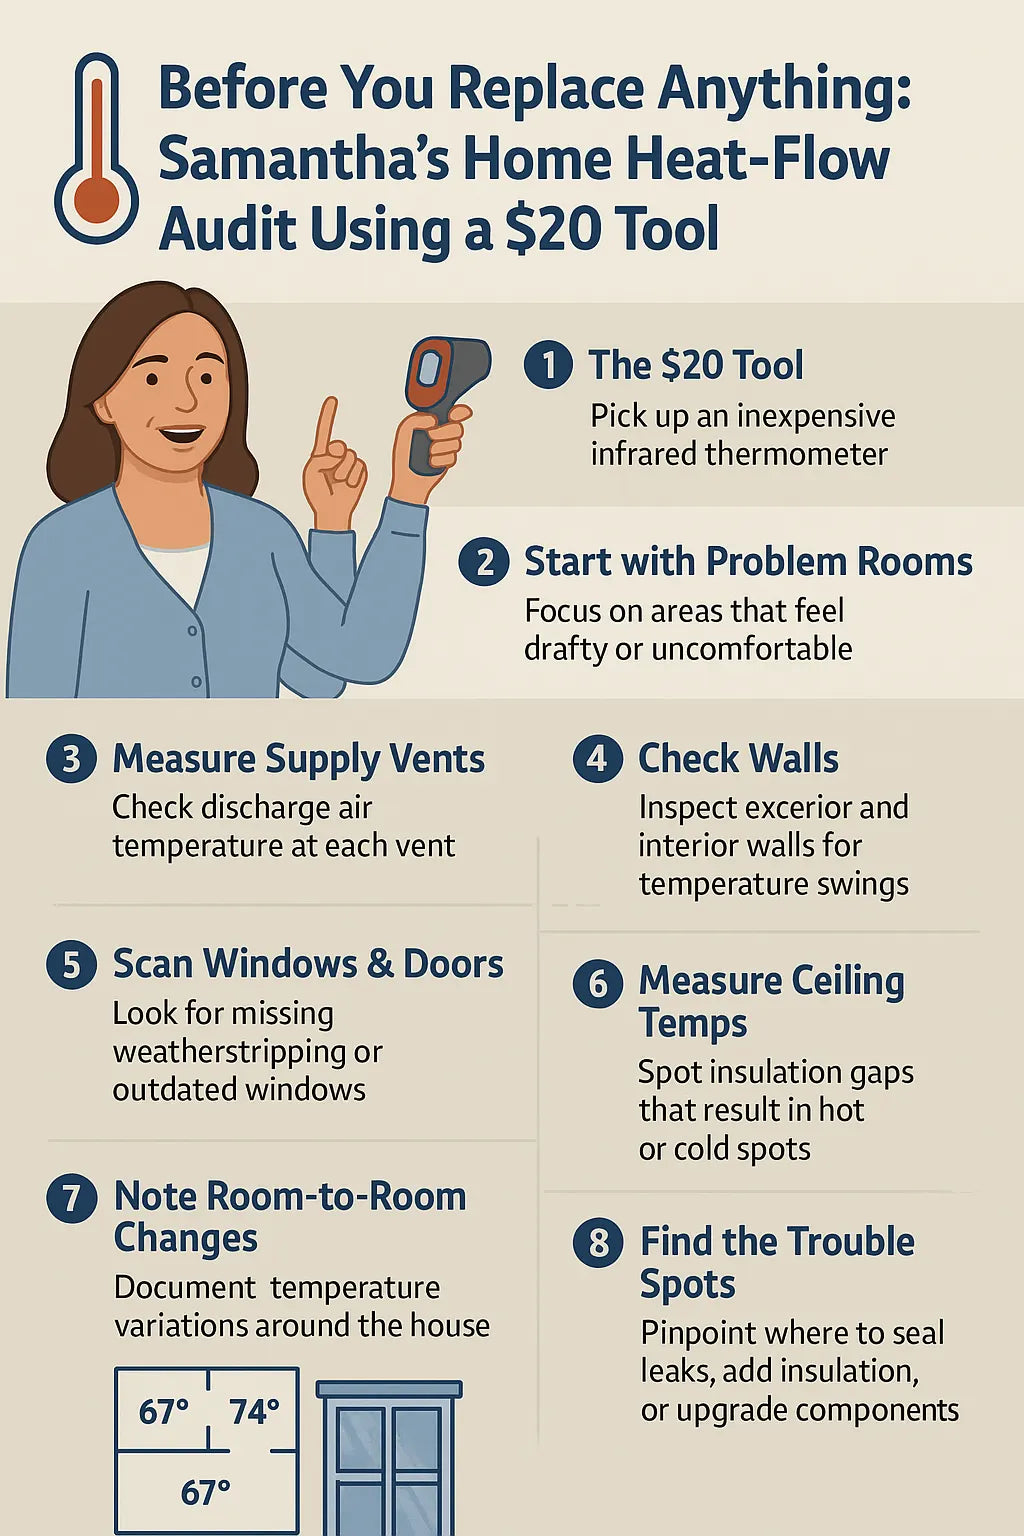
It’s with a $20 handheld infrared thermometer — the simple point-and-shoot tool Samantha teaches homeowners to use before replacing anything.
80,000 BTU 96% AFUE Upflow/Horizontal Two Stage Goodman Gas Furnace - GR9T960804CN
This tiny device instantly reveals where your home is leaking heat, losing airflow, or bottlenecking comfort — long before you open your wallet for new equipment.
Today, Samantha walks you through her complete home heat-flow audit, step-by-step, using this affordable tool.
🎯 1. The $20 Tool That Replaces Guesswork
(“You can’t fix what you can’t see — this tool lets you see temperature, instantly.”)
Samantha recommends a basic infrared thermometer gun, often found on Amazon or home-improvement stores for around $18–$25.
These simple devices measure:
-
wall surface temperature
-
vent discharge temperature
-
ceiling temperature
-
window frame heat transfer
-
duct leaks
-
insulation gaps
-
door-seal performance
Homeowners are shocked by what this little tool reveals.
ENERGY STAR notes that poor insulation, air leakage around windows/doors, and duct losses are the top contributors to home comfort issues — not equipment failure:
https://www.energystar.gov/saveathome/seal_insulate
Samantha’s heat-flow audit exposes all of that within minutes.
📍 2. Samantha’s Rule: Start With the Rooms That Feel ‘Off’
(“Your house always tells the truth. The $20 tool just helps translate it.”)
Before measuring anything, Samantha asks homeowners a simple question:
“Which room annoys you the most?”
The room that:
-
never heats properly
-
stays humid
-
always feels drafty
-
gets stuffy
-
swings in temperature
-
forces you to fiddle with the thermostat
These rooms always reveal the largest heat-flow failures.
Samantha starts there because you don’t need to audit your entire house to find big issues — they cluster around trouble spots.
🧭 3. Step One — Measure Every Supply Vent (Samantha’s Most Important First Test)
(“If your vents aren’t delivering the right temperature, nothing else matters.”)
For heating season:
🔥 Heating Temperature Test
Turn the furnace on for 10 minutes, then measure each supply vent.
A healthy system should produce:
95°F–125°F discharge temperature
(depending on furnace type and blower speed)
For cooling season:
❄️ Cooling Temperature Test
Turn the AC on for 10 minutes.
A healthy system should produce:
52°F–58°F vent discharge air
DOE’s guidance on normal HVAC temperature splits aligns with this:
🔗 https://www.energy.gov/energysaver/air-conditioning
🛑 Samantha’s Red Flags at This Stage
1. One vent is significantly colder/hotter than others
→ duct kink, crushed flex, disconnected branch, or closed damper
2. All vents are too cool in heat mode
→ furnace is fine; airflow is restricted by ductwork or returns
3. All vents are too warm in AC mode
→ low airflow, dirty coil, blower mismatch, or duct leakage
4. Noisy or “whistling” vents
→ static pressure too high (undersized ducts)
Samantha explains:
“Your vents should act like identical twins — not distant cousins.”
Uneven performance always means duct or airflow issues, not bad equipment.
🧱 4. Step Two — Measure Exterior Walls and Interior Walls
(“Walls are storytellers. Their temperatures reveal insulation success — or failure.”)
For each room, Samantha compares:
Exterior walls
Should match room temperature within 2–4°F
If they are dramatically colder or hotter, that wall is leaking heat.
Interior walls
Should be nearly the same as room temperature (within 1–2°F)
Big differences indicate:
-
missing insulation
-
air gaps
-
convection drafts inside wall cavities
🛑 Samantha’s Red Flags
Exterior wall is 6–12°F colder (winter) or warmer (summer)
→ missing insulation, air gap behind drywall, or bad sheathing
Interior wall is significantly colder/hotter
→ attic heat bleed, open chase, or wall cavity connected to attic/crawlspace
Wall temperatures vary from top to bottom
→ settling insulation, moisture intrusion, or thermal bridging
DOE confirms that insulation failures dramatically impact heating/cooling performance:
🔗 https://www.energy.gov/energysaver/weatherize/insulation
🪟 5. Step Three — Check Windows, Door Frames & Baseboards
(“Windows leak more heat than most homeowners realize — but now you can prove it.”)
Samantha instructs homeowners to scan:
-
window glass
-
window frames
-
window corners
-
sliding doors
-
door thresholds
-
baseboards along exterior walls
This reveals infiltration (air leakage) and conduction (heat loss through materials).
🛑 Samantha’s Red Flags
Cold baseboards in winter
→ cold air entering from sill plate gaps
Hot window frames in summer
→ solar gain overwhelming the insulation
Temperature swings around window corners
→ missing or compressed insulation around framing
Cold air leaking around door frames
→ failing weatherstripping
ENERGY STAR’s window and door leakage studies reinforce these findings:
https://www.energystar.gov/products/res_windows_doors_skylights/key-product-criteria
Samantha explains:
“Your home’s heat escapes through the places you rarely look — this tool lets you look.”
🌀 6. Step Four — Measure Return Air Temperature
(“Your system’s lungs must pull the same air you’re trying to condition.”)
Samantha has homeowners measure:
-
return grille temperature
-
hallway temperature
-
bedroom temperature
Healthy return air should match room temperature within 2–3°F.
If return air is significantly colder/warmer than the room, then:
-
returns are undersized
-
returns are improperly placed
-
a closed-door pressure imbalance is happening
🛑 Samantha’s Red Flags
Return air significantly colder in heating mode
→ return pulls air from a cold hallway, basement, or crawlspace
Return air warmer in cooling mode
→ return is drawing attic or unconditioned air
Bedrooms get stuffy with doors closed
→ no return pathways; pressure imbalance
(minor fix with jump ducts or transfer grilles)
🪜 7. Step Five — Samantha’s Ceiling Test for Attic Heat Flow
(“If your ceilings are too warm or too cold, your attic is running the thermostat.”)
This is where homeowners often get their biggest surprise.
In winter:
-
hot air escapes upward
-
cold attic air presses downward
In summer:
-
attic heat radiates into rooms
-
AC cannot overpower the thermal load
Samantha has you scan:
Ceiling directly under attic
Healthy range: within 3–5°F of room temp
Ceiling near attic access
Often 8–15°F different — a major leak point
Ceiling under duct runs
Should be consistent; hot/cold streaks indicate duct losses
DOE states that attic insulation failures create significant comfort loss
🛑 Samantha’s Red Flags
Ceiling 8–15°F hotter (summer)
→ inadequate attic insulation
→ radiant heat transfer
→ duct leakage heating the ceiling
Ceiling colder (winter)
→ attic air infiltration down into the room
→ missing insulation above that bay
Temperature “stripes” on the ceiling
→ duct leakage above, uneven insulation, or air bypass
🗺️ 8. Step Six — Samantha’s Room-to-Room Temperature Mapping
(“Your home should not have microclimates — it should feel consistent everywhere.”)
Using the $20 tool, Samantha helps homeowners build a heat-flow map.
Measure:
-
each wall
-
each vent
-
ceiling
-
floor near exterior walls
-
window frames
-
return temperature
Most homes reveal patterns like:
-
whole east side hotter
-
back bedrooms colder
-
upstairs uneven
-
rooms above garage uncomfortable
-
corner rooms extreme
Samantha says:
“Temperature patterns tell you the story the thermostat can’t.”
⚠️ 9. Step Seven — Spot the Five Big Comfort Killers (Samantha’s Quick Diagnose List)
Your heat-flow map always reveals one or more of these hidden causes:
🔥 1. Heat Loss Through Exterior Walls
Fix: add insulation, seal rim joists, repair sheathing, inject foam
❄️ 2. Attic Heat Flow Overpowering the System
Fix: add R-38+ insulation, seal attic bypasses, radiant barrier
🌀 3. Return Air Imbalance
Fix: add returns, transfer grilles, undercut doors
🏚️ 4. Duct Leakage
Fix: mastic seal ducts, insulate trunks, repair loose boots
🌪️ 5. Vent Discharge Problems
Fix: repair duct kinks, open closed dampers, resize supplies
Samantha teaches:
“Replacing the furnace won’t fix heat-flow problems.
Fixing heat-flow problems makes any furnace work better.”
🔧 10. Step Eight — Compare Heat-Flow Problems to Symptoms
(“Your home’s symptoms always match the heat-flow map.”)
Symptom: Cold rooms in winter
Heat-flow map shows:
-
cold exterior walls
-
cold baseboards
-
weak vent discharge
-
cold ceilings
Symptom: Upstairs always too warm
Heat-flow map shows:
-
hot ceilings
-
hot walls facing sun
-
weak return airflow upstairs
Symptom: Long HVAC runtime
Heat-flow map shows:
-
supply temperature too low
-
attic heat intrusion
-
duct losses in unconditioned spaces
Symptom: Short cycling
Heat-flow map shows:
-
hot return air
-
ventilation imbalance
-
internal heat gains
This correlation is what gives homeowners their “aha!” moment.
🧊 11. Samantha’s $20 Tool vs. a New Furnace
Samantha always ends her audits with the same message:
“Your furnace isn’t the problem — your heat-flow is.”
Replacing equipment:
❌ will not fix cold exterior walls
❌ will not fix leaky windows
❌ will not fix attic heat intrusion
❌ will not fix duct leakage
❌ will not fix pressure imbalance
The $20 tool exposes the real issues — long before you spend thousands.
🛠️ 12. Samantha’s Priority Fix List Based on Audit Findings
Once you identify heat-flow problems, Samantha helps homeowners take action.
She categorizes fixes by cost and impact:
🔧 Tier 1 — Under $40 DIY Fixes
-
weatherstripping
-
door sweeps
-
foam around outlets
-
window film
-
adjusting register direction
-
freeing blocked vents
-
undercutting bedroom doors
🧰 Tier 2 — $50–$300 Moderately Low Cost
-
sealing duct leakage with mastic
-
adding return air pathways
-
insulating duct runs
-
sealing attic bypasses
-
baseboard caulking
-
programmable thermostats
🏚️ Tier 3 — $300–$1,200 Mid-Range
-
adding attic insulation
-
replacing old windows
-
installing radiant barrier
-
adding new return ducts
🏗️ Tier 4 — Major Improvements
ONLY after heat-flow is corrected:
-
new furnace
-
new AC
-
heat pump upgrade
-
zoning system
Samantha’s philosophy:
“Equipment is the last step, never the first.”
📋 13. Samantha’s Full Home Heat-Flow Audit Checklist
Using your $20 IR thermometer, measure:
🔹 Supply vents
→ Too hot? Too cold? Uneven?
🔹 Return air
→ Is it pulling from the space you’re conditioning?
🔹 Exterior walls
→ Are they too cold/hot for the season?
🔹 Windows & doors
→ Are they leaking? Are frames losing heat?
🔹 Ceilings
→ Is attic heat or cold leaking through?
🔹 Interior walls
→ Are there open connections to unconditioned spaces?
🔹 Floors near edges
→ Cold floors show rim-joist leakage
🌟 Conclusion: “Before you replace the furnace — replace the guesswork.”
Samantha’s $20 heat-flow audit gives homeowners the power to:
-
diagnose their real comfort problems
-
prioritize fixes that actually matter
-
avoid unnecessary equipment replacements
-
understand how their home handles heat
-
make smarter, more confident decisions
And the beauty is:
“You don’t need a $400 energy audit to find the truth.
You just need a $20 tool and 20 minutes.”
Once you measure heat-flow, the path to comfort becomes simple — and replacing equipment becomes a choice, not a guess.
Buy this on Amazon at: https://amzn.to/4hJt23t
In the next topic we will know more about: Samantha’s “Flow Zones” Method: How She Designs Balanced Air Paths for Multi-Level Homes


